
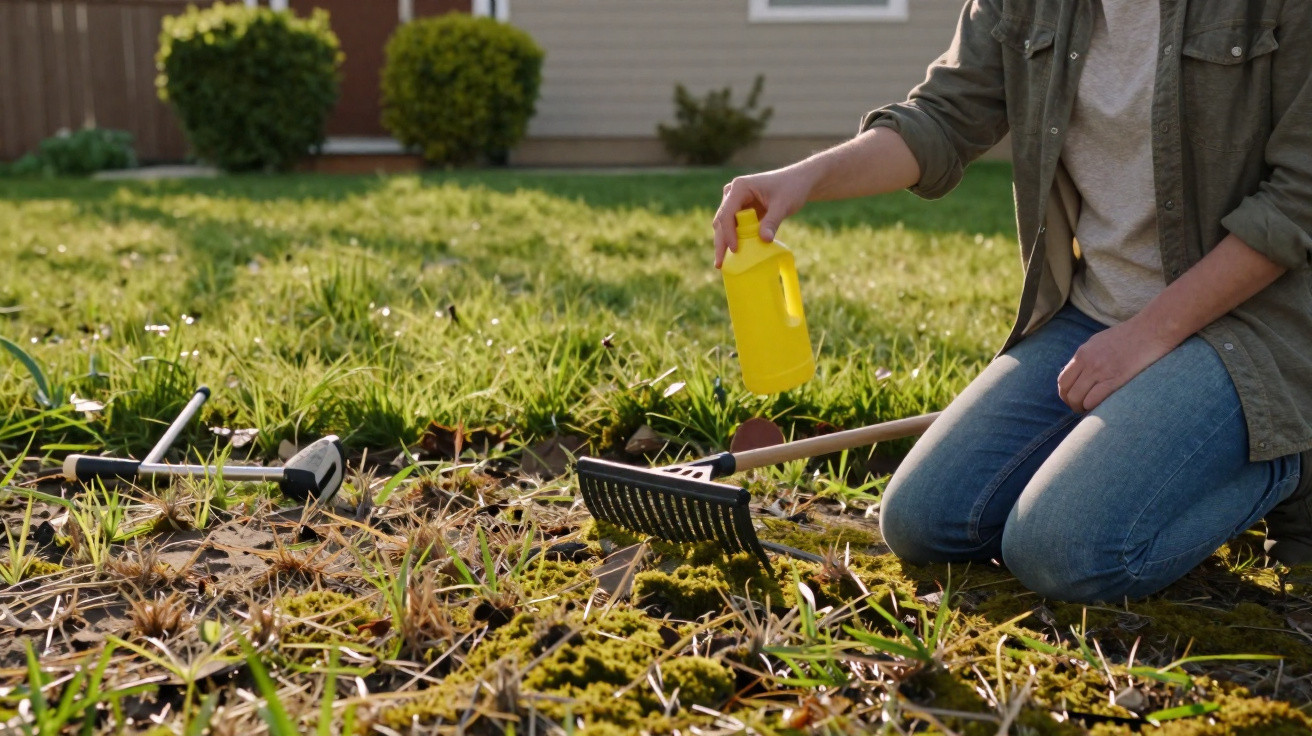
Many people react on impulse – and that is precisely when they make their biggest mistake.
After the first mild days, many gardeners take a critical look at their lawns and find dark, felt-like mats rather than rich green grass. Forums and videos promote a quick fix: add a little washing-up liquid to water, pour it over the area and the job is done. It may sound brilliant, but it is a classic boomerang for any lawn.
Moss after winter: why the lawn suddenly declines
The same pattern returns every year: as soon as winter ends, cushions of moss appear in parts of the garden that previously received little attention. Shaded positions, damp patches and compacted areas are especially affected, including:
- beneath dense trees
- alongside hedges
- on north-facing sides of houses
- wherever people regularly walk
Cold weather, moisture and limited light weaken the lawn for months. Grass grows more slowly, becoming sparse and thin. Moss ruthlessly exploits exactly these gaps. It does not need deep roots, copes with few nutrients and thrives in damp, shady conditions.
Soil scientists and gardening specialists have pointed out for years that heavy moss growth is not a “moss problem”, but a site and soil problem. Common triggers include:
- compacted soil, for instance from frequent foot traffic
- nutrient deficiency because fertiliser has never been used or has been used incorrectly
- permanently wet ground, such as where drainage is poor
- constant shade and mowing the lawn too short
“Where moss feels at home, the lawn has already lost. Anyone who only tackles the moss is treating the symptom – not the cause.”
Why washing-up liquid on the lawn is a risky wrong turn
Anyone searching online for “lawn moss home remedy” will soon encounter recipes containing washing-up liquid. The principle is that a soapy solution containing surfactants will “scorch” the moss plants without the expense of specialist products. However, the soil pays the price – and ultimately so does your lawn.
Washing-up liquid was designed to remove grease and food residue in the kitchen, not for living garden soil. Its cleaning agents attack structures beneath the turf that are essential for survival. They can:
- damage or dry out fine grass roots
- affect the protective waxy layer on grass blades
- worsen soil structure
- disrupt micro-organisms and soil-dwelling creatures
Professionals in landscaping and environmental advice therefore regularly warn against using household chemicals in the garden. Even if the moss turns brown in the short term, it leaves behind a weakened lawn already primed for the next wave of moss.
“Anyone who pours washing-up liquid onto the lawn may solve one small problem – and create a bigger one.”
The simple basic approach: mow, rake and let the soil breathe
The good news is that there is no need for a toxic or aggressive product. What the lawn really needs in spring is a combination of mechanical work and care – in other words, effort rather than a magic trick.
Step 1: Mow properly
At the start of the season, the lawn can be cut slightly shorter once than it would be in high summer. This mildly weakens the moss layer and makes it easier to reach. Do not scalp it to ground level, though: 3 to 4 centimetres is a useful guide, depending on the grass type.
Step 2: Rake thoroughly
After mowing, it is time to use a rake. A sturdy leaf or lawn rake can remove a surprisingly large amount of moss from the area. The important points are:
- rake in several directions rather than only one
- remove all moss and thatch instead of leaving it on the lawn
- tackle large lawns in stages to avoid putting too much stress on the grass
Anyone prepared to risk a little muscle ache will be rewarded: beneath the moss layer, surprisingly vigorous grass often emerges and suddenly receives light and air again.
Step 3: Scarify if the problem persists
If moss and lawn thatch have dominated the garden for some time, raking alone is no longer enough. A scarifier can help by scoring the soil surface a few millimetres deep. This “clawing” work:
- removes matted material
- opens the soil to air and water
- stimulates grass root growth
After scarifying, a lawn often looks alarmingly bad. Many areas appear patchy, brown and scratched. This is exactly the stage when amateur gardeners become anxious while professionals remain calm. In the following weeks, grass seed and remaining roots usually make very good use of the newly available space.
“A lawn that briefly looks ‘catastrophic’ after scarifying often has the best chance of developing into a dense, resilient turf.”
Do not forget the follow-up: overseed and feed
Any gaps created during scarifying should be filled with lawn seed. A mix suited to the location is ideal – dedicated seed mixtures are available for shaded areas and cope with lower light levels.
A practical method is:
- remove all scarified material and moss
- spread suitable lawn seed evenly
- rake it in lightly or roll it in
- keep it evenly moist during the first few weeks
At the same time, the soil needs nutrients. An organic or organo-mineral lawn fertiliser applied in spring helps grasses outcompete moss. After all, a thick, strong lawn leaves less room for fresh moss cushions to establish.
What if moss has already taken over everything?
Some lawns consist largely of moss. Many people then turn to chemical treatments that specifically harm moss, such as products based on iron salts. These products do work relatively quickly: the cushions turn black and can then be raked away.
Even so, soil experts advise restraint. One-sided applications can alter the pH value and upset soil life over the long term. Anyone using these products should:
- follow the dosage exactly
- avoid spraying the entire lawn every year
- always combine their use with soil improvement and lawn renovation
It is often more sensible to test natural alternatives alongside them, such as improving drainage, applying sand deliberately to heavy soils and aerating consistently with aerators or simple hand forks.
Long-term prevention: how to deny moss a lasting chance
Anyone fighting moss anew every spring is usually addressing the wrong lever. The aim should be to change conditions so that grass gains the upper hand. This includes, among other things:
- fertilising regularly (2–3 times a year, depending on requirements)
- using an appropriate cutting height – preferably 4–5 centimetres in summer
- keeping foot traffic to a minimum when the soil is wet
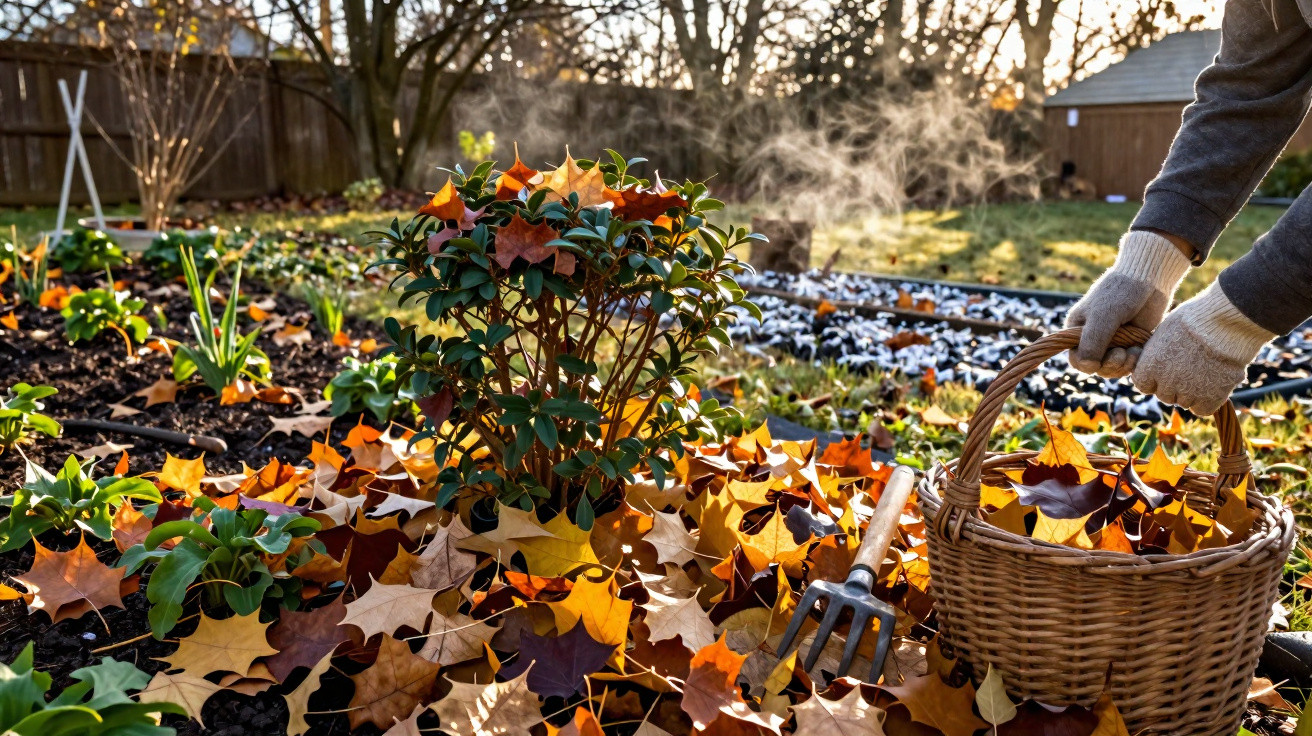
- clearing old leaves in autumn so the lawn does not rot beneath a damp layer
If there are very dark corners in the garden, it is also worth asking whether grass really needs to grow there. In deep shade, ground-covering perennials or shade-tolerant plants are often easier to maintain and more visually convincing than a lawn that is constantly struggling.
What terms such as scarifying and aerating actually mean
Many guides casually use terms that can sound more like professional workshop jargon to occasional gardeners. Yet two key techniques genuinely benefit a lawn:
- Scarifying: cutting through the turf with blades to remove thatch and moss.
- Aerating: ventilating the soil by creating holes, for example with spikes or hollow tines that remove small plugs of earth.
Scarifying works mainly at the surface, while aerating reaches deeper into the ground. Particularly on heavy, clay-rich soils, regular aeration combined with sand can help reduce waterlogging problems and remove the conditions moss needs to survive.
Practical examples also make this easier to understand: in heavily used areas, such as the route from the patio to the garage, moss is almost inevitable if the soil becomes compacted every time it is walked on. A simple stepping stone or narrow path can achieve more here than even the most sophisticated moss treatment.
Those who view their lawn as a long-term project will ultimately fare better than people who follow the latest “secret trick” on social media every year. Mechanical care, considered fertilising and a location that truly suits a lawn outperform any washing-up liquid trick – however tempting it may seem at first glance.



Comments
No comments yet. Be the first to comment!
Leave a Comment