
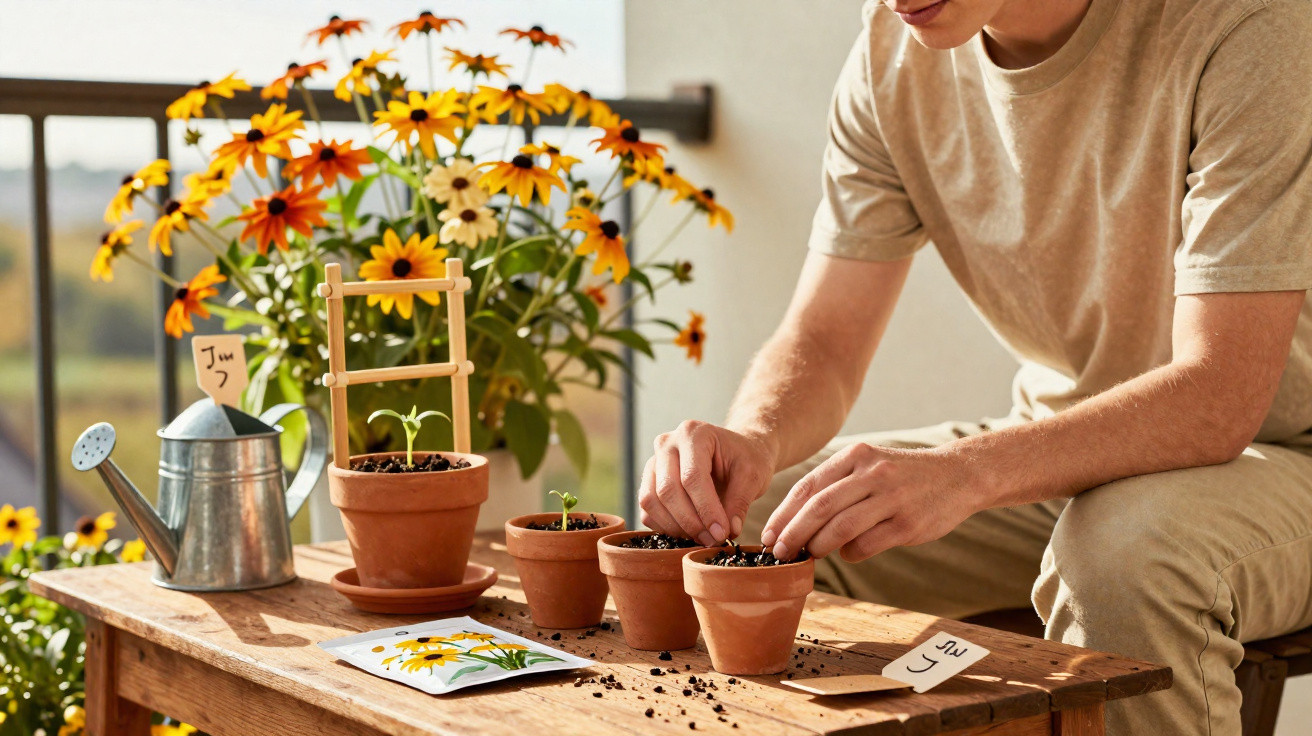
This is precisely where the Black-eyed Susan comes into its own.
This climbing summer flower is regarded as one of the easiest climbing plants to grow. Sow it in late winter or spring and you will usually be rewarded with rapid growth and abundant flowers. It gives gardening beginners a forgiving yet impressive plant, provided a few basic rules on timing, warmth and position are followed.
Why the Black-eyed Susan is perfect for beginners
The Black-eyed Susan (Thunbergia alata) grows remarkably quickly, covering fences, trellises or balcony obelisks within a few weeks, and flowers from summer into autumn. It therefore offers exactly what newcomers to gardening want: fast, visible successes that encourage them to keep going.
“Those who sow early will have a climbing plant that fills entire areas with bright flowers in a single season.”
Garden organisations such as the Royal Horticultural Society and botanical gardens specifically list the species as easy to raise from seed. The plant winds its way upwards unaided, so it only needs a simple support to climb. There is no need for complicated pruning methods or specialist fertilisers.
Another advantage is its broad colour range. There are varieties from classic orange flowers with a dark centre through to yellow and white. This makes it ideal for beginners who want to try out and shape the look of their balcony.
The right time to sow
You can begin from March onwards. Homes are generally warm enough by then to start the seeds off on a windowsill. Those keen to make an especially early start can sow in late February, although they will need a genuinely bright spot.
- Ideal period: March to April
- Germination temperature: around 16 to 18°C
- Location: indoors on a windowsill or in a mini greenhouse
The plant cannot tolerate sub-zero temperatures. Young plants must therefore stay indoors until late frosts are no longer expected outside. Planting out too soon risks losing the entire batch overnight.
Step by step: sowing the Black-eyed Susan
You do not need professional equipment to sow Black-eyed Susan seeds. A few simple items will, however, make getting started much easier.
Materials required
- Small pots or seed trays
- Seed compost that is loose and low in nutrients
- A spray bottle or watering can with a fine rose
- A clear cover, such as plastic film or a lid, to create a mini-greenhouse environment
Sowing instructions
- Fill the pots or trays with seed compost and firm it down lightly.
- Scatter the seeds across the surface or place them individually.
- Cover them with only the thinnest layer of compost - 1 to 2 mm is enough.
- Moisten carefully with water so that the seeds are not washed away.
- Put the containers somewhere warm and bright; a south-facing window or a bright east- or west-facing position is ideal.
- If desired, cover with plastic film or a lid to retain moisture more effectively.
“The compost should remain evenly moist, but never thoroughly wet - waterlogging is the most common reason seedlings fail.”
Depending on the temperature, the first seedlings will appear after anything from several days to several weeks. If the pot is kept somewhere cool and dark, this will be delayed considerably or the sowing may fail altogether.
Warmth and light: the decisive factors
The Black-eyed Susan originates in tropical parts of East Africa. It is accustomed to warm, bright conditions there, which is exactly what you should recreate while raising it.
- Position for young plants: bright and sunny, with no cold draughts
- Growing medium: loose, free-draining and never constantly wet
- Temperature: well above 15°C, ideally just below 20°C
A cool hallway or a draughty place beside an open window will greatly slow growth. Plants remain small, become leggy or are more susceptible to pests. Give them plenty of light and warmth instead, and you will get strong, compact young plants.
After germination: pricking out and preparing climbing support
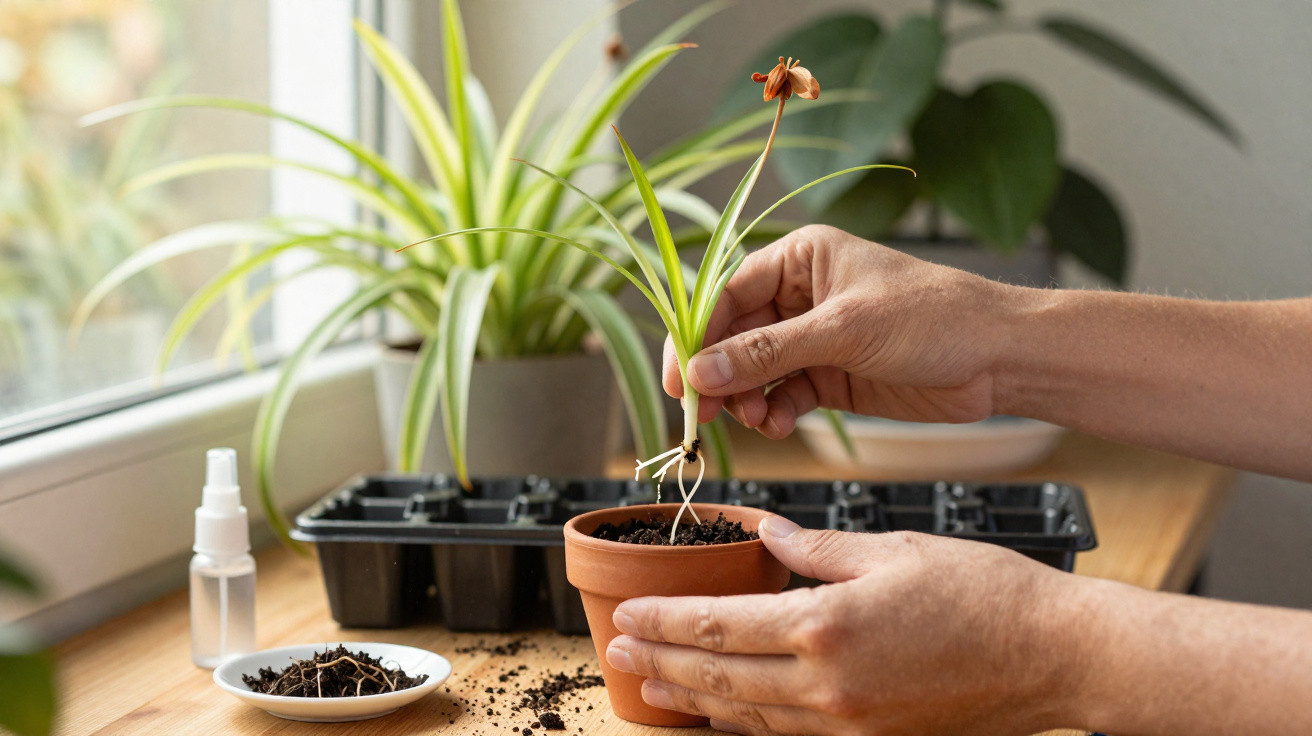
Once seedlings have developed several true leaves, move them into individual pots. Gardeners call this pricking out. It gives each plant sufficient space rather than forcing it to compete with its neighbours for light and water.
Handle the delicate roots gently when repotting, and plant each seedling slightly deeper so it stands securely. Good-quality but not overly heavy potting compost is now more suitable than the nutrient-poor seed compost.
“Think about a climbing support early on - the Black-eyed Susan will climb as soon as it has the opportunity.”
A simple bamboo cane, small trellis or mini obelisk will do the job. At first, you can gently rest the shoots against the support; they will then continue to wind upwards by themselves.
Moving outdoors: only once it is frost-free
It is time to move plants outside when nights remain mild. As a general guide, many areas are safe after mid-May, once the traditional late-frost period has passed. In places prone to late frost, wait another one or two weeks.
Before planting out permanently, a short hardening-off period is worthwhile. Put the pots outside for a few hours during the day, then bring them back indoors in the evening. This allows the plants to adjust to sun, wind and changing temperatures.
The ideal position in the garden and on the balcony
Outdoors, the Black-eyed Susan thrives in a warm, sunny place. It suits fences, pergolas, balcony railings and large containers fitted with climbing frames.
| Factor | Recommendation |
|---|---|
| Light | Full sun to very bright, sheltered from wind |
| Soil | Free-draining, humus-rich, with no waterlogging |
| Container size | A large pot or window box with sufficient depth |
| Water | Water regularly and do not allow the root ball to dry out |
Roots establish quickly in well-drained soil. In warm weather, waterlogging can rapidly cause rot. If you are gardening on a balcony, it is best to place a layer of expanded clay or broken terracotta in the bottom of the pot so excess water can drain away.
Common beginner gardening mistakes - and how to avoid them
Most difficulties with Black-eyed Susan are caused less by the plant itself than by impatience or an unsuitable position.
- Planting out too early: Cold severely damages this warmth-loving climber. Always wait for frost-free nights.
- Too little warmth while raising plants: Seeds germinate poorly, if at all, in cool rooms.
- The wrong position: In shade, flowering is sparse and shoots become long and thin.
- Waterlogging: Permanently wet compost encourages root rot, particularly in young plants.
- No climbing support: Without anything to grow up, the shoots lie on the ground, tangle and break more easily.
“Anyone who pays attention to sunshine, warmth, free-draining soil and a simple climbing support will almost automatically get a good result with the Black-eyed Susan.”
Practical tips for more abundant flowers
A little care is worthwhile throughout summer. A light, regular liquid feed for flowering plants will keep blooms coming for weeks, particularly in pots where nutrient reserves are limited.
You can trim back spent shoots from time to time. This encourages the plant to produce fresh shoots and buds. If you enjoy experimenting, collect ripe seed heads in late summer and dry them. With a little luck, the seed will provide the next round of young plants the following year.
Who benefits most from growing Black-eyed Susan
Anyone with only a small balcony who still wants a “jungle feel” is well served by this climbing plant. It takes up little ground space and uses height to create an effect. It is also ideal for people beginning their first year of gardening who do not want to start straight away with roses or fruit trees: the learning curve is short, while the visible result is substantial.
It is equally appealing for families with children. Its quick growth can be watched almost daily, while the intense flower colours are enjoyable. Simple tasks, such as watering or tying in shoots, are well suited to introducing children to gardening.
Those who like experimenting with plants can combine Black-eyed Susan with other summer flowers in a container. Use low bedding plants or trailing varieties around the pot’s edge, with the climber in the middle, and you can quickly create a small flowering arrangement with depth and height - even if you are officially still a “gardening beginner”.

Comments
No comments yet. Be the first to comment!
Leave a Comment