
The evergreen Photinia, with its red new growth, is widely regarded as an easy-care favourite for front-garden hedges. That makes it especially alarming when, in late winter, the leaves fail to shine red and are instead covered in dark spots before dropping in large numbers. This is usually caused by a fungus that thrives in wet springs – but a remarkably simple, entirely natural measure before the season begins can significantly slow it down.
What really causes black spots on Photinia
In most cases, black spots are caused by entomosporium leaf spot, a disease triggered by the fungus Entomosporium maculatum. It particularly affects Photinia × fraseri ‘Red Robin’, a very popular choice in German gardens.
The symptoms typically begin at the bottom of the hedge:
- small brown to black dots, sometimes edged in red
- spots enlarge and develop a grey-looking centre
- leaves turn yellow and fall prematurely
If piles of discoloured leaves gather beneath the hedge, this is a clear warning sign. Normal seasonal leaf replacement looks different: leaves tend to yellow more evenly, without sharply defined circular patches, and do not usually fall in such quantities at once.
Thick, black, crust-like coatings on leaves are more likely to point to other fungal diseases, such as sooty mould. If you are unsure, inspect the plant more closely: clearly round spots combined with a noticeably springy carpet of leaves on the ground are strong indicators of entomosporium leaf spot.
Black, clearly defined spots, heavy leaf loss progressing from the bottom upwards, and a dense carpet of leaves on the ground are considered the classic pattern of entomosporium leaf spot on Photinia.
Why the disease takes off in spring
The real source of the problem is not within the plant itself, but right at its base. Fallen infected leaves often remain beneath the hedge throughout winter as a brown layer. This is where most of the fungus’s spores survive the colder months.
Horticultural estimates suggest that the majority – roughly nine tenths – of fungal spores are found in this dead foliage. Once spring arrives, a few heavy showers are enough to set the process going:
- Rain lands on the diseased leaves on the ground.
- Droplets bounce back and throw spores into the air.
- The spores settle on tender new leaves in the lower part of the hedge.
- They germinate there, fresh spots form and the infection moves upwards.
Gardeners refer to this as a “splash infection cycle”. It becomes particularly troublesome in tightly planted hedges, on heavy and damp soils, and during wet springs. In these conditions, foliage dries slowly, giving spores sufficient time to attack young shoots.
The key Photinia measure: remove the leaf carpet before spring
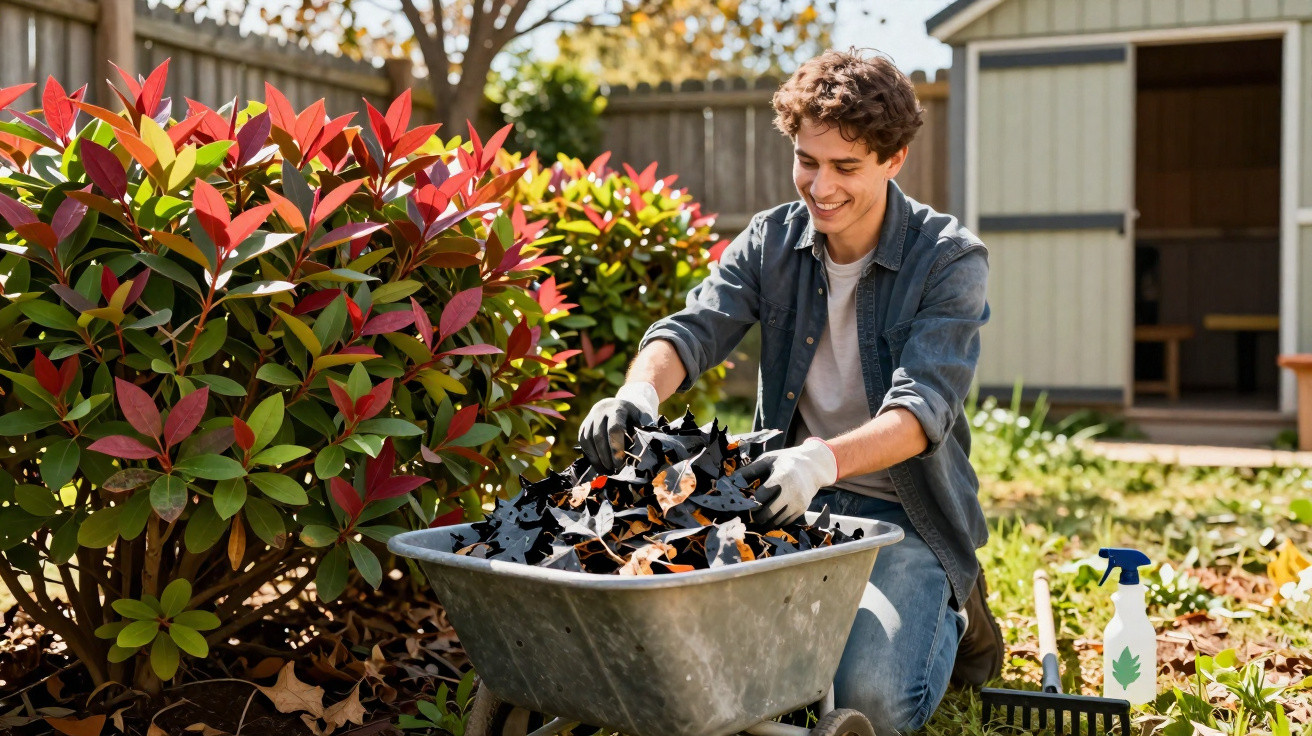
The most effective and, at the same time, most natural action is surprisingly straightforward: clear up the fallen leaves. Acting early can dramatically reduce fungal pressure.
Choosing the right time
A dry day from late February to early March is ideal, before the buds properly begin to open. At this stage, most spores are still in the old leaves and little or no fresh foliage has emerged.
How home gardeners should proceed
- Put on gloves to protect your hands and skin.
- Rake from the inside outwards, working from the stems towards the lawn edge.
- Thoroughly collect all discoloured foliage, including leaves caught deep within the branches.
- Do not add the leaves to the compost heap; instead, bag them and dispose of them with household waste or take them to a green-waste collection site.
- Use the opportunity to thin the base of the hedge slightly, improving air and light circulation.
The crucial factor is the winter foliage: anyone who removes it completely before spring takes away the fungus’s main launching point.
It is important to be genuinely thorough. If many infected leaves remain, a large proportion of the spores also remains in place. Anyone with several Photinia hedges should treat every one in the same way; otherwise, the fungus can spread from one section to another.
Natural support: sprays and avoiding care mistakes
Immediately after this “spring clean”, a further step can be useful: treating the young shoots preventatively. Many gardening experts rely on established copper products, such as a traditional copper-based spray applied at the recommended, relatively low dose.
Those wishing to avoid copper altogether can instead use plant-based preparations:
- Horsetail liquid strengthens the leaf surface, making it less susceptible to fungi.
- Nettle liquid supports overall plant growth and resilience.
Neither treatment replaces thorough leaf removal, but both can help the hedge remain healthy. It is also worth reconsidering watering routines: Photinia prefers an airy site that is not excessively wet.
Common care mistakes that encourage the fungus include:
- frequent overhead watering, especially during the evening
- permanently wet, compacted soil with no drainage
- extremely close planting distances, leaving little air movement within the hedge
Rather than spraying the foliage with a hose, water only around the root area. Short, deep watering sessions are preferable to continually “dampening” the soil.
When pruning is worthwhile
Moderate pruning can support the treatment. Heavily affected shoots in the lower area can be removed selectively. This lowers infection pressure and encourages the hedge to produce vigorous new growth.
Basic pruning rules:
- prune only on dry days when there is no frost
- disinfect tools before and after use
- do not leave diseased prunings in the garden
When thinning the hedge, make sure that overly dense clusters of branches are not resting directly on the ground. This creates better-ventilated areas that dry more quickly, making conditions noticeably less favourable for fungi.
The risks of doing nothing
If the infection is ignored for several years, a Photinia hedge can lose substantial vigour. Although plants will repeatedly send out new growth, they continually lose foliage and energy. During severe winters, weakened specimens are more likely to be damaged by frost or attacked by other diseases.
Gaps in the hedge are another consequence. Heavy foliage loss at the base can make the hedge see-through. Anyone who planted it for privacy or noise reduction will then be frustrated twice over.
Practical examples of healthy Photinia growth
Practical trials show that even a single year of consistent leaf removal and adjusted watering can noticeably reduce infection. The contrast was especially clear in gardens where the layer of leaves had been left in place for several winters: after the first thorough clear-up, isolated spots still appeared the following spring, but they were no longer widespread.
Those who repeat the process in the second year while also maintaining a more open hedge structure will generally see a steady decline in symptoms. The hedge appears more vigorous overall, produces stronger growth and copes better with wet spells.
Further advice for resilient hedges
Photinia can be combined effectively with other robust shrubs, such as cherry laurel, privet or red-tip Photinia forms with greater resistance to fungal disease. Mixed hedges reduce the risk of one particular pathogen spreading unchecked.
It is also worthwhile to pay attention to nutrient supply. A moderate application of organic fertiliser in spring – such as compost or an organic hedge and shrub fertiliser – helps the plant put on strong new growth and recover over damaged areas more quickly.
Anyone who removes the infected leaf carpet from their Photinia hedge in good time, avoids overhead watering and ensures air can circulate through the shrub will usually bring black spots under control quickly.
Comments
No comments yet. Be the first to comment!
Leave a Comment