
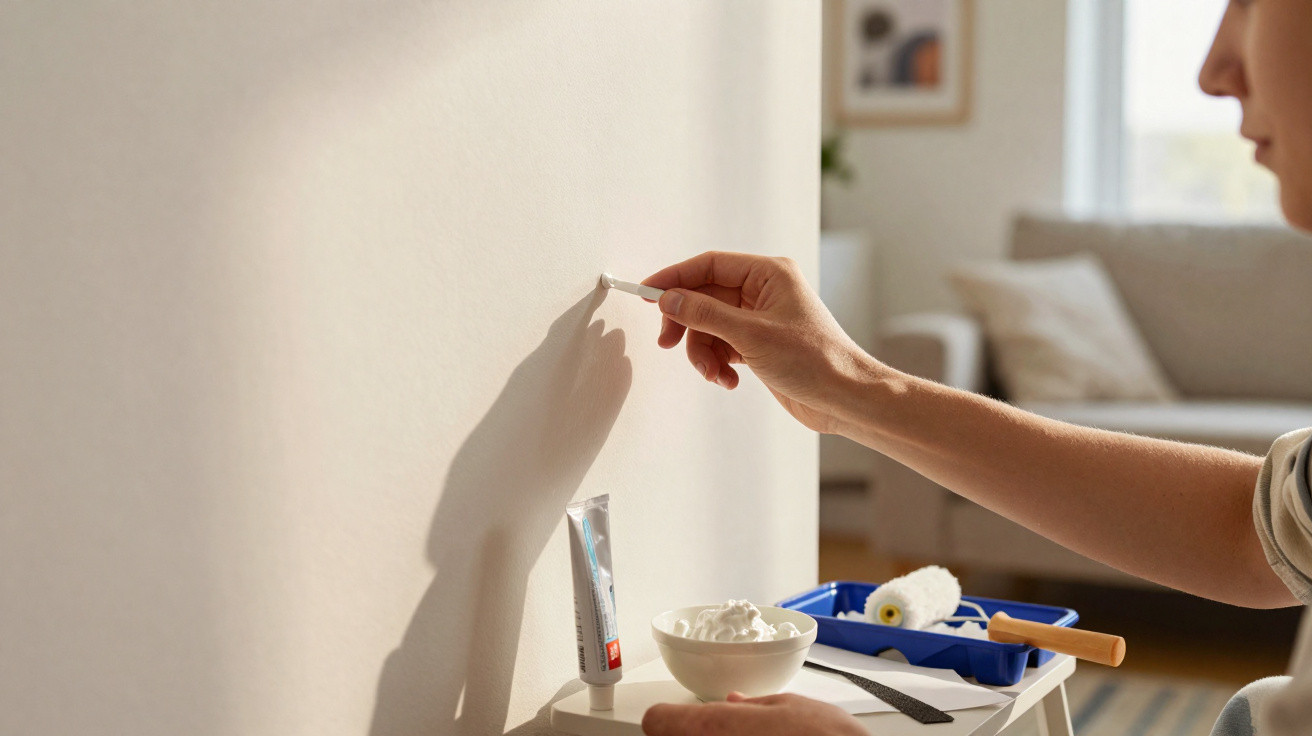
Repairing small nail holes in a wall is an easy, affordable job that can be completed with materials often already available at home. In many situations, there is no need to buy commercial ready-mixed filler to achieve a neat finish, especially for quick jobs such as returning a rented property or rearranging pictures.
How can you fill a nail hole with simple everyday materials?
The basic principle is to fill the hole with a mixture that sets hard, bonds securely to the wall and can be painted over. Common alternatives include white toothpaste, talcum powder mixed with white glue, and toilet paper or kitchen roll combined with glue; each can behave in a similar way to ready-mixed filler.
Before applying anything, clean the area thoroughly, removing dust, loose paint and any rough edges around the hole, as these can prevent the material from adhering properly. A dry or slightly damp cloth, together with the tip of a filling knife or a blunt knife, is enough to prepare the spot and reduce the risk of the patch coming away once dry.
How to use toothpaste, talcum powder and glue, or paper and glue on a wall
White toothpaste is the best-known option because it is so straightforward to use: apply it directly into the hole, then smooth it with a finger or filling knife. Avoid gel or coloured varieties. If you need a slightly tougher repair, combine talcum powder with white glue to make a thick paste, which is suitable for small indoor repairs.
You can also use toilet paper or kitchen roll with white glue to create a compact filler. This approach works particularly well for slightly larger holes, such as those left by wall plugs. However, avoid these methods in very damp areas, as continual exposure to water may soften the material and spoil the repair.
How to apply, sand and prepare the wall for painting
Once you have selected a household filler, the job involves three main stages: fill the hole, level the surface and allow it to dry fully. Drying times depend on the mixture used and the conditions in the room, but this stage should not be rushed, otherwise the patch may crack or detach.
The next step is sanding with fine-grade sandpaper, using gentle movements to create an even surface ready for touch-up paint. The following practical measures can help keep the process organised and prevent common mistakes:
- Do not use too much material, as this can leave raised areas that are difficult to sand down.
- Use fine sandpaper, with a 220 or 240 grit, applying only light pressure to level the patch.
- Wipe away all dust with a dry cloth before painting.
- Apply two thin coats of paint, if needed, for a more even finish.
What precautions and limitations ensure a discreet, long-lasting repair?
A few details can make a filled hole almost unnoticeable. Do not apply an excessive amount of improvised filler, and try to match the finish of the surrounding wall. Where the wall has a light texture, running a finger or a small brush over the patch before it has fully dried can help reproduce the original pattern and conceal the repair more effectively.
These options are best suited to small holes in internal walls and are not a replacement for professional repairs to extensive cracks, damp ingress or deep damage. For more serious issues, use suitable specialist products and, where necessary, seek professional help. Household mixtures should only be used as quick, economical aids for discreetly hiding small holes.




Comments
No comments yet. Be the first to comment!
Leave a Comment