
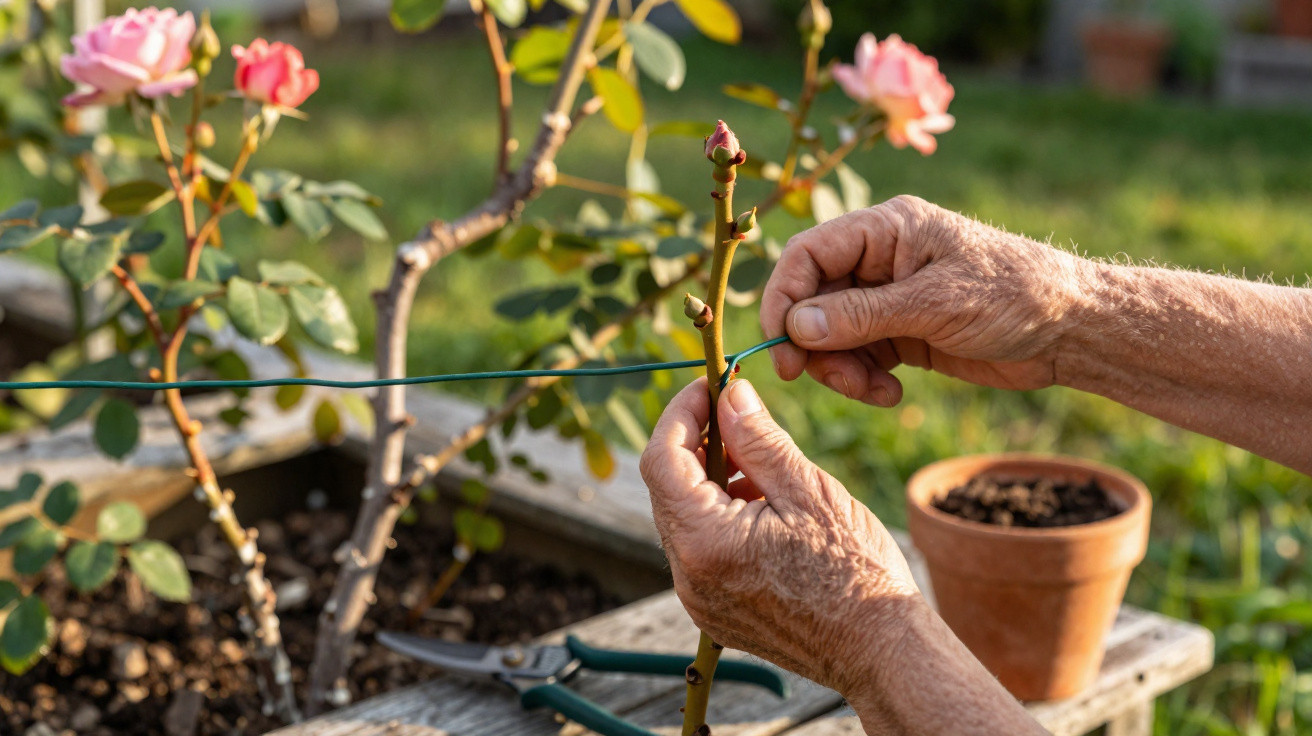
A rose bush that appears dead, with grey branches and scarcely any leaves, can still contain far more life than it first seems.
Many amateur gardeners ruthlessly cut away these old rose canes. Yet a simple piece of wire can sometimes turn a tired, half-forgotten rose branch into a vigorous shrub of its own. No costly garden equipment or professional greenhouse is required - just patience and an understanding of how roses work internally.
Why a “discarded” rose branch may still be worth saving
A grey, woody shoot can quickly look dead, but judging it by colour alone is often misleading. If the wood has not dried out completely, sap is still moving inside it. This is precisely what can be used to turn the shoot into a new rose bush.
As long as sap is still flowing inside a rose branch, it can grow into an independent flowering shrub.
Before reaching for the secateurs, inspect it carefully:
- Lightly scratch the bark with a fingernail - green tissue underneath means the shoot is alive.
- The branch should not be brittle; it may be hard, but it should still flex slightly.
- There may still be a few bud points or tiny new shoots.
These are the branches best suited to the “wire trick”, in which the plant itself is encouraged to produce roots.
What happens inside a rose cane
To understand why the wire trick works, it helps to look briefly at the structure of a rose stem. Two transport systems are particularly important:
- Xylem: carries water and minerals upwards from the roots.
- Phloem: sits just beneath the bark and moves sugars and growth hormones downwards.
These hormones are what trigger new root growth. When the flow in the phloem is restricted at one point, these substances build up above it, prompting the plant to begin forming roots.
A tightly fitted wire compresses the outer transport tissue while the internal water supply remains active - this allows a root cushion to develop at the constricted point.
The wire therefore needs to be applied so that:
- the phloem is clearly compressed;
- the xylem can still pump water upwards;
- the bark is visibly constricted but not cut through.
As a result, hormones accumulate above the wire ring. After a few weeks, a noticeable swelling develops - the start of an independent root system.
The best time for the wire trick on roses
Roses do not respond equally well to this method throughout the year. Active sap flow is essential, so that enough growth hormones can collect.
Suitable points in the gardening year
- Early spring: when sap begins to rise and the plant is preparing to produce new growth.
- Late summer to early autumn: when the rose remains active but is no longer under the strain of high summer.
Root formation tends to be most reliable during these periods. In very cold areas, spring is often the better choice, while late summer can work surprisingly well in milder locations.
Materials needed: almost everything is already in the shed
This technique requires only basic items, many of which are likely to be in the shed already:
- Soft wire (1–2 mm), with copper wire also suitable
- Flat-nose pliers and sharp, clean secateurs
- A pot or propagation container with a saucer, for the pot method
- A growing medium made from roughly half potting compost and half washed sand
- A clear cover, such as a plastic bottle or propagation dome
- A plant label or strip for noting the date
The key “ingredient” is not a specialist fertiliser, but a cleanly positioned wire ring applied at the right time.
Copper wire offers an additional advantage: it can reduce fungal problems around the small pressure wound in the bark, which is particularly useful in damp areas.
Step by step: how to constrict a rose cane with wire
1. Choosing the right shoot
A healthy cane from the previous year is ideal, with no rot or black marks. It should be about the thickness of a pencil and should grow from the old rose bush.
Choose a point around 15 centimetres from where the relevant side shoot begins. The transport tissues are well developed there, and the cane can still be bent or cut easily later on.
2. Applying and tightening the wire
- Cut a length of wire long enough to wrap around the cane twice.
- Wind it tightly around the bark at the chosen height.
- Tighten it with pliers until a distinct groove appears, without severing the cane entirely.
If you are uncertain, test how flexible the cane remains: it should still be firm rather than completely strangled. A little sensitivity helps here, and after doing it on the first rose, the technique usually becomes more instinctive.
3. Waiting for the root swelling
Over the following three to six weeks, a swelling should form at the constricted area. It is often slightly thicker and firmer than the rest of the stem. During this period, the uninterrupted water flow keeps the shoot fresh while root development begins inside.
Two routes to a new rose bush: in the ground or in a pot
Option A: Layering directly into garden soil
With this approach, the shoot remains attached to the parent plant while it produces roots at the constricted point.
- Dig a shallow trench about ten centimetres deep.
- Add a mixture of sand and potting compost.
- Bend the shoot so that the wire-ring section rests in the trench.
- Secure the cane with a wire peg so it stays in the soil.
- Cover it with soil and firm it gently.
Throughout autumn and winter, the plant works quietly below the surface. The following spring, carefully check whether a fine network of roots has formed. Once it is well established, separate the new rose bush from the parent plant with secateurs and plant it in its permanent position.
Option B: A prepared rose cutting in a pot
If ground layering is not possible, or if you prefer a more controlled start, the pot method is the alternative.
- Once the root swelling has formed, cut the shoot just below the wire-ring point.
- Prepare a section around 15 to 20 centimetres long, with the swelling at its base.
- Remove leaves from the lower end so that nothing rots in the growing medium.
- Insert the shoot to roughly two-thirds of its length into the sandy, loose compost mix.
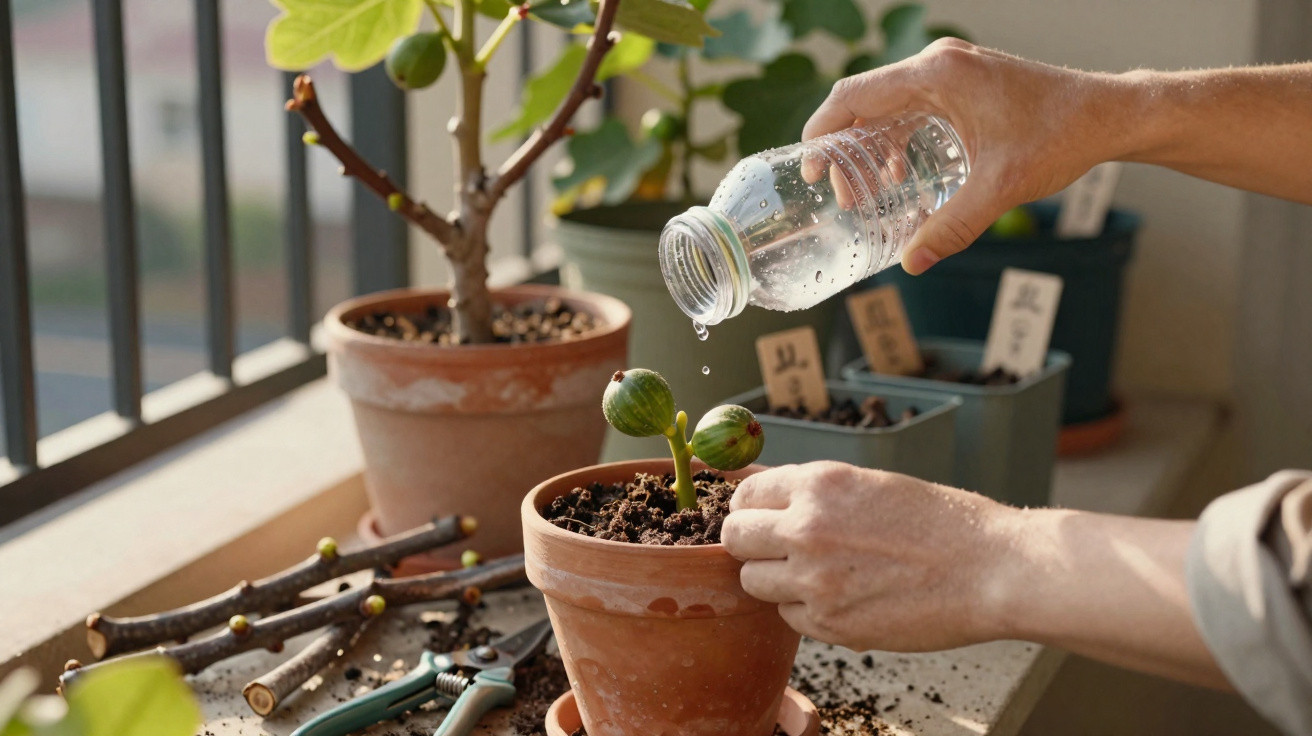
- Place the pot in partial shade and cover it with a clear dome.
Fresh shoots, or noticeable resistance when the cutting is gently tugged, indicate that the plant is beginning life independently. Remove the cover gradually, then maintain even moisture without ever allowing the compost to become waterlogged.
When to move the new rose to its permanent position
For roses layered in the ground, separation is usually possible the following spring. Move the young rose bush with its surrounding soil to a bright, airy position that is not exposed to draughts. The ground should be loosened and free-draining; heavy soil benefits from the addition of sand or fine grit.
With pot-grown plants, the root system indicates when it is time to transplant. Once the rootball is thoroughly rooted and the plant is making strong new shoots, it can be planted in the garden. Frost-free periods in spring or early autumn are ideal.
Wind and movement are harmful to newly rooted roses - a sturdy support cane during the first few months prevents breakage and helps the plant establish steadily.
Why the wire trick is especially valuable for old rose varieties
Many historic or rare roses grow on their own roots rather than being grafted onto rootstock. When these shrubs become old at the base or suffer frost and fungal damage, the visible growth can appear beyond saving. The wire method makes it possible to preserve stronger side shoots and raise them as a backup plant.
If you find a favourite rose in a relative’s garden or an old courtyard, you can also grow a plant of your own relatively easily with permission. Compared with the conventional hardwood-cutting method, the success rate is often considerably higher because the shoot continues to be supplied by the parent plant while roots are forming.
Risks, common mistakes and when secateurs are the better choice
The method is not entirely without pitfalls. Several problems occur repeatedly:
- Wire tightened too much: the shoot dries out above the wire point - start again with another branch.
- Wire tightened too little: only a weak swelling forms, with hardly any root development.
- Constant wetness: rot can develop around the wound area, especially in heavy soils.
- Strong sunlight: newly planted young roses can quickly scorch in fully sunny, dry positions.
Some shoots really are beyond saving. If the wood is brown and brittle inside, snaps easily and shows no green anywhere, the wire method is not worth the effort. In such cases, a decisive prune is the better option.
Practical additions for better results in the rose bed
Rooting powders formulated for cuttings can strengthen root development, but when a root swelling is already present, they are more of a bonus than a necessity. An airy growing medium, clean tools and a consistent water supply matter more.
If you are working on your roses anyway, the wire trick can be combined easily with a general care routine: thinning growth, removing diseased branches, applying moderate fertiliser in spring and adding a mulch layer all improve the overall condition of the bed. Both the parent plant and its offspring benefit from these measures.
With a little practice, the technique soon becomes routine: inspect old shoots, add a loop of wire, wait a few weeks - and the branch you had already written off is suddenly standing there as a young, independent rose shrub. For many gardeners, that is the moment when they inspect the “scrap branch” twice before reaching for the secateurs.
Comments
No comments yet. Be the first to comment!
Leave a Comment