
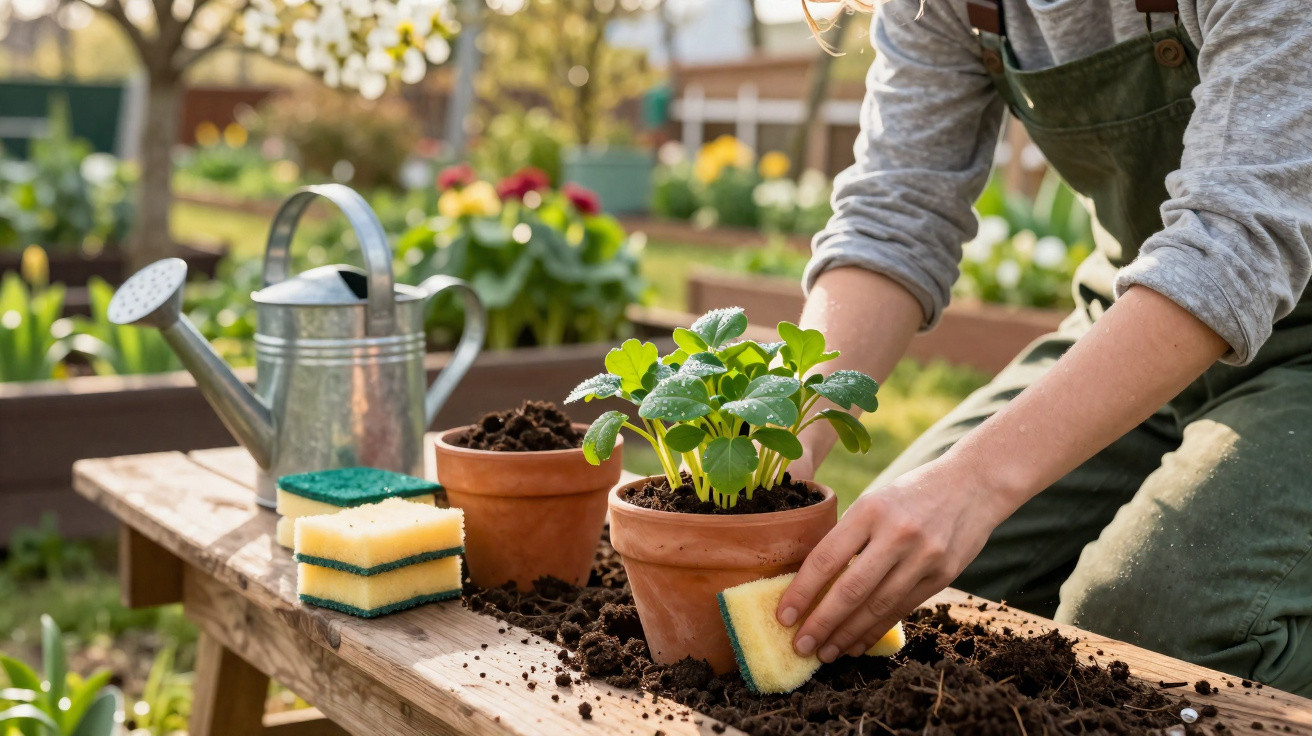
When preparing a balcony or garden for the new season, most people focus on fresh compost, fertiliser and hardy varieties. Few consider the item sitting quietly in the kitchen sink every day: a worn-out washing-up sponge. Experts now show how this small household accessory can improve outdoor watering, aerate soil and even give compost a boost.
Why a kitchen sponge can genuinely help plants in spring
In spring, plants begin growing with fine, delicate roots. Temperatures fluctuate, and watering is rarely perfectly timed. This is where a sponge offers a key advantage: its pores hold water before releasing it gradually.
Place a clean sponge at the base of a plant pot, directly above the drainage holes, and it acts as a small water reservoir. It absorbs surplus water during watering. As the compost dries out later, the sponge slowly returns moisture to the roots. This helps prevent sudden “drought stress”, especially on sunny patios or exposed balconies.
“An old washing-up sponge becomes a simple water store in a pot – particularly useful during hot spells or short breaks away.”
The following benefit especially well:
- herb pots on a windowsill, which dry out quickly
- balcony planters containing continuous-flowering plants such as petunias or geraniums
- vegetables grown in pots, including tomatoes or peppers
- young plants whose root systems are still weak
The growing medium stays evenly moist for longer. Watering mistakes have less impact, and some plants can even cope with a weekend without a neighbour coming round to water them.
Compost booster: how sponges support microorganisms
A sponge can also be useful in a compost heap, provided it is made from natural materials such as cellulose or loofah. Once chopped up and mixed in, it works much like a sponge in soil: it retains moisture in the heap while adding a little structure.
This creates better conditions for the microorganisms that break down kitchen waste and garden cuttings. They need moisture, but not soaking-wet conditions. In spring especially, when rising temperatures speed up decomposition, consistent moisture helps get the process moving.
“Natural sponges in compost act like a small safeguard against drying out and encourage active soil life.”
There is also a practical side benefit: anyone who already separates food waste carefully can prevent one more item of plastic waste entering the general rubbish, as long as they choose the right sort of sponge.
Choosing the right sponge: natural materials rather than plastic
Not every sponge from the kitchen sink belongs in the soil. This is the most important consideration behind this gardening idea. The general guidance is as follows:
| Sponge type | Suitable for the garden/compost? | Special features |
|---|---|---|
| Cellulose sponges (usually yellow and plant-based) | Yes, after cleaning | Biodegradable, with good water absorption |
| Loofah sponges (made from a gourd) | Yes, ideal | Compostable; loosens soil and compost |
| Synthetic plastic sponges | Only in pots as a water reservoir, not in compost | May release microplastics; not compostable |
Plastic sponges should not be put into compost or vegetable beds. They break down very slowly and can release tiny plastic particles and cleaning-product residues. If used in a pot, they should be removed later and disposed of with general waste.
Clean it first: making a sponge suitable for the garden
Before a washing-up sponge moves outdoors, it needs thorough treatment. In the kitchen, it collects grease, washing-up liquid residue and, above all, bacteria.
A few steps can turn it into a reasonably hygienic gardening aid:
- Rinse thoroughly: Squeeze it repeatedly under hot water until no foam remains visible.
- Boil it: Heat it for several minutes in a pan of boiling water.
- Optional vinegar soak: Leave it briefly in warm water with a little household vinegar added.
- Allow it to cool properly: Then let it cool completely and squeeze it out.
Some gardeners also put the damp sponge in a microwave for one to two minutes to reduce further germs. After that, it should remain outdoors permanently. It must not be returned to the sink.
Four clever ways to use a sponge in the spring garden
1. A water reservoir in pots and balcony planters
Placed as the first layer above the drainage material in a container, the sponge creates a buffer between the drainage holes and the growing medium. As a result, less watering water drains away unused. For larger planters, several sponges can be laid side by side or cut in half.
Anyone with lots of container plants, such as olive trees or hydrangeas, will soon notice that the watering routine becomes less demanding. The top layer of compost can dry out while moisture remains stored below.
2. A moist cushion in the compost heap
In compost, the sponge works as a “water battery”. Particularly after a dry spell, a smaller amount of water is often enough because the sponge pieces retain rainwater more effectively. Ideally, place them between kitchen scraps, grass clippings and shredded twigs.
3. A mini greenhouse for seeds
Cut a natural sponge into small squares to create a kind of propagation block. Push a seed into it, moisten it and place it in a tray: that is all that is needed. The damp environment encourages germination. Once the seedlings are a few centimetres tall, plant the sponge and seedling together in a pot or bed.
This approach is especially suitable for delicate varieties, such as basil or certain summer flowers, that appreciate reliable moisture.
4. A protective layer against cold and pests
Used as a thin covering on the soil around a plant, a sponge can insulate against light late frosts. It keeps the soil surface slightly warmer and moister. Secure it with a stone so that it does not shift in the wind.
Some amateur gardeners drip a few drops of strongly scented essential oils around the edge, such as lavender or lemongrass. These are intended to deter slugs and other unwanted visitors. Anyone trying this should test such products in one small area of the bed first, to rule out unwanted reactions in plants or pets.
Common mistakes and what to watch for
Although the idea is practical, it still requires care. Keep the following points in mind:
- Smell test: If the sponge smells musty or rotten, remove it.
- Signs of mould: White or black growth is a clear signal to stop using it.
- Breakdown: When the material starts disintegrating, put natural types in the compost and dispose of plastic ones.
- Residues: Do not use sponges heavily contaminated with grease or chemicals in an edible garden.
Extra care is worthwhile in raised beds used for vegetables. For water retention in these beds, it is best to use natural materials consistently and, where necessary, fresh unused sponges made from plant-based materials.
How the sponge trick works alongside other gardening methods
Kitchen sponges are not a miracle solution, but they can complement established water-saving methods effectively. Combined with a mulch layer of bark pieces, grass clippings or straw, they can slow evaporation even further. Rainwater collected in a water butt fills the sponges with low-limescale water while conserving tap water.
Those who already use water-efficient irrigation, such as drip hoses or watering rings around young trees, can create additional reserves at critical points with sponges. This can be particularly useful in pots placed directly beside house walls, where conditions are often hotter and drier.
The modest kitchen helper also deserves attention from a sustainability perspective. An item that is no longer hygienic enough for the sink gains a second purpose in the garden. This reduces waste while benefiting plants and soil. So, when reaching for a new sponge in spring, there is no need to automatically put the old one in the bin – its next use may already be waiting outdoors.


Comments
No comments yet. Be the first to comment!
Leave a Comment