
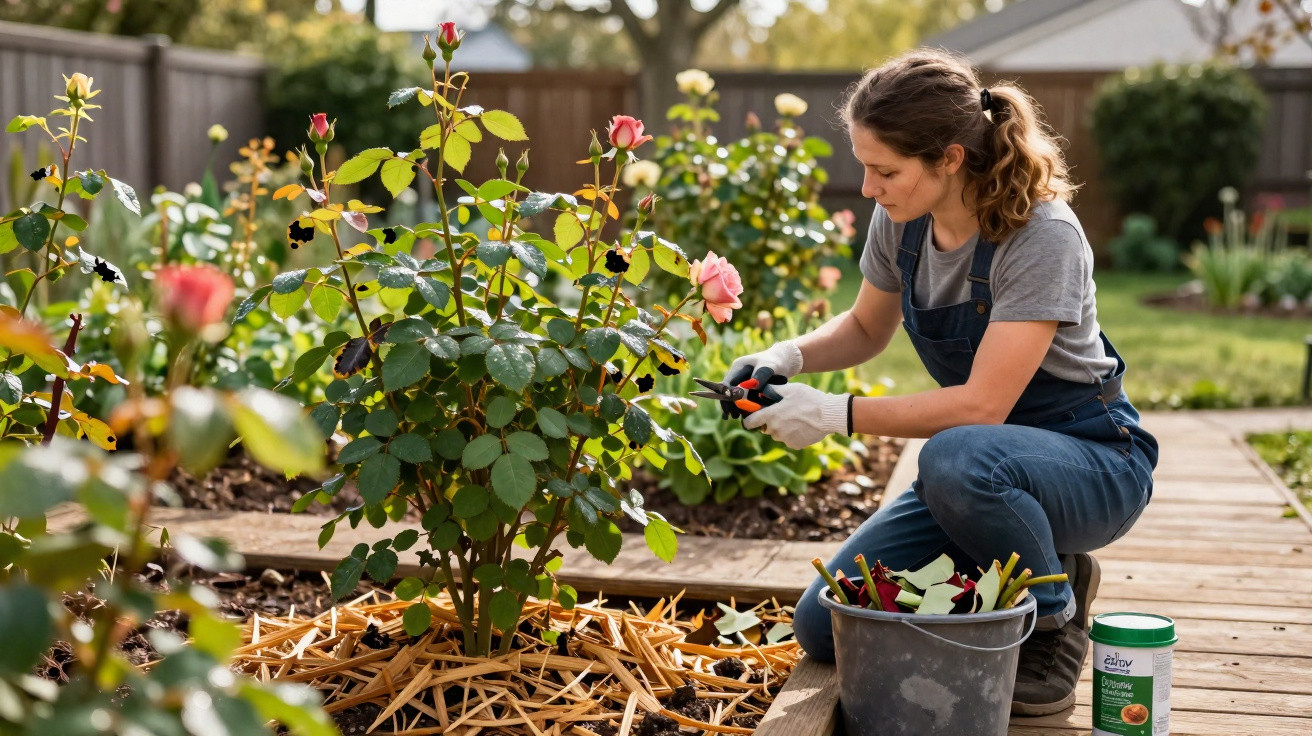
Many amateur gardeners are puzzled each year when their carefully tended roses begin to struggle right in the middle of flowering season. Their leaves turn yellow, become covered in dark spots and the shrubs look drained of strength. Yet the key time for healthy roses is not June, but the often still chilly month of March.
Black spots on roses: what really causes them
The disease known as black spot is among the most common rose diseases. Although it may appear harmless, its effects are clear: weakened plants, poor flowers and a much greater susceptibility to further diseases and pests.
It is caused by a fungus (Diplocarpon, or Marssonina rosae). Rather than surviving the winter out in the open, it shelters in dead leaves and plant debris directly beneath the shrub.
“Dead leaves are the fungus’s winter quarters – it simply waits there for warmth and moisture before attacking in spring.”
As soon as spring temperatures reach roughly 13 to 30 °C and leaves stay wet for several hours, the process accelerates. The spores germinate, enter the young foliage and spread throughout the bed via splashing water and wind. If nothing is done at this point, the consequences become visible in summer.
Why March determines whether roses stay healthy
The new growing season begins in March: roses start to shoot, daylight increases and the first mild rain showers arrive. This transitional period is exactly when the disease cycle can be broken with relatively little effort.
Three focused measures are enough to make roses considerably more resilient:
- thoroughly clear up around the base of the plants
- apply a protective layer of mulch
- feed them correctly and at the right time
These jobs take some time, but they prevent a great deal of later frustration, chemical treatment and dried-out foliage.
Step 1: thorough clearing removes the fungal source
The first and most important task is to remove everything that could provide a place for the fungus to overwinter. In practical terms, that means leaving no leaf or small twig beneath the shrub.
How to clear up properly
- In March, collect every old leaf from around the rose bush – genuinely every one.
- Reach into the centre of the shrub as well, removing any debris caught there.
- Prune back dried, thin or clearly diseased shoots.
- Ensure air will be able to circulate freely through the plant later on.
Important: this material should not go on the compost heap. The fungus can survive there and return to the garden the following year. Use the garden waste bin, household waste or a green-waste collection site where composting takes place at very high temperatures instead.
“Anyone who removes every leaf from the ground in March takes away the fungus’s foundation. Without a source of infection, many roses stay clean all summer.”
Step 2: mulching – a protective barrier against spores and drought stress
Once the soil is clear, the next element is a mulch layer around the rose bush. It provides three benefits at once.
Which mulch is suitable for roses
The following materials work particularly well:
- mature, well-rotted compost
- fine bark chips or bark mulch
- garden soil mixed with compost
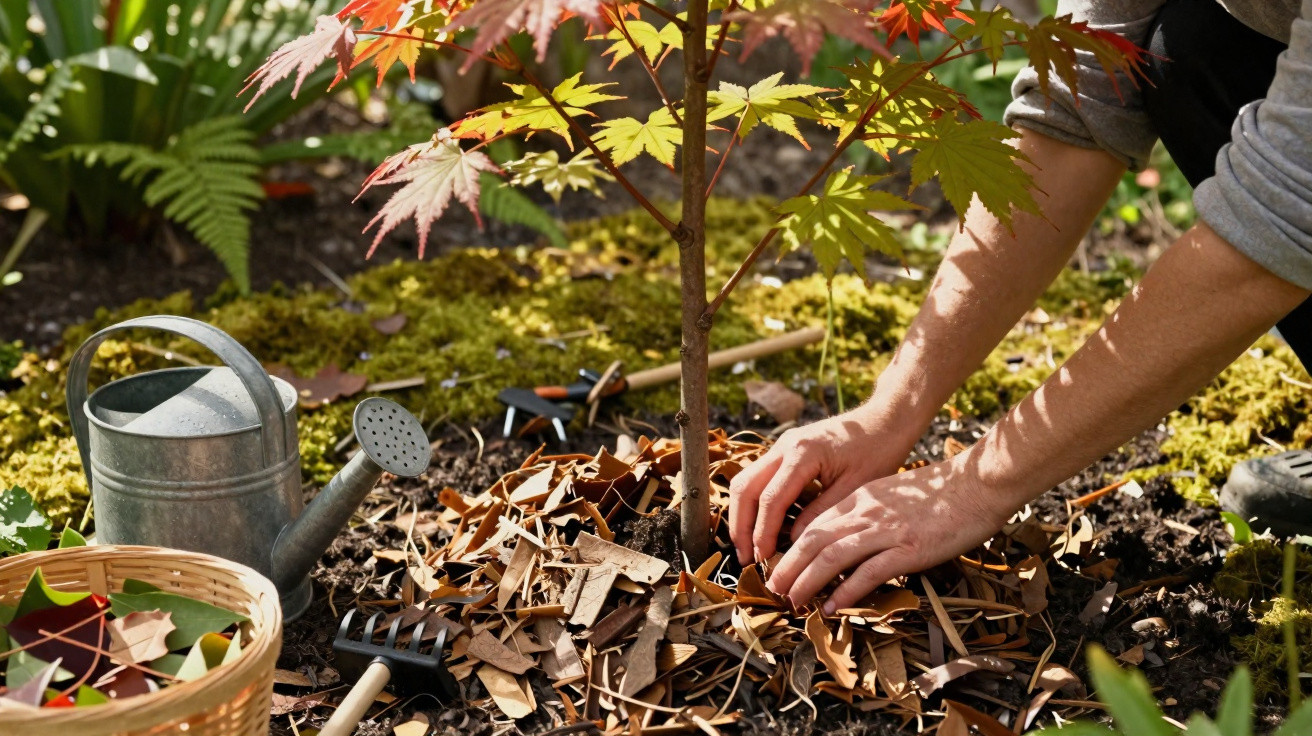
Spread a layer around 3 to 5 centimetres deep around the shrub, without covering the stem itself. The mulch covers any remaining tiny spores on the soil surface and cushions raindrops that would otherwise splash fungal spores upwards.
Mulch also offers further benefits:
- It keeps the soil moist for longer, reducing watering pressure in summer.
- It suppresses much of the weed growth.
- Compost slowly releases nutrients that roses can use well.
“Mulch works like an umbrella for the soil: spores stay below, while nutrients and moisture remain above with the rose.”
Step 3: feed roses properly at the end of March
Fungal disease affects unhealthy roses more severely than vigorous shrubs. Well-nourished plants have a genuine opportunity to defend themselves, which is why a targeted feed towards the end of March should be a regular part of the rose calendar.
The right fertiliser for strong roses
Suitable options include:
- specialist rose fertilisers from garden centres, whether organic or organic-mineral
- mature compost supplemented with horn shavings
- liquid plant-strengthening treatments made from nettles, seaweed or other natural materials
Fast-acting mineral fertilisers may provide a short-term boost, but can easily put pressure on the soil. Many amateur gardeners get good results from combining compost with an organic rose fertiliser. Dilute liquid tonics with water and apply them directly to the root area – a few millilitres per litre of water are usually sufficient.
“As with people, the stronger a rose’s immune system, the lower the chance of diseases such as black spot.”
How the disease develops over the year
Those who overlook the three March tasks often do not notice the disease until early summer. Common signs include:
- round, dark brown to black spots on the leaves
- yellow discolouration around the spots
- early leaf drop, often as soon as June or July
- weaker shoots, fewer buds and smaller flowers
The disease rarely kills a rose outright. However, it drains the plant’s energy over many months, reduces flowering and makes it more vulnerable to drought and other fungal diseases. Heavily affected plants recover only slowly even in the following year, because the fungus is then already waiting again in the fallen leaves.
Further practical tips for black spots on roses
Choose the site and care routine wisely
A few habits can significantly reduce infection:
- Plant roses in an airy position where possible, rather than directly beside dense walls or in tight corners.
- Water in the morning where possible and apply water directly to the roots, not over the foliage.
- Avoid persistent waterlogging, but never allow the soil to dry out completely.
- Where possible, choose tougher varieties labelled as disease-resistant.
If affected shrubs are already growing in the garden, fallen leaves should also be collected promptly during summer. This reduces the number of spores present by the following spring.
What many people mistake: aphids are not the main problem
When roses become unattractive in summer, many gardeners initially blame aphids, caterpillars or “bad weather”. In reality, pests often settle on plants that are already weakened. However, the underlying reason for the overall decline is frequently the fungus in the soil – and its progress can be reliably slowed with the three March steps.
Why the March routine pays off in the long term
Gardeners who repeat these tasks every year notice a distinct difference: roses produce stronger new growth, retain their leaves for longer and form more buds. The need for harsh fungicides becomes unnecessary or remains the exception.
The benefit is especially noticeable in wet summers. Shrubs usually cope far better with damp periods where clearing, mulching and feeding were completed in spring. Beds where old leaves were left in place often show their first major leaf losses as early as June.
Anyone planning new roses can incorporate the March steps from the outset: select a site with air movement, loosen the soil deeply before planting, mulch regularly afterwards and fertilise annually. This creates beds that not only look wonderful in a catalogue, but also remain robust through a real gardening year.



Comments
No comments yet. Be the first to comment!
Leave a Comment