
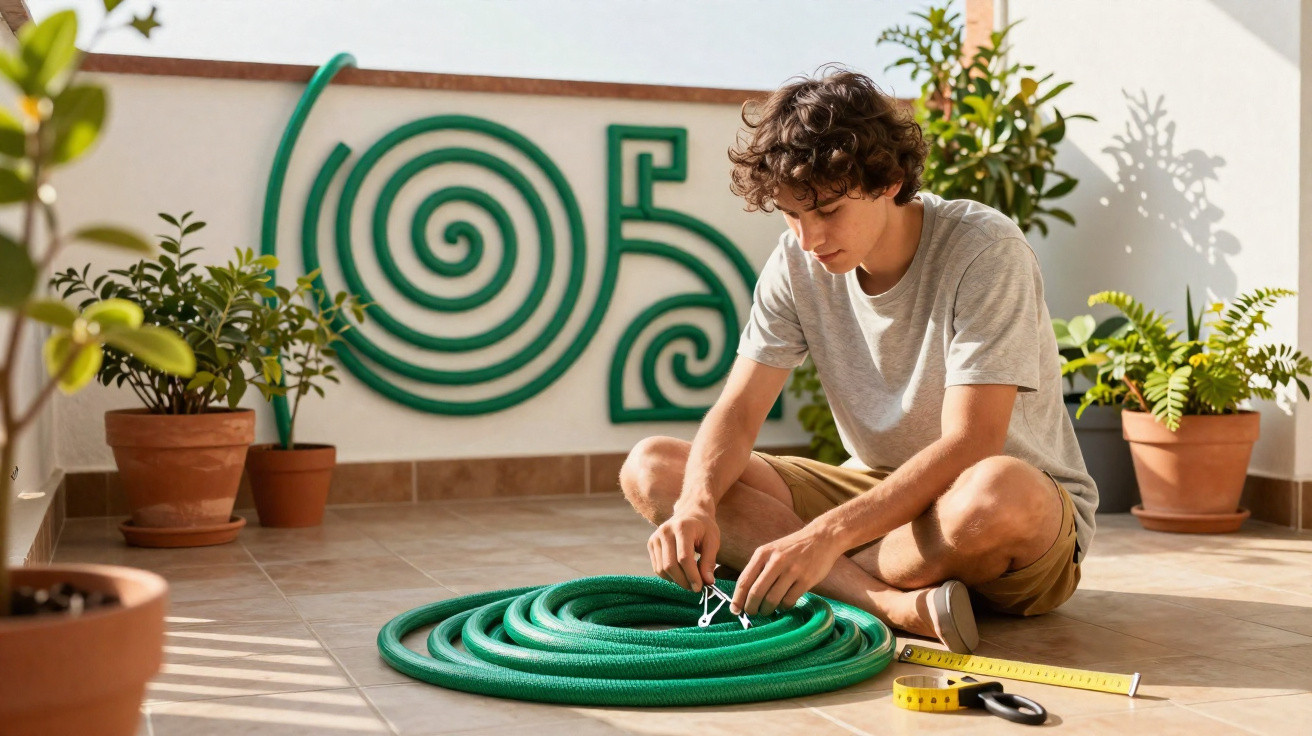
That punctured or cracked hose sitting in the garden, waiting for the day it goes in the bin, could have a far more interesting future. The rubber or PVC it is made from takes decades to break down in the environment, and that very durability makes it ideal for creative upcycling projects. With a little patience, nylon cable ties and strong adhesive, an old hose can become practical and decorative items that stand out for their finish and durability.
Why a hose is a better craft material than it first appears
A damaged hose has qualities that many craft materials lack: it is waterproof, resistant to sunlight, dirt and being walked on, lightweight, flexible enough to shape into a range of forms, yet sturdy enough to hold its structure without an internal frame. In the garden, these properties are useful for carrying water; in recycling projects, they become genuine advantages, allowing the finished piece to last far longer than a mat or wall panel made from conventional materials.
Hose projects do not require advanced technical abilities or specialist tools either. Even someone with no crafting experience can follow the steps carefully and produce something no home décor shop could mass-produce. Every item made from a hose is genuinely one of a kind, since variations in both the material and the process make every result different from the last.
- Outdoor mat: Coiled around itself and secured with nylon cable ties, the hose becomes a mat that withstands water, dirt and heavy foot traffic on balconies and patios.
- Decorative wall mural: Painted and glued segments arranged into geometric patterns or organic forms create three-dimensional panels with distinctive texture and depth.
- Virtually no cost: The only supplies to buy are nylon cable ties and strong adhesive - everything else comes from the discarded hose itself.
- Reduced environmental impact: Rubber and PVC take decades to decompose, so reusing them before final disposal is a practical choice for more conscious consumption.
- Far more durable than ordinary crafts: The same material that withstands sun and water in the garden retains those qualities when turned into a decorative piece.
How to make a hose mat for a balcony or outdoor area
The mat is the easier of the two projects and the best starting point for anyone who has never worked with this material. Remove the metal fittings from both ends of the hose, then bend over one end to begin the coil. Wind the hose around itself to make a circular or oval base, securing each turn with nylon cable ties so the structure does not come apart in use. Tighten every tie firmly before trimming off the excess plastic end.
If you want a mat larger than one hose allows, join several sections by fitting their ends over a piece of wood or a thin PVC pipe, which acts as a connector between the lengths. Finish by applying strong adhesive to the seams and joints for added stability and to prevent the mat from opening up over time. Once complete, the mat can be washed with a jet of water whenever necessary, with no risk of deterioration.
How to turn a hose into a decorative wall mural
For a mural, cut the hose into sections according to the size required for each part of the chosen design. Geometric shapes, abstract faces and nature-inspired elements work particularly well, as they suit the material’s natural curves. Before applying any adhesive, sketch the design on the wall in pencil to create a clear visual guide and avoid placement errors that would mean removing and repositioning the segments.
Complete step-by-step guide to a decorative hose mural
Five stages, from sketch to final finish
Choose a design that works well with continuous lines - geometric forms, abstract faces and natural elements adapt more easily to the hose’s curves than very tight angles. Draw the design on the wall in pencil before you begin, giving yourself a clear guide and preventing positioning mistakes. Cut the hose into segments to suit the dimensions of each part of the design.
Paint the pieces in neutral shades such as terracotta, sage green or beige to blend the mural into the room, or opt for vivid colours if you want it to become a striking focal point on the wall. Glue the segments in place with strong adhesive, following the sketched lines and pressing them firmly until completely dry. Add finishing touches such as patches of colour in the background or circular shapes around the design to create visual depth and give the piece more character.
The hose’s three-dimensional texture is what makes this mural visually unlike any painted or printed panel. The depth created as the segments cast shadows on the wall changes with the room’s lighting throughout the day, bringing the piece to life in a way flat materials simply cannot reproduce.
How to get started if you have never made a craft project
Anyone with no experience of creative recycling projects should begin with the mat, as it is the simpler option and does not demand any particular manual skill. Start with a short hose to make a small mat, try out the coiling technique with nylon cable ties, and adapt it as you see how it turns out. With a hose, you can always undo a coil and start again without wasting material, making the learning process far less frustrating than with materials that cannot be corrected.
Upcycled crafting is not merely a home décor trend. It is a conscious choice that cuts waste, encourages creativity and changes your home in a way no purchase can replicate. Seen in the right light, a broken hose is raw material. Share this with anyone who has an old hose in the garden and would like to know what they can make with it before throwing it away.
Comments
No comments yet. Be the first to comment!
Leave a Comment