
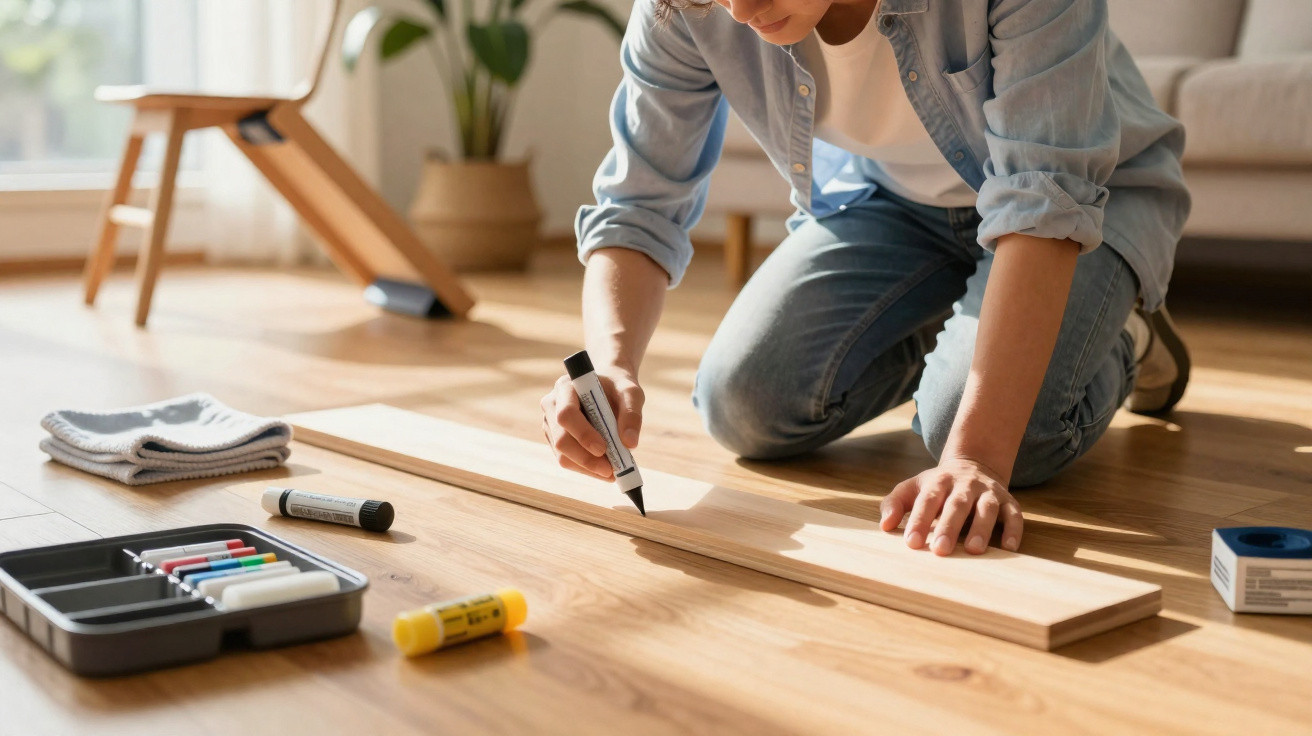
A scratched floor does not always require replacement boards or renovation work. In most situations, the key is to establish whether the scratch has affected only the finish, marked the decorative layer, or become a deep groove requiring filler, repair wax or a localised replacement.
How can you tell whether a scratch is shallow or deep?
Start by running your fingertip over the mark. If your nail does not catch, the damage is usually limited to the sheen or the floor’s outermost layer; if it catches, material has already been removed and the scratch will need filling.
Check the colour as well. Whitish marks on porcelain tiles, laminate or vinyl flooring are typically caused by friction. Dark scratches on wood, laminate or wood-effect flooring, however, suggest that the protective coating has worn away and the inner layer is exposed.
Which method should you use for each flooring type?
Before using any product, clean the affected spot with a microfibre cloth and diluted mild detergent. Dust, sand and grease can prevent wax, filler or a repair marker from adhering properly.
- Laminate flooring: use a marker, wax or repair kit in the closest possible colour.
- Vinyl flooring: apply a dedicated repair wax, and avoid sandpaper or abrasive products.
- Varnished wood: use touch-up wax for light scratches and wood filler for deeper marks.
- Polished porcelain tiles: try a specialist polish on a small area before applying it more widely.
- Glazed ceramic tiles: conceal light scratches with a neutral cleaner, and do not use wire wool.
How do you repair a scratched floor without making the mark worse?
Repairs should be limited to a small, targeted area. On a scratched floor, using too much product can create a shiny patch, leave residue around the edges and draw more attention than the original scratch.
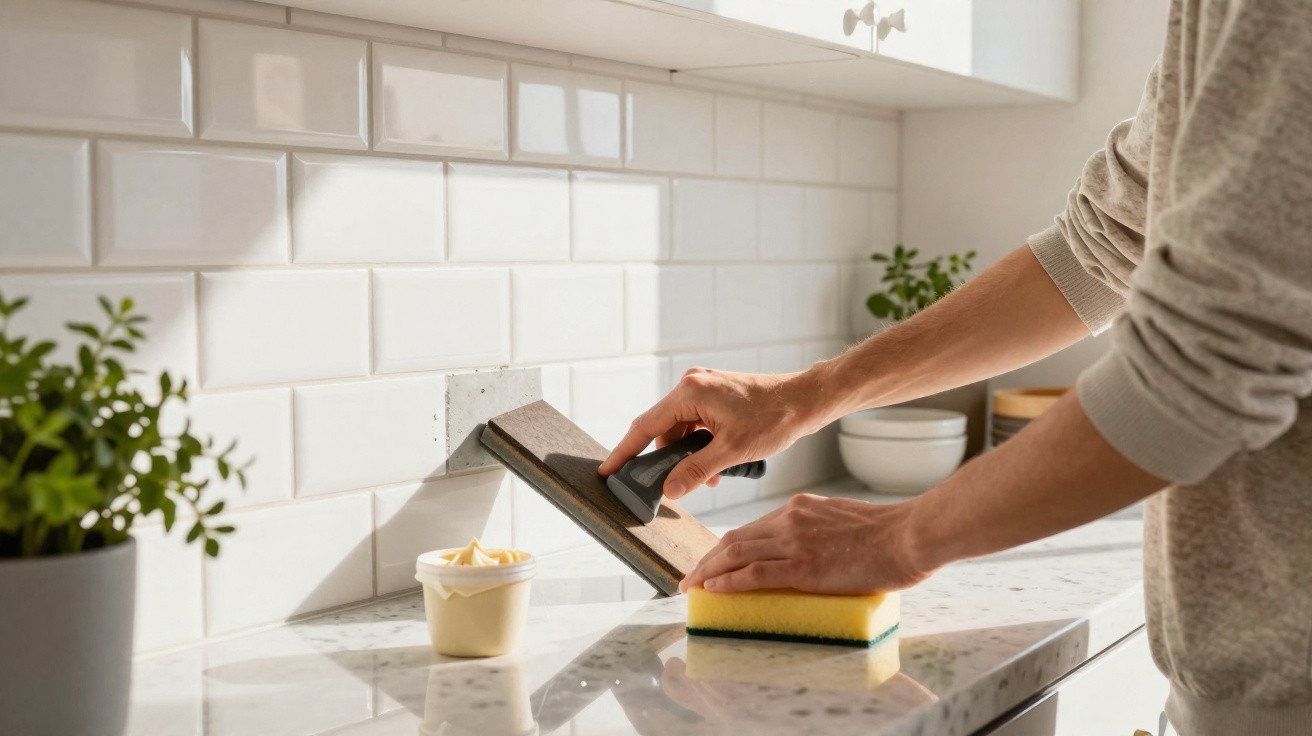
For laminate, vinyl and wood, use a small amount of wax or filler to fill the scratch, remove any surplus with a plastic scraper, then buff with a soft cloth. With porcelain and ceramic tiles, do not try to “sand it level”, as this may strip the glaze or leave a permanently dull patch.
Which mistakes cause continued floor damage?
Most fresh scratches result from repeated friction. Dragged chairs, grains of sand, hard castors, heavy furniture and shoes with small stones trapped in their soles all act like sandpaper against the surface.
- Dragging a sofa, table or TV unit without protecting its feet.
- Using a stiff broom on glossy or delicate floors.
- Applying abrasive products in an attempt to remove light marks.
- Allowing sand to build up near doorways and in corridors.
- Using office chairs with castors without a protective mat.
- Applying ordinary wax to flooring that is not designed for that type of finish.
Daily protection is more valuable than repairing damage afterwards
Once the scratched floor has been restored, fit felt pads to furniture feet, place doormats at entrances and remove dust regularly. Fine sand, soil and small debris are the main causes of repeated scratching in hallways, living rooms and kitchens.
Flooring lasts longer when its maintenance suits the material. Laminate and vinyl need very little water; wood requires a product compatible with its varnish or oil; porcelain and ceramic tiles can be damp-cleaned, but must not be subjected to abrasion. With gentle cleaning, protected furniture and localised repairs, scratches stop worsening and the finish stays even for longer.


Comments
No comments yet. Be the first to comment!
Leave a Comment