
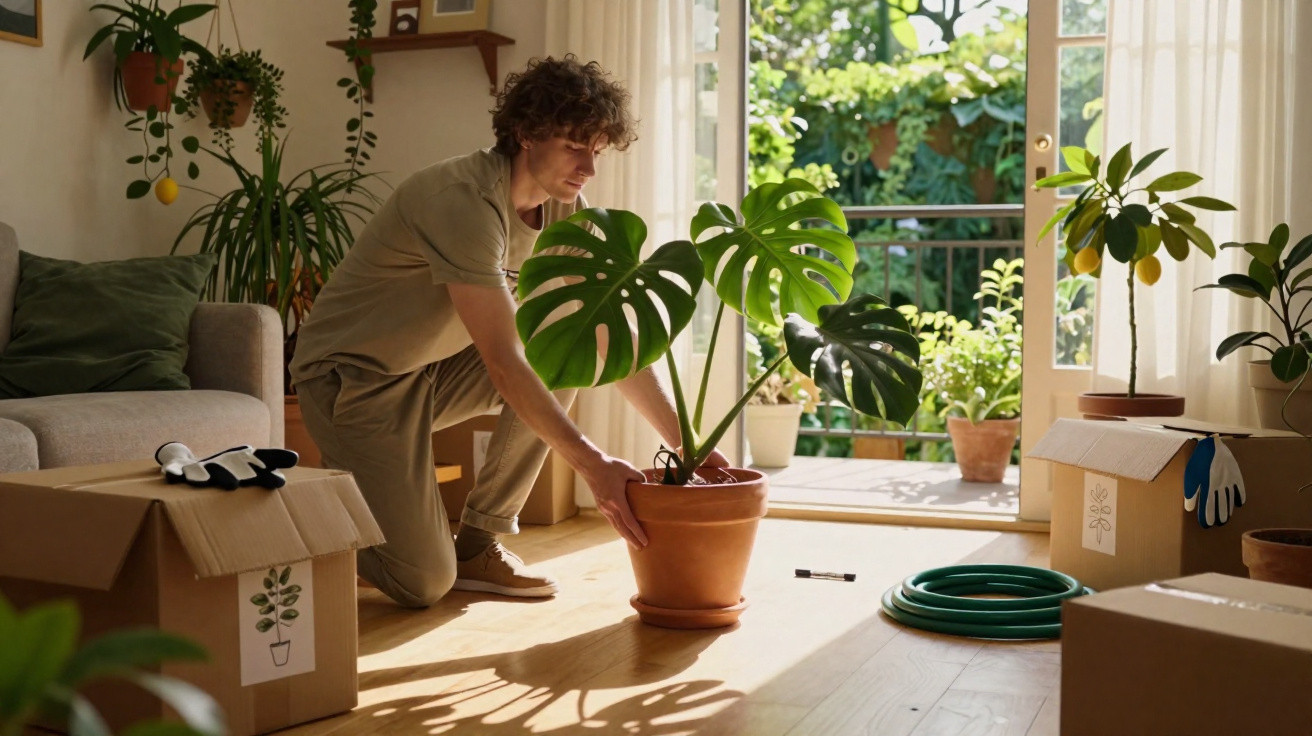
For many tenants, it can feel like a wrench – but it does not have to be.
Anyone living in rented accommodation knows the dilemma: time, money and emotion go into flowerbeds, containers and herbs, yet almost everything has to be left behind when it is time to move. An outdoor area can, however, be designed to travel with you. A “mobile garden” makes this possible and works on a balcony, patio or rented back garden.
Mobile garden: how tenants can take their greenery with them
The central principle is simple: do not permanently fix anything into the ground or screw it to walls. A mobile garden uses pots, planters, raised beds and free-standing structures that can be set up, then taken away again. This prevents damage to walls and lawns – an advantage when moving out and when dealing with the landlord.
Before getting started, it is worth checking a few basic points:
- Read the tenancy agreement: are there rules for the balcony, façade or communal garden?
- Check the load capacity: how much weight can the balcony support?
- Take photographs: document the original condition of the patio and garden.
Planning comes next. Lightweight, stackable containers, larger pots on castors and self-supporting climbing frames are particularly useful. Reusing existing crates, buckets or wine boxes saves money while still creating a coordinated overall look.
“A mobile garden is like a living room made of plants: it simply moves home with you.”
Five portable planting ideas that survive every move
Rather than placing pots around at random, a considered approach is more effective. These five ideas can be recreated straight away, whether you have a tiny balcony or rent a ground-floor flat with access to a strip of garden.
1. A movable pot border along a fence or patio
This classic option has the appearance of a planted border while remaining entirely portable. Position pots closely together along a fence, house wall or patio edge, either on a layer of gravel or directly on paving slabs.
- Place large containers at the back: grasses, lavender and a small olive tree.
- Put medium-sized pots in the middle: sage, hardy perennial geraniums and miniature roses.
- Set small containers at the front: trailing plants such as verbena, ivy and dichondra.
Low plant trolleys beneath heavy containers are especially practical. They allow the pots at the back to be moved without heavy lifting, or rolled straight into the removal van.
2. Green privacy screening with a free-standing trellis
Many property managers do not allow wall plugs in the façade. A free-standing trellis provides a solution. It can rest against the wall while being supported by its own weighted planters.
Suitable items include:
- A trellis with supporting feet or a wooden frame.
- Two long planters that secure the trellis at the base.
- Fast-growing climbers such as nasturtiums, sweet peas and morning glory.
The planters themselves can also hold strawberries or low-growing herbs. At the end of the season, simply dismantle the trellis; the planted containers remain intact and can be loaded into the van as they are.
3. Herb ladder: an aromatic garden in the smallest space
Those with only a narrow balcony can make use of vertical space. A simple wooden ladder or ready-made plant shelf can hold a collection of small pots.
A practical planting arrangement:
- Top: sun-loving plants such as basil, thyme and rosemary.
- Middle: chives and flat-leaf or curly parsley.
- Bottom: mint, preferably kept separate as it spreads vigorously, and cut-and-come-again salads.
Lean the ladder against the wall, using a piece of fleece or a mat to protect the floor from water. When moving, remove the pots, carry the ladder to the car like a piece of furniture and return the herbs to their places at the new home.
4. Small PVC greenhouses that can travel easily
Anyone who enjoys raising young plants and trying out new ideas can choose a lightweight PVC slot-together greenhouse. It stands on a patio or lawn and creates a favourable microclimate for sensitive plants.
Typical occupants include:
- Young tomato, chilli pepper and sweet pepper plants.
- Pre-sown summer flowers.
- Delicate herbs and cuttings.
The frame can usually be dismantled without tools, while the cover folds away. If the little greenhouse is transported assembled, add a few tent pegs or weights so that the wind cannot catch it.
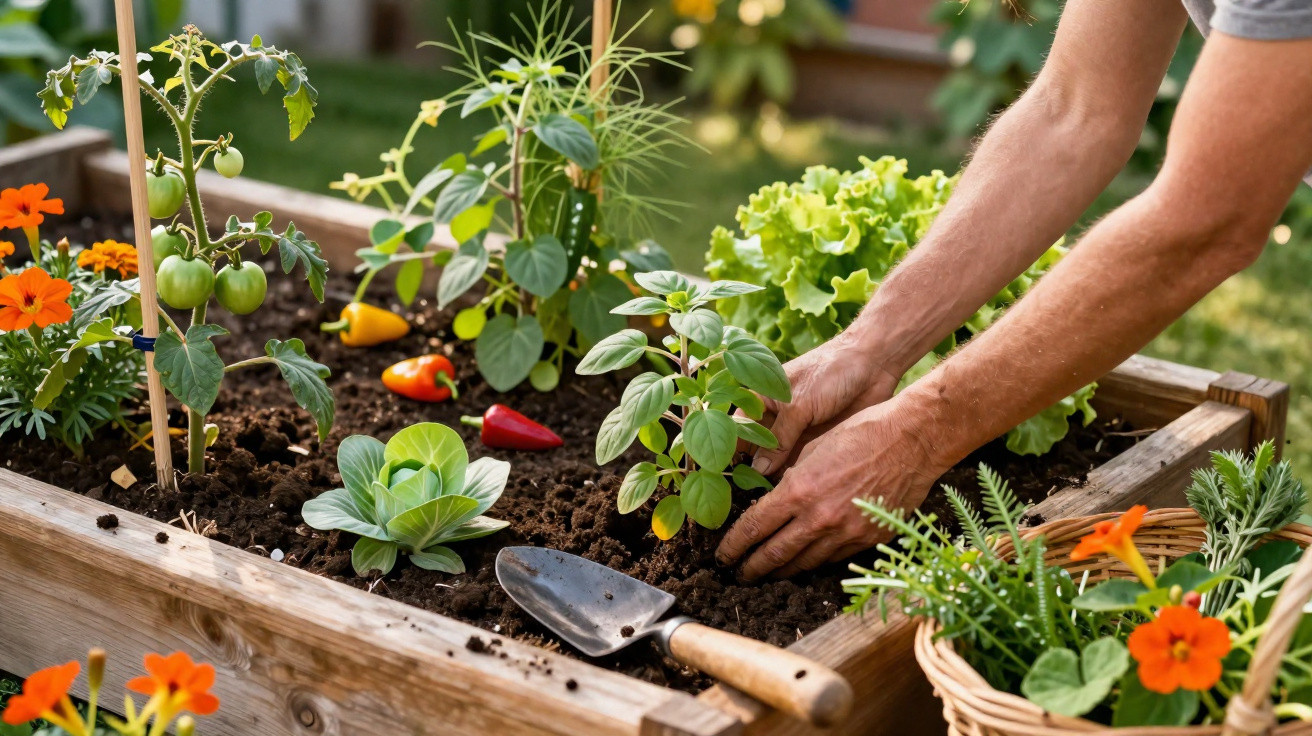
5. A lightweight raised bed that can change location
A mobile raised bed looks like a permanent bed but remains adaptable. A lightweight timber or plastic construction placed on a pallet or sturdy castors is ideal.
A typical layout has four zones:
- Corner 1: classic culinary herbs.
- Corner 2: leafy salads and radishes.
- Corner 3: bush tomatoes with some basil.
- Corner 4: flowering plants that attract insects.
To reduce the weight for transport, transfer some of the compost into bags. If the bed remains fully filled, a robust sack truck will at least help when repositioning it.
Design: a coordinated look appears more professional and makes packing easier
Appearance and organisation work together. Choosing a repeating scheme from the outset keeps the work manageable and gives the space a calm, cohesive feel.
- Choose two main materials, such as terracotta and light-coloured wood.
- Set a colour scheme: for example, use only white, blue and purple flowers.
- Label large containers so they can be found quickly in the removal van.
Wheeled saucers, handles screwed onto wooden crates and lightweight plastic drip trays add the final touch of convenience to a mobile garden.
Everyday care: the same jobs, with different priorities
A mobile garden needs broadly the same day-to-day attention as a traditional garden: regular watering, loose compost, a little compost and checks for pests.
One factor is markedly different: weight. Ordinary garden soil is very heavy. A mix of potting compost, compost and lightweight additions such as expanded clay or perlite is a sensible choice. This makes containers easier to carry later, although they will need an extra one or two watering cans of water in summer.
“Anyone who saves on growing medium carries twice the load during a move – the mix makes the difference.”
A consistent watering routine helps: water in the morning or evening, less often but thoroughly, rather than constantly adding a few drops. Drip trays catch excess water and prevent marks on the floor.
A stress-free move with plants: how moving day works
Once a move is planned, preparations should begin a few weeks in advance. Avoid any major repotting at this stage, as newly established roots are sensitive.
Recommended steps:
- Put larger plants into sturdy containers if they are unstable.
- Group pots together by size.
- Tie delicate shoots together loosely with string.
- Keep cardboard boxes or crates ready to hold several small pots.
Give plants only a moderate amount of water the day before moving. This keeps the root ball stable without causing everything to drip. In the removal van, place containers tightly together so that nothing topples over. At the new home, choose a shaded spot first, allowing plants to adjust to the climate and light.
What tenants should also know: rights, risks and opportunities
From a legal perspective, mobile gardens are straightforward as long as no permanent alterations are made: no raised bed fixed in concrete and no screws in the façade or communal property. Anyone unsure should ask their landlord, especially when using areas in the courtyard or in front of the building.
The risks are usually minor: overloaded balconies, dripping pots affecting a neighbour’s balcony, or disputes over the height of privacy screens. Checking the house rules and structural load information can prevent problems.
The major benefit is that a well-planned mobile garden grows with you. The initial balcony set-up may become two rows along a house wall at the next home, then eventually a full raised-bed system in the garden of a rented terraced house. The plants travel with you, as does the experience – and that makes saying goodbye to the old home far less painful.



Comments
No comments yet. Be the first to comment!
Leave a Comment