
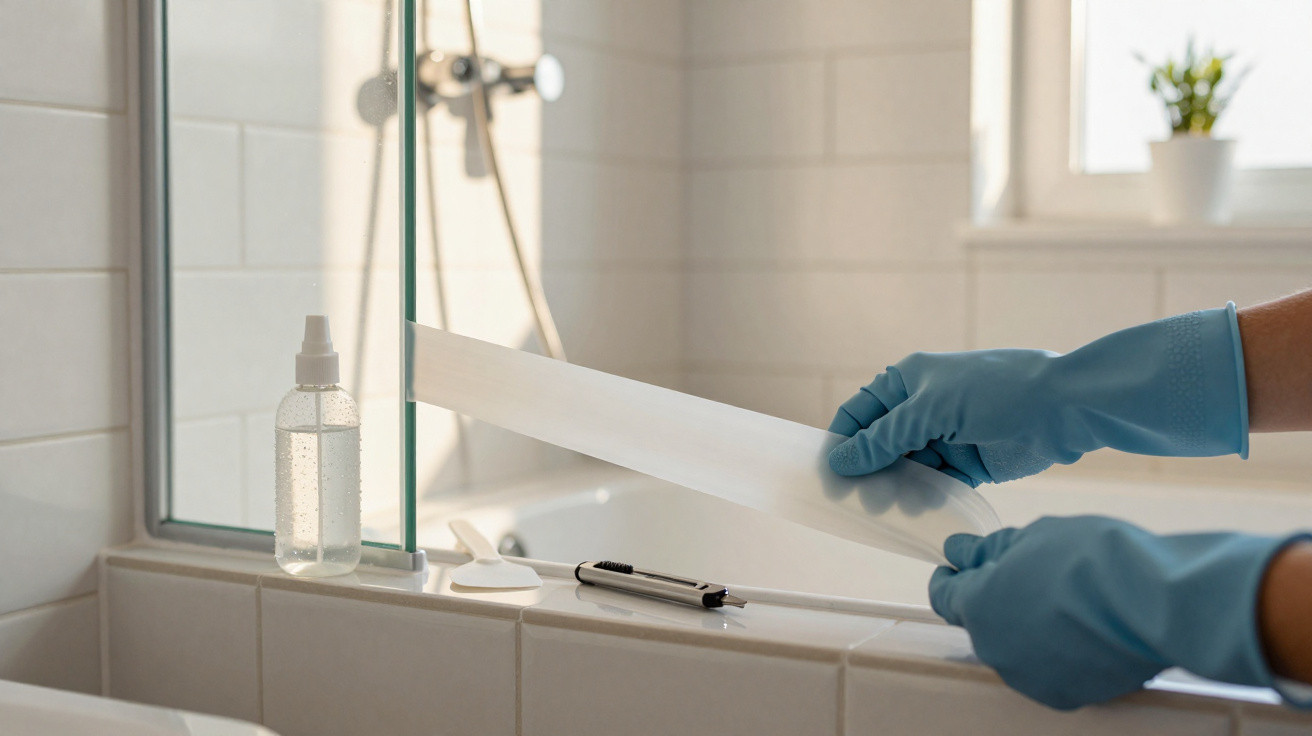
Over time, shower enclosure silicone can lose its grip, discolour and collect mould, leaving it looking permanently dirty even after cleaning. Many people try to pull it away using rigid blades, knives or wire wool, but this often scratches the glass and damages the aluminium finish. Removing old silicone properly requires patience, suitable tools and a few straightforward precautions to prevent damage to the shower enclosure and prepare the area for a longer-lasting seal.
How does shower enclosure silicone work, and why is it difficult to remove?
If you plan to replace the sealant yourself, it is worth understanding how silicone behaves and why it cannot be fully removed simply by pulling it off by hand. It bonds to both the glass and the metal profile, creating a flexible form of “adhesion” that withstands moisture and temperature changes.
The safest technique is not based on brute force. Instead, it involves weakening this bond and using tools that will not scratch the surface. This method gives you greater control when removing old sealant and lowers the risk of cracks, chips and irreversible damage to the shower enclosure’s toughened glass.
What is the safest way to remove silicone without scratching the glass?
The most suitable approach combines softening the old sealant, careful cutting and a final clean with appropriate solvents. Since bathrooms are humid spaces exposed to toiletries, it is essential to consider both the product used and its contact time to avoid staining the glass or aluminium.
Before you begin, protect vulnerable areas to minimise accidents. A common tip is to apply masking tape along the edges of the glass and aluminium profiles. This creates a kind of “shield” against tools slipping and helps keep the work confined to the silicone strip.
Which tools and products help remove old silicone safely?
To make the task safer and more effective, it is useful to assemble a small kit of basic items. Using the right tools reduces the likelihood of scratching the glass or denting the shower enclosure’s metal trim, while also making it easier to clear away aged silicone residue, including from awkward corners.
- Plastic or nylon scraper: suitable for loosening silicone without damaging the glass.
- Glass scraper with a dedicated blade: use at a low angle, with a new blade and a lightly dampened surface.
- Silicone cutter or slim craft knife: helps separate the sealant from the sides before pulling it away.
- Chemical silicone remover: softens the material and makes scraping easier; follow the label instructions.
- Isopropyl alcohol or mild washing-up liquid: used for the final clean to remove remaining residue.
How do you remove silicone step by step and prepare the shower enclosure for new silicone?
Removal follows a straightforward order: clean and dry the area, cut along the sides of the sealant, pull away the larger strips, then treat more stubborn sections with remover or gentle heat. Next, scrape off any residue with a plastic scraper and complete the clean using a cloth with alcohol or diluted mild washing-up liquid.
Once every trace of old silicone has been removed, the shower enclosure must be completely dry before the new application, which may mean leaving it unused for several hours. Marking out the line with masking tape, applying the new silicone in one continuous bead, and smoothing it with a scraper or a protected finger produces a more even finish, reduces the chance of leaks and makes mould less likely to return quickly along the edges.




Comments
No comments yet. Be the first to comment!
Leave a Comment