
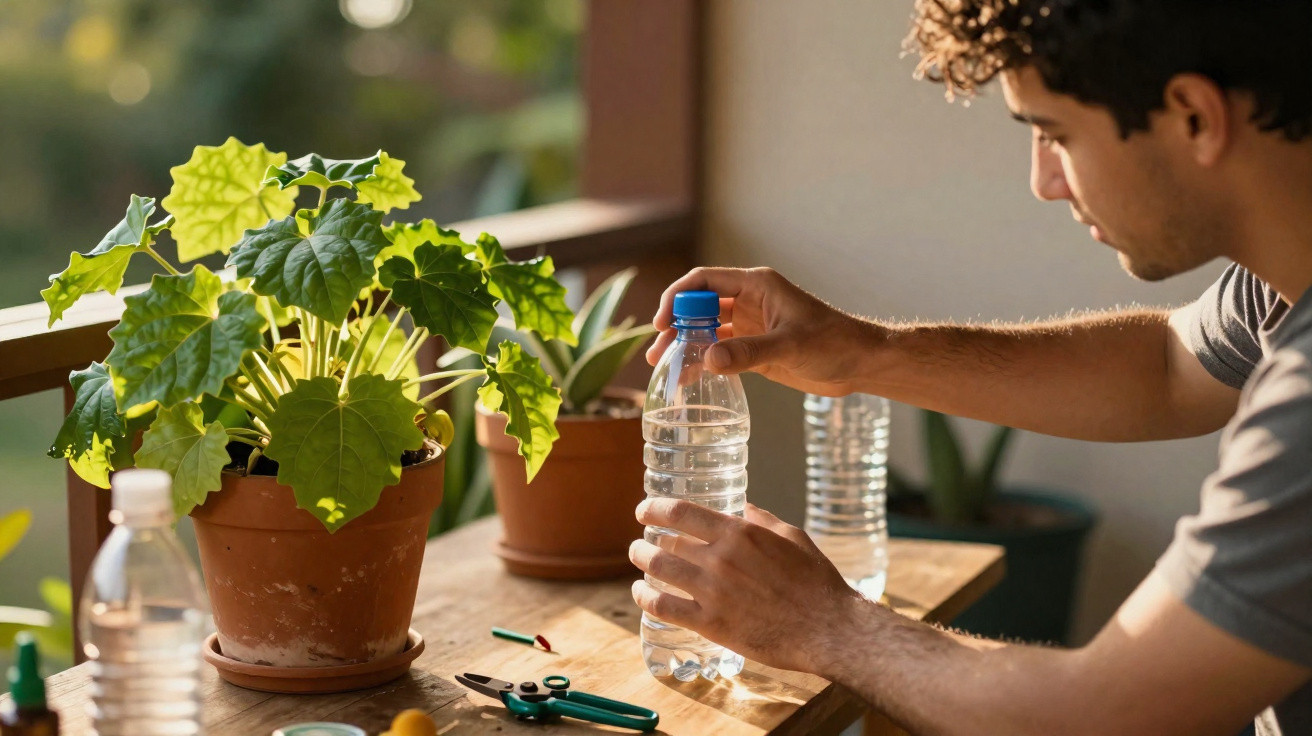
With a simple bottle trick, your plants can stay remarkably healthy even without daily watering.
Many amateur gardeners know the situation: a packed schedule, a heatwave or a holiday trip, and suddenly once-lush houseplants or balcony plants look miserable. Rather than buying complicated watering systems from a DIY shop, an ordinary plastic bottle can often be turned into a miniature drip system. One detail is crucial, yet many people overlook it – and that mistake determines whether your plants are saved or continue to dry out.
How the bottle trick really works
The method is remarkably straightforward: fill a plastic bottle with water and push it upside down into the soil. Make small holes in the cap, allowing the water to escape slowly. Gravity and the soil's suction effect ensure that the plant receives water precisely when it needs it.
The principle is rather like rain in slow motion: the soil absorbs only as much moisture as it can actually retain. As the root area dries out, more water flows in. When the growing medium is sufficiently moist, the flow almost slows down by itself.
“When adjusted correctly, the upside-down bottle replaces daily watering – without waterlogging and without thirsty plants.”
Compared with using a watering can, this brings several benefits:
- Water reaches the roots directly rather than landing on the leaves.
- Evaporation losses are low, particularly on a balcony or patio.
- The soil stays evenly moist instead of alternating between soaking wet and bone dry.
- Plants experience far less stress from major fluctuations.
- There is no need to check every day whether watering is required.
Step by step: make your own bottle irrigation system
You do not need any specialist equipment to get started. An empty water or fizzy-drink bottle is entirely sufficient.
Materials needed
- 1 plastic bottle holding 0.5–2 litres
- a thin nail, barbecue skewer or pointed screwdriver
- water, ideally at room temperature
- optionally, a knife if you want to cut off the base of the bottle
Assemble it in minutes
- Unscrew the cap and pierce or drill 2–6 small holes in it.
- Fill the bottle with water and screw the cap back on tightly.
- Use a finger or stick to make a hole in the soil, slightly to one side of the plant.
- Insert the bottle upside down several centimetres into the prepared hole.
- Firm the soil around its edge so that everything sits securely.
For large containers, one extra step is worthwhile: cut off the bottom of the bottle. This lets you top up the water without having to remove the entire setup. The open end faces upwards, while the cap with its holes sits in the soil.
The most common mistake: the wrong hole size and bottle size
Most people do not fail because the idea is poor, but because the system has not been fine-tuned. The irrigation system works reliably only when the amount of incoming water suits both the plant and the pot.
“Holes that are too large flood your plant; holes that are too small leave it to dry out despite the ‘system’.”
Typical problems include:
- Too many or overly large holes: The bottle empties within a few hours. In extreme cases, roots may sit in water and rot.
- Too few or excessively small holes: There is barely any flow, the soil remains dry, and leaves become limp and brown.
- A bottle that is too small for large containers: The water supply will last no more than one or two days.
- A bottle that is too large in tiny pots: This increases the risk of damaging the root zone or keeping it permanently wet.
The best approach is to test your system well before leaving for a long weekend or summer holiday. Watch how long the bottle takes to empty and check how the soil feels:
- After 24 hours: slightly moist, but not soggy
- After 2–3 days: still moist, with no puddles in the pot
- After one week: the water level in the bottle is noticeably lower, while the soil has not dried out
Which plants suit the bottle method – and which do not
Bottle drip irrigation is particularly suitable for thirsty varieties. This includes many vegetable and ornamental plants that use considerably more water during their growing or flowering period.
Good choices with high water requirements
- Vegetables in beds or containers: tomatoes, cucumbers, courgettes, peppers, aubergines
- Popular houseplants: Monstera, ficus, pothos, philodendron, calathea
- Balcony favourites: geraniums, petunias, begonias, fuchsias
- Thirsty potted herbs: basil, mint, parsley, chives
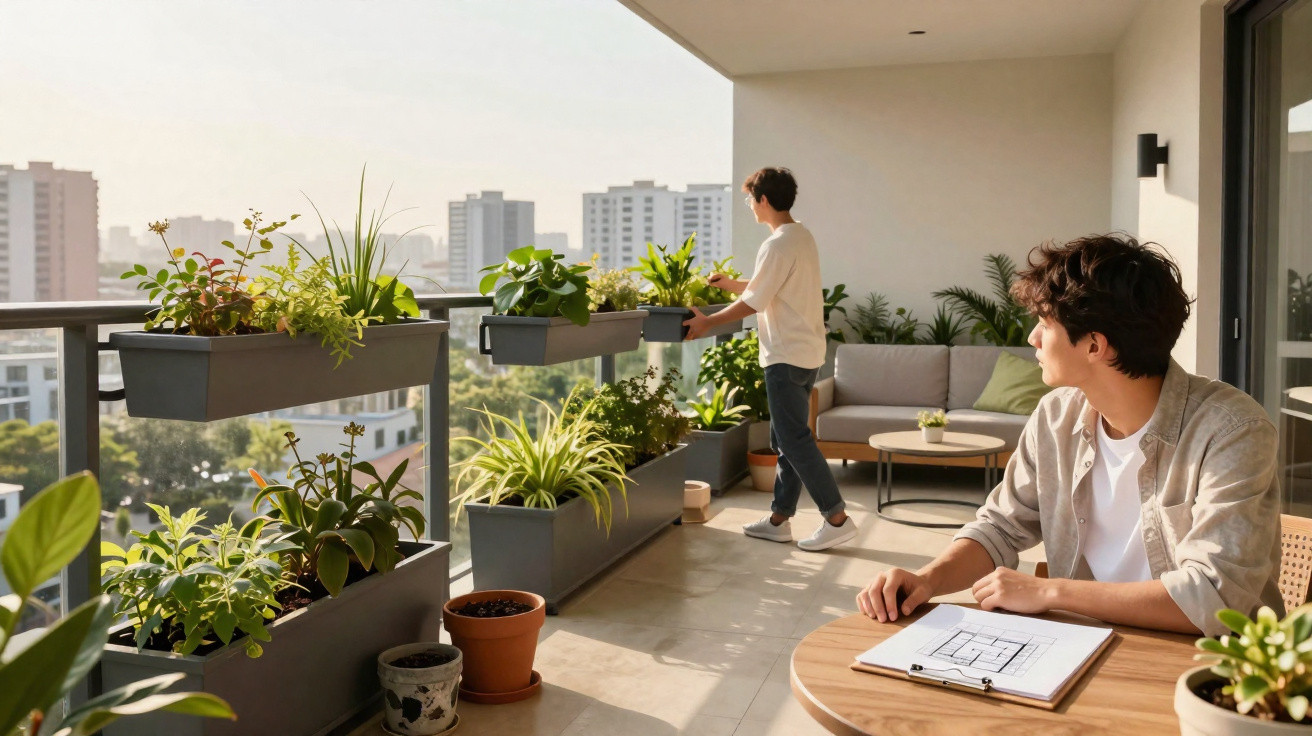
The system can be particularly valuable for herbs on a balcony. At the height of the season, shallow planters can dry out in the sun within hours. A slow, continuous supply of water prevents this stress.
When you should avoid this trick
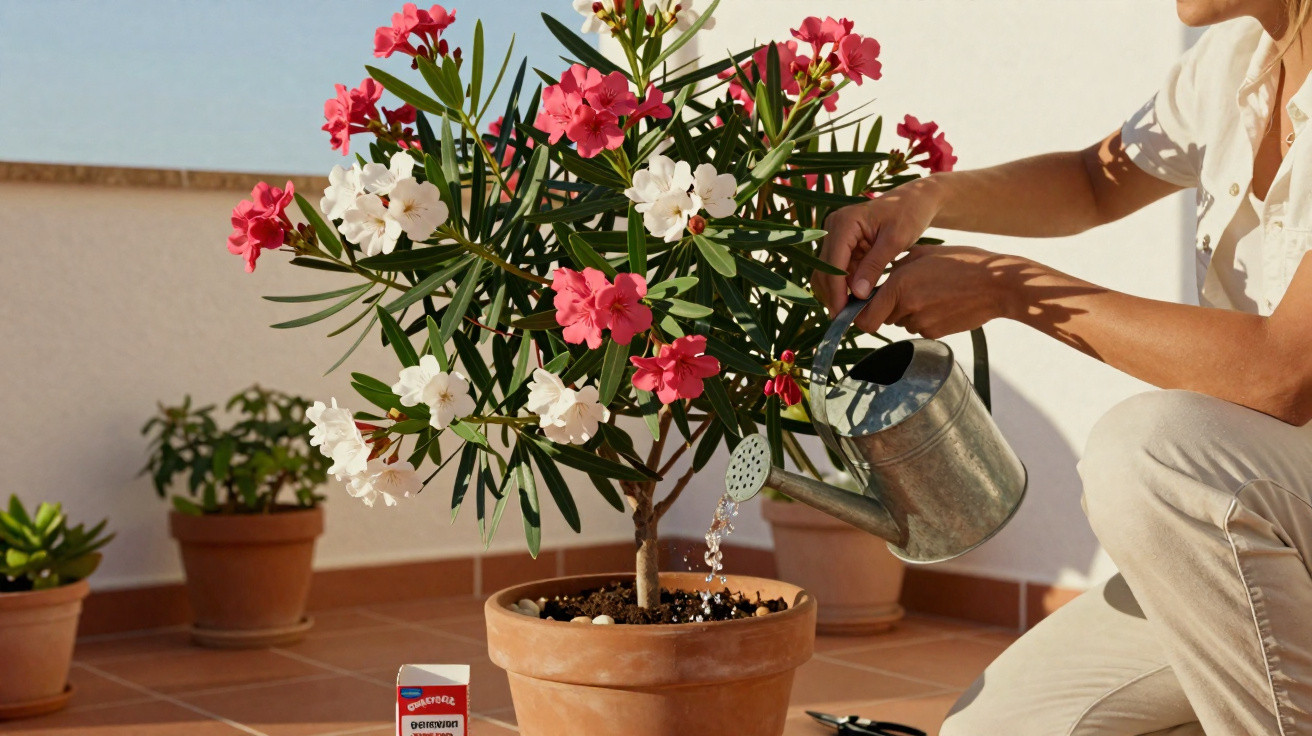
Some plants prefer water in small amounts, with long dry periods in between. For them, constantly moist growing medium is harmful.
- Cacti and most succulents
- Aromatic herbs such as rosemary, thyme and lavender
- Very small pots with little soil volume
- Newly repotted young plants with sensitive roots
With these plants, constant moisture can lead to root rot. Their soil can safely dry out noticeably again before you reach for the watering can.
Save water and reuse plastic sensibly
The bottle trick offers another advantage: it conserves resources. Since the water goes straight to the root area, very little is wasted by draining into deeper soil layers or evaporating from the surface.
“Compared with conventional watering, you need considerably less water to achieve the same effect.”
At the same time, you give single-use bottles a second purpose. Instead of throwing them away immediately, they serve as miniature irrigation units. Anyone with many pots or balcony planters can keep a considerable number of bottles in use over the long term.
You can increase this effect by covering the soil in the pot or bed. A layer of bark mulch, straw, gravel or dried leaves reduces evaporation. Combined with a water-retaining growing medium or a little hydrogel in the soil, moisture remains available noticeably longer – ideal on hot summer days.
Fine-tuning by season and location
How much your plants drink depends not only on the species, but also on light, temperature and air movement. At the height of summer, a sunny south-facing balcony needs far more water than a north-facing window.
| Season | Recommendation for the bottle |
|---|---|
| Spring | Medium-sized bottle, with a few small holes |
| Summer | Larger bottles, possibly more holes, top up regularly |
| Autumn | Gradually reduce the flow, as water demand falls |
| Winter (houseplants) | Ordinary watering is often enough; at most, use a very slow drip rate |
Locations within the home also differ greatly. Plants directly above a radiator or in a loft room dry out much faster than those in a cool hallway. A quick finger test in the soil remains the best way to check whether the system is correctly adjusted.
Practical everyday tips
If you have several pots standing together, use different bottle sizes. A thirsty tomato? Choose a 1.5-litre bottle. A less thirsty houseplant? A 0.5-litre bottle will usually be enough. Marks made with a permanent marker make the water level easy to see at a glance.
For trips lasting more than a week, it is worth using two smaller bottles instead of one large one – this distributes water more evenly throughout the pot. The bottle must be firmly positioned and should not topple over in the first gust of wind. A secure fit in the soil or a small wooden support is often all that is needed.
If appearance matters to you, hide the bottles inside larger cachepots or choose clear versions. In raised beds, they can be integrated into the planting almost invisibly. The result remains the same: less stress, fewer dried-out plants and less guilt after a holiday.
Comments
No comments yet. Be the first to comment!
Leave a Comment