
Every spring, it is the same drama: ivy climbs up the façade, plaster crumbles, hours disappear – and the green nuisance returns anyway.
For years, many homeowners have frustratedly pulled at the vines without understanding why this climber keeps coming back – often even denser than before. The mistake is nearly always the method: rather than tackling the point where the ivy actually “lives”, they tug at the foliage higher up. Once you understand how the plant works, you can save yourself sweat, annoyance and damage to the masonry in future.
Why pulling and tearing will not make ivy disappear
Ivy is among the most persistent climbing plants found in our gardens. It attaches itself to walls, trees and roofs using countless tiny aerial roots and clinging pads. These miniature “claws” enter hairline cracks, grip pores and become caught in the plaster.
Using force to pull on the long shoots generally achieves just one thing: plaster breaks away, paint layers tear and roof tiles shift. Meanwhile, the plant’s real “engine” – its woody base at ground level – remains entirely unharmed. Shortly afterwards, the ivy simply produces new growth from it.
This is especially troublesome on older buildings:
- Cracked or sandy façades can quickly lose entire sections of plaster.
- In the joints of brick or natural stone walls, ivy loosens mortar and creates fresh routes for moisture to enter.
- On trees, heavy growth can damage bark and cause branches to snap under the weight.
There is another common mistake: freshly cut or torn-off shoots are put straight onto the compost heap or left lying in a flower bed. Ivy has an exceptional ability to regenerate. With enough moisture, a piece that appears dead can develop into a new plant.
Anyone who only pulls at the green vines is treating the symptoms – not the cause.
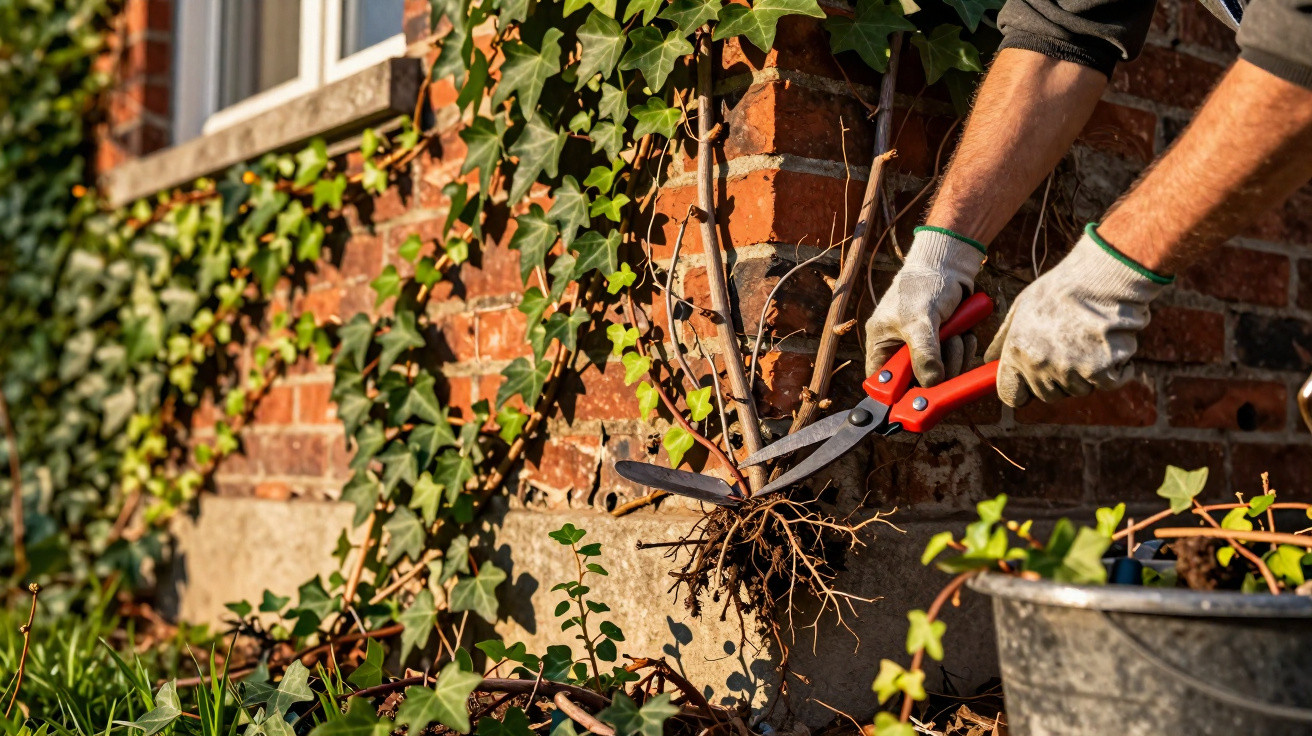
The crucial step: cut ivy directly at its base
Rather than pulling indiscriminately, take a clear approach. The key point is at ground level: where the ivy emerges from the soil and thickens into a small trunk determines whether the plant survives.
The process is surprisingly straightforward:
- Find the base: Follow the vines downwards until the main shoots disappear into the ground. There are often several stems growing outwards in different directions like a star.
- Dampen the leaves: Lightly spray the foliage with a garden hose. Damp ivy becomes softer and will be easier to remove later.
- Cut at the very bottom: Use sharp secateurs, loppers or, for thick stems, a small saw to cut through every main shoot as close to the soil as possible.
This cuts off the plant’s lifeline. Its supply of water and nutrients stops immediately. Although the visible ivy on the wall will initially remain green, it has effectively already been “switched off”.
What happens after cutting ivy
Over the next one to two weeks, the leaves first turn yellow and then brown. The attachment organs dry out and lose some of their grip. Take advantage of this effect before removing the ivy from the wall.
Patience saves effort: let it die first, then loosen it – this protects both the façade and your nerves.
Removing dead ivy vines gently from walls and trees
Once the ivy has visibly dried out, the actual clearing work can begin. At this stage, substantially less force is usually needed to release the shoots.
Different surfaces call for different tools:
- Brick or natural stone walls: Carefully pull off dry vines, then treat stubborn remnants with a wire brush or a weed burner. Pass the flame over the attachment points only briefly so that the stone does not crack.
- Plastered façades: Use only soft brushes or a hand brush to avoid tearing the plaster. It is better to brush for longer than to work too roughly.
- Trees: Gently unwind the vines rather than pulling at the bark. If individual aerial roots remain on the trunk, they will usually not harm a healthy tree.
The many tiny “dots” and attachment residues on a wall disappear only gradually. Rain, sunshine and frost will wear them away over time. If you do not want to wait, a household remedy can help.
Remove the roots – otherwise ivy will definitely return
The upper growth has gone, but the ground often holds a surprise: strong roots beneath the surface can spread widely and allow the plant to shoot again months later.
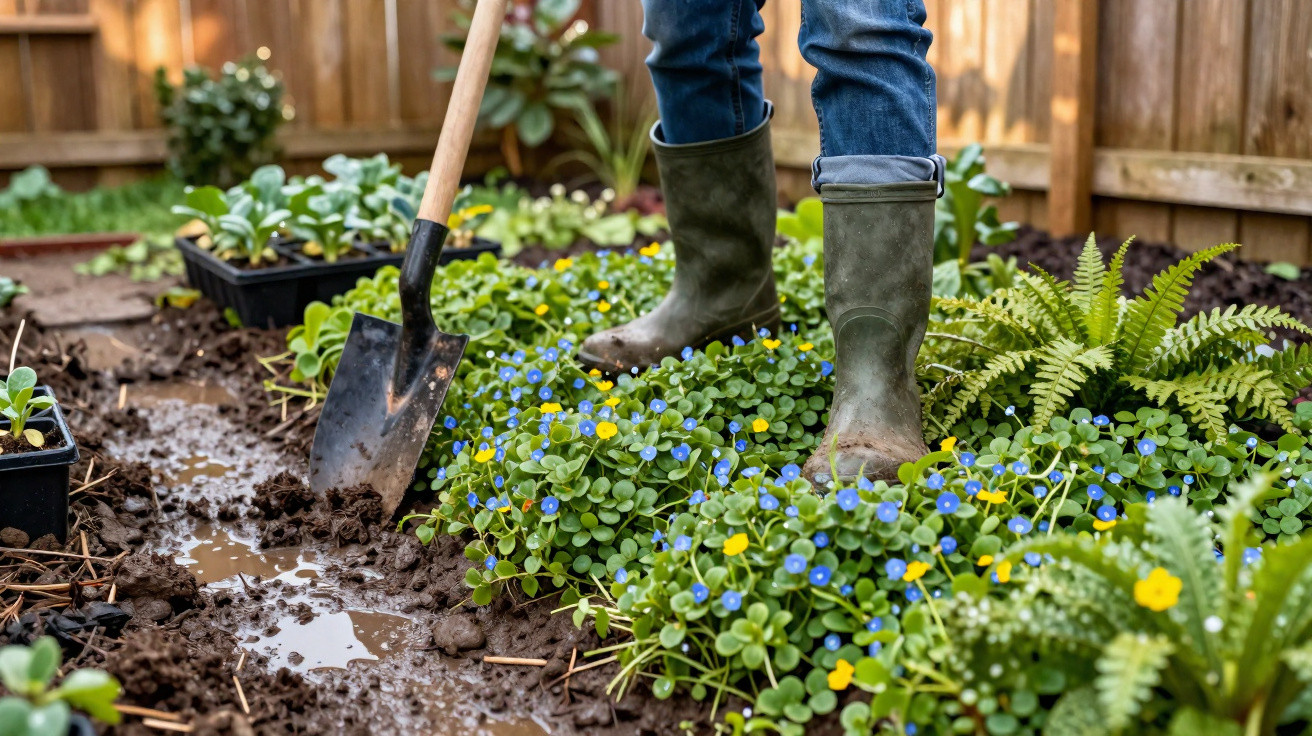
To prevent this, some physical work with a spade and digging fork is worthwhile:
- Remove ten to twenty centimetres of soil around the base.
- Expose the thick main root and dig it out as completely as possible.
- Pull out any side roots as far as you can reach – otherwise, they frequently produce new plants.
With older ivy plants, this process may take several months. Do not try to do everything in one go; instead, work section by section and check and loosen the surrounding ground again every few weeks.
Only when the rootstock has gone is the ivy truly history.
Dispose of ivy correctly: it has remarkable survival skills
Fresh shoots and cut pieces do not belong on an open compost heap. Many councils specifically point out in their waste guidance that ivy has a tendency to “escape”.
Safe disposal options include:
- Spread all parts out in the sun for several days until they are completely dry, and only then compost them.
- Alternatively, put them in the garden waste bin or take them to the local household waste recycling centre.
- Do not “store” cuttings in hedges or beneath shrubs – they quickly take root again there.
To loosen the last attachment residues from plaster or stone, use a mixture of boiling water and clear household vinegar. This allows you to treat small areas without harming lawns or beds.
The next few weeks are crucial: catch young shoots immediately
Even after thorough root removal, new plants may emerge from overlooked root fragments or seeds. If you ease off now, you risk the ivy gradually rebuilding itself.
A simple inspection schedule works well:
| Period | Action |
|---|---|
| First 4 weeks | Check the area every 10 days and pull out small ivy plants by hand. |
| Months 2–3 | Inspect every two weeks, particularly around wall bases and in joints. |
| From month 4 | An occasional look while watering is usually enough to catch late arrivals. |
Those few minutes of regular checking prevent a tiny shoot from becoming a new jungle.
When ivy is useful – and when it becomes a risk
Although ivy on a house wall can seem unwelcome, the plant also has positive qualities. It shelters birds, provides food for insects and can improve the appearance of bare walls in a back garden. On sound, well-pointed walls in less prominent corners, ivy does not bother everyone.
It becomes a concern when:
- Damp or cracked façades are put under further strain.
- Gutters, downpipes or ventilation openings become overgrown.
- Old fruit trees are almost entirely covered.
Anyone choosing to keep ivy should manage it carefully: cut it regularly, maintain a gap from the roof and windows, and keep an eye on new aerial roots around the base of the wall.
Practical additions: alternatives and protection for masonry
After ivy has been successfully removed, the façade often looks visibly worse for wear. Attachment residues, small areas of damaged plaster and discolouration are now more noticeable. A little remedial work is worthwhile, such as repainting or repairing the base of the wall. This not only protects against moisture but also makes it harder for any new growth to establish itself.
If you would like greenery again, choose less aggressive climbers such as climbing hydrangea or climbing roses, and train them on trellises. This keeps the façade itself clear while the plants attach only to the support. The decisive benefit is that, when needed, they can be removed completely without taking the masonry with them.
With the right method – cutting directly at the base, consistently removing the roots and checking for a few weeks – the seemingly endless battle with ivy becomes a manageable gardening task. And the façade finally has the chance to breathe freely again.
Comments
No comments yet. Be the first to comment!
Leave a Comment