
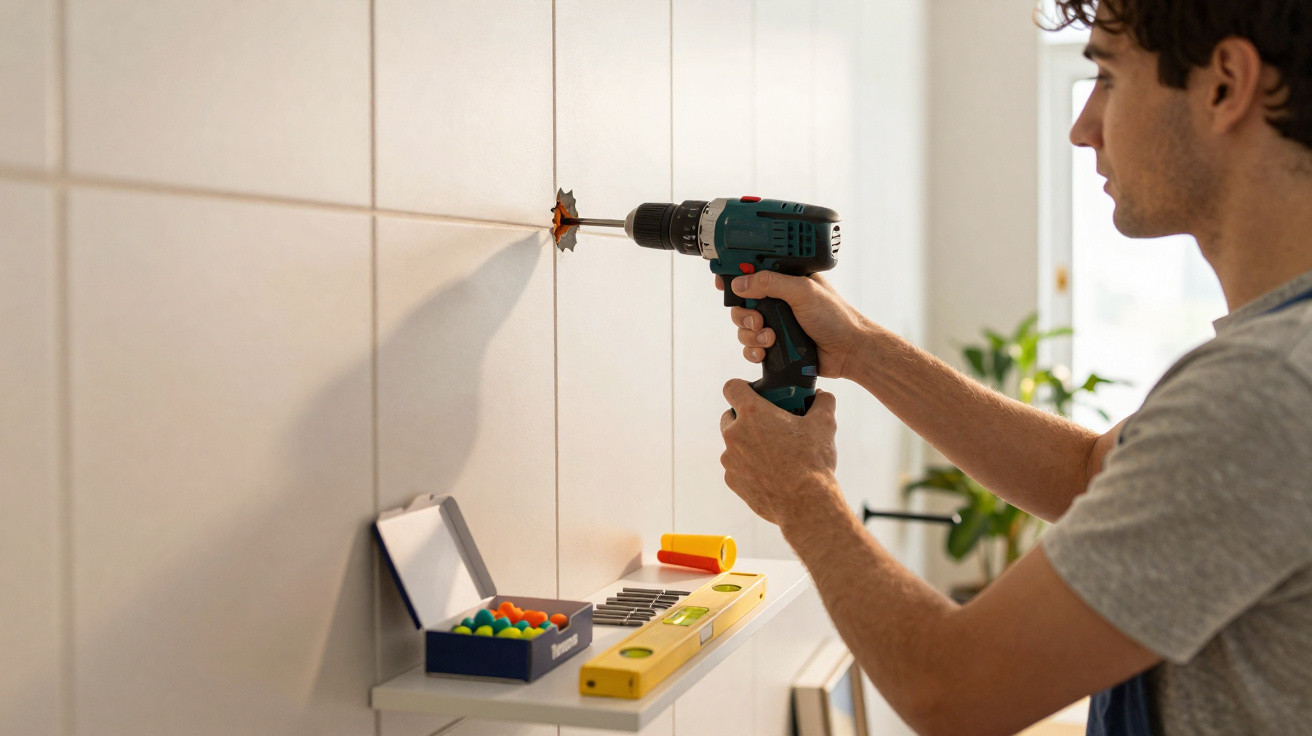
Hanging a picture, fitting a bracket or mounting a shelf may look straightforward, but a minor mistake when inserting a wall plug can cause cracks, enlarged holes and even the object to fall. Knowing how this type of fixing works, identifying the wall type and taking account of the item’s weight helps prevent repeat work, protects the finish and enables anyone with basic tools to complete the job safely.
What is a wall plug and what does it do in a fixing?
A wall plug, also known as a fixing plug, is a small component, commonly made from plastic, nylon or metal, that is placed inside a hole in the wall to take a screw. It enlarges the contact area within the material, spreads the load and prevents the screw from working loose over time.
Without a wall plug, the screw is driven directly into masonry, plaster or blockwork, which can lead to looseness, cracking and reduced strength, particularly when it is supporting weight. As the screw is tightened, the plug expands, grips the inside of the hole and forms a secure anchor point, directly affecting the longevity of cupboards, shelves and brackets.
Watch a video on the Engehall Cursos YouTube channel featuring practical tips for securing wall plugs in crumbling walls or oversized holes, so that the screw does not become loose:
https://www.youtube.com/watch?v=y3n9E94oI1M
How do you choose the right wall plug for each job?
Before drilling any surface, it is essential to assess the wall type, the object’s weight and the screw diameter. Together, these factors determine the most suitable wall plug size and model, limiting the risk of mistakes and ensuring the fixing can withstand everyday use.
There are purpose-made options for every situation, from standard walls to lightweight structures such as plasterboard. Checking the dimensions in millimetres and the load capacity stated on the packaging helps you make a safe choice for light, medium or heavy items, within the manufacturer’s recommended limits.
- Universal plastic wall plugs for standard masonry and solid blocks.
- Special plasterboard wall plugs that open like “wings” behind the board.
- Metal expansion wall plugs for heavier loads in concrete or solid masonry.
- Chemical wall plugs, using resin, for structural and highly demanding anchor points.
How to fit a wall plug step by step without damaging the finish
Fitting a wall plug safely relies more on careful attention to detail than force. Using a drill bit that is larger than required, for instance, creates play and weakens the fixing point, especially in ceramic finishes or older, more fragile walls.
- Mark the position: Measure and mark the precise screw location with a pencil. Where there is more than one hole, use a spirit level to keep them aligned.
- Select the drill bit: Use a drill bit with the same diameter as the wall plug specified by the manufacturer, avoiding either looseness or difficulty fitting it.
- Drill the hole: Drill at a moderate speed while keeping the hole straight. On ceramic surfaces, begin at a low speed to minimise cracking.
- Clean the hole: Remove dust from inside using a puff of air or a small brush, as excess dust reduces the plug’s grip.
- Insert the wall plug: Push the plug in until it sits flush with the wall, tapping it lightly with a hammer without misshaping the piece.
- Tighten the screw: Tighten gradually so the wall plug expands and grips fully, without applying so much force that the hole is stripped.
What precautions prevent problems and improve fixing safety?
A few straightforward precautions can significantly reduce the chance of cracks, unusable holes and weak fixing points. Planning where the holes will go and understanding both the wall material’s limits and the wall plug’s own capacity are quick ways to improve safety without requiring complicated equipment.
Where the load is especially heavy, such as fully loaded cupboards, large televisions or gym brackets, consulting a professional is the best option. For pictures, smaller mirrors and lightweight shelves, following these guidelines should provide a stable, long-lasting fixing with a neatly finished appearance.




Comments
No comments yet. Be the first to comment!
Leave a Comment