
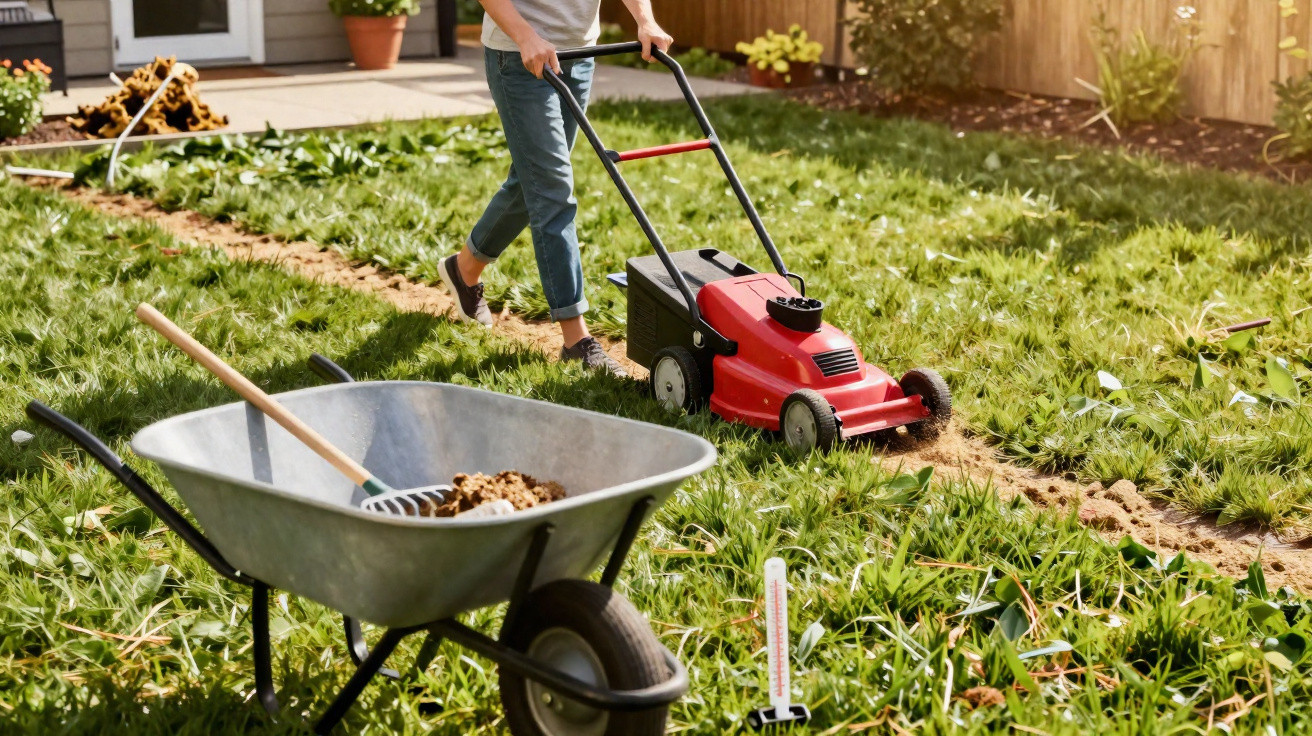
If you look enviously at your neighbour’s lush green lawn in July, you may be overlooking the fact that the real race was decided in March. Beneath the seemingly harmless yellowish layer of grass lies a problem that stops rainwater and nutrients getting through – and that is precisely why your lawn collapses in the heat. The good news is that one targeted job, completed by the end of March, can put your garden ahead for the whole summer.
Why your lawn suddenly turns brown in summer
At the end of winter, something happens in the lawn that many garden owners cannot see, yet notice clearly in summer. A layer of moss, dead roots and fine plant debris builds up between the blades.
“This 1 to 2 centimetre layer of thatch acts like a lid: water, air and nutrients remain at the surface, while the roots stay too shallow and dry out first.”
As a result, grass roots remain close to the surface because this is where they can still find some moisture. However, this very area dries out fastest when the first warm days arrive. Even a brief burst of heat is enough for the lawn to turn yellowish and, in places, almost straw-like.
This is where the crucial measure comes in: the “lid” needs to be removed before hot weather arrives. The period up to 31 March – or, depending on the region, early April – is ideal for doing so.
The right timing: what the thermometer has to do with your lawn
The date on the calendar is not the only factor; soil temperature matters most. Grass only starts growing strongly again once the ground consistently reaches around 10 to 12°C, and it copes with treatment far better then.
- Soil temperature consistently at 10–12°C
- No overnight frosts forecast
- Soil slightly moist but not waterlogged
- Ideally overcast conditions or light sunshine
Depending on your location, this window may open in early to mid-March, while in cooler areas it is more likely to fall towards the end of the month or in early April. Waiting too long risks young roots being stressed by the first warm days in May.
Step by step: preparing your lawn
1. Mow it short – but do not be too drastic
Before carrying out deeper work, use the lawnmower. Set the cutting height to around 2 to 3 centimetres. It may look severe at first, but there is a clear reason: it exposes the thatch and moss, making the next step much more effective.
Important: the ground should be only slightly damp. After prolonged rain, allow a day for it to dry out; otherwise, too many roots can be torn away.
2. The key treatment: scarifying the lawn
The technical term sounds more complicated than the job itself. When you scarify, narrow blades score the turf and pull out moss and thatch.
“Set the scarifier so that its blades penetrate only 2 to 4 millimetres into the soil – they should score it, not cultivate it.”
Proceed as follows:
- Treat the entire area in one direction, for example lengthways.
- Then make a second pass across it.
- Work at a slower pace so the blades can do their job cleanly.
Once finished, the lawn may look alarmingly battered – that is normal. Its actual recovery only starts now.
3. Clear everything away: remove all thatch and moss
The biggest mistake after scarifying is simply leaving the debris where it is. It will immediately smother the newly opened soil again.
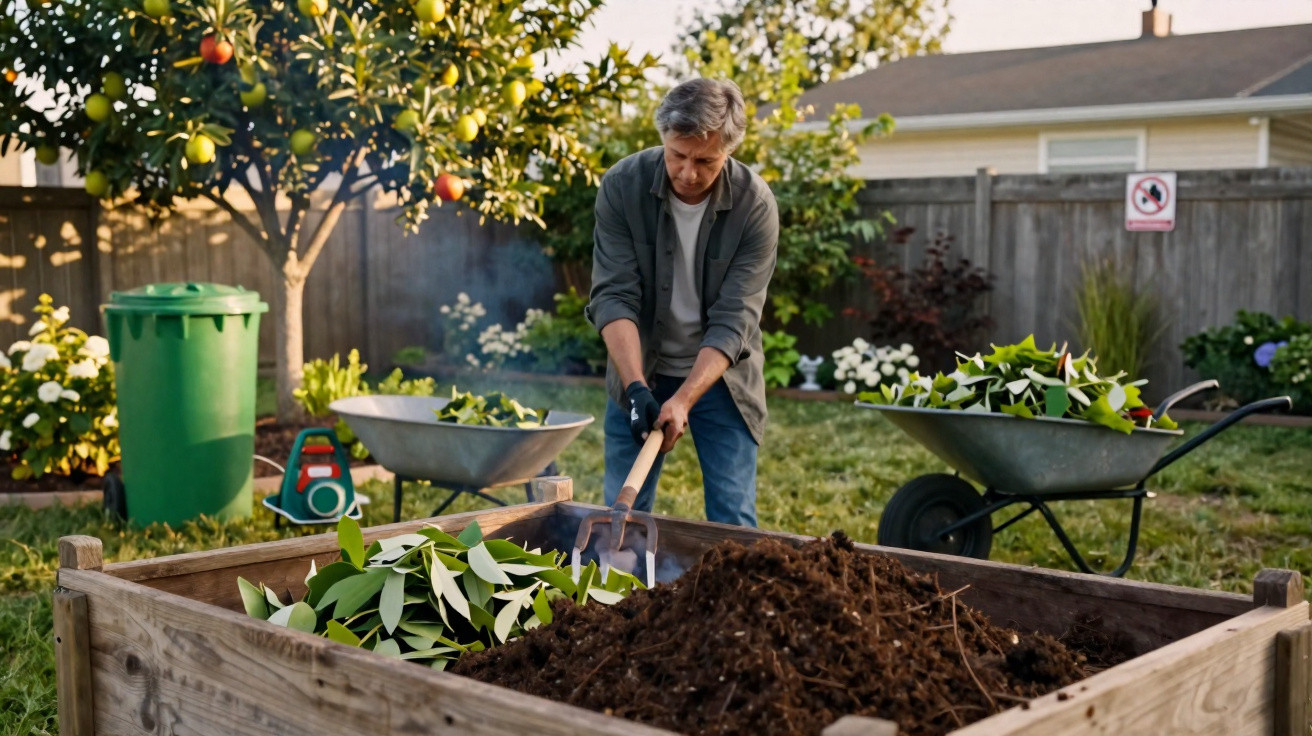
Remove everything the scarifier brings up thoroughly, using a leaf rake, garden rake or the mower’s grass collector. Put the material on the compost heap, provided it is not entirely moss, or place it in the garden-waste bin.
Improving lawn soil with compost and sand
After scarifying, the soil is open like a sponge. This is the perfect time for targeted care that will help it retain water later and give roots room to grow.
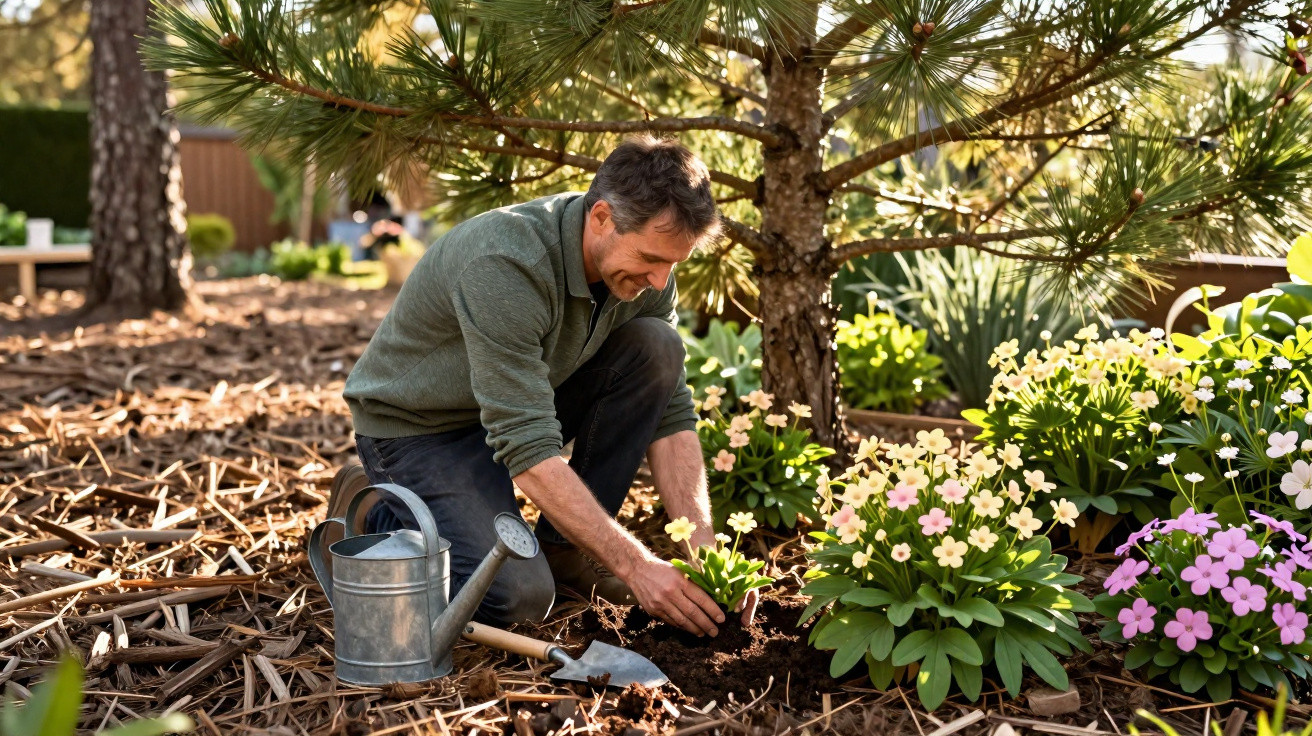
Apply a fine layer: known as topdressing
Spread a loose mixture about 1 centimetre deep across the lawn:
- mature compost; or
- specialist lawn soil; or
- a mixture of garden soil and sand.
This thin layer improves the soil structure, supplies nutrients and helps rainwater soak further down. The back of a rake or a stiff outdoor broom works well for spreading the material.
Clay soil? Sand helps prevent waterlogging and compaction
If your garden has heavy, clay-rich soil, you can also use coarse sand. Especially after scarifying, the sand settles into the small slits and helps stop the ground becoming hard and compacted again so quickly.
Typical signs that the soil is too heavy include:
- water remaining in puddles for a long time after rain;
- soil that feels slick and sticks to shoes;
- moss spreading heavily.
Why this work pays off at the height of summer
The whole process has one clear aim: encouraging roots to grow deeper. Only then can they still reach moisture from lower layers during hot weather.
“A lawn with deep roots withstands heat for longer, makes better use of rain and needs considerably less watering.”
Without scarifying, many summer thunderstorms literally bounce off the lawn: water runs away across the surface, and the upper centimetres then dry out even faster. Remove the thatch in March and the soil absorbs water like a sponge, storing spring rainfall.
Aerating your lawn properly: keeping the benefit going
To prevent the effort from fading after only a few months, it is worthwhile aerating the lawn regularly from spring to autumn. This can be done in several ways:
- make small holes with a garden fork;
- go over the area with a nail or spike roller;
- use powered aerators for large gardens.
A light pass every 4 to 6 weeks is usually enough. The holes give oxygen and water better access to the roots, relieve compaction and help the turf remain more robust over the long term.
In summer, cutting height is another important consideration. Mowing the lawn too short in hot weather puts it under additional stress. Slightly longer blades shade the soil and slow down drying.
Too late? You can still save the lawn
Many people only notice that something is wrong with their lawn in April. There is no need to panic, but the approach needs to change slightly.
If the soil is still around 10 to 12°C and no heatwave is expected, gentle scarifying can often still be carried out. In that case:
- set the blades shallower, closer to 2 millimetres than 4;
- avoid sensitive patches or treat them carefully;
- overseed bare areas with lawn seed immediately afterwards.
The important point is not to schedule this work immediately before a prolonged dry spell. Newly damaged turf needs several weeks to close over.
Problem areas: shady lawns and damp corners
Areas that receive a lot of shade or stay permanently damp are particularly challenging. Moss thrives in these conditions. The soil is often too acidic, too compacted or simply receives too little air and light.
Useful measures for such areas include:
- thinning tree canopies so more sun reaches the ground;
- making light scarifying passes rather than treating the area aggressively;
- aerating regularly with a fork;
- overseeding with specialist shade-tolerant lawn seed that copes with lower light levels.
After treating heavily moss-covered areas, water them with a fine spray rather than flooding them. Young seedlings cope far better with gentle sprinkling than with heavy watering.
What many people overlook: pH, care mistakes and watering habits
One aspect is easily missed in day-to-day garden care: soil pH. Grass generally does well when the reading is roughly between 6 and 7. If the soil is much more acidic, moss spreads faster. A simple test from a garden centre will clarify the situation. On strongly acidic soil, a targeted application of lime can help raise the value again – ideally in late autumn or early spring.
Summer watering habits are another key point. Frequent, brief sprinkling trains roots to rely on water in the top few centimetres of soil. Less frequent but more thorough watering is much more useful: it gives roots a reason to grow deeper into the ground.
Preparing the scarified area properly in March lays the groundwork for this. The lawn responds more reliably to extreme weather, heavy rainfall reaches where it is needed, and the area often stays green for far longer while unprepared lawns nearby already look scorched.

Comments
No comments yet. Be the first to comment!
Leave a Comment