
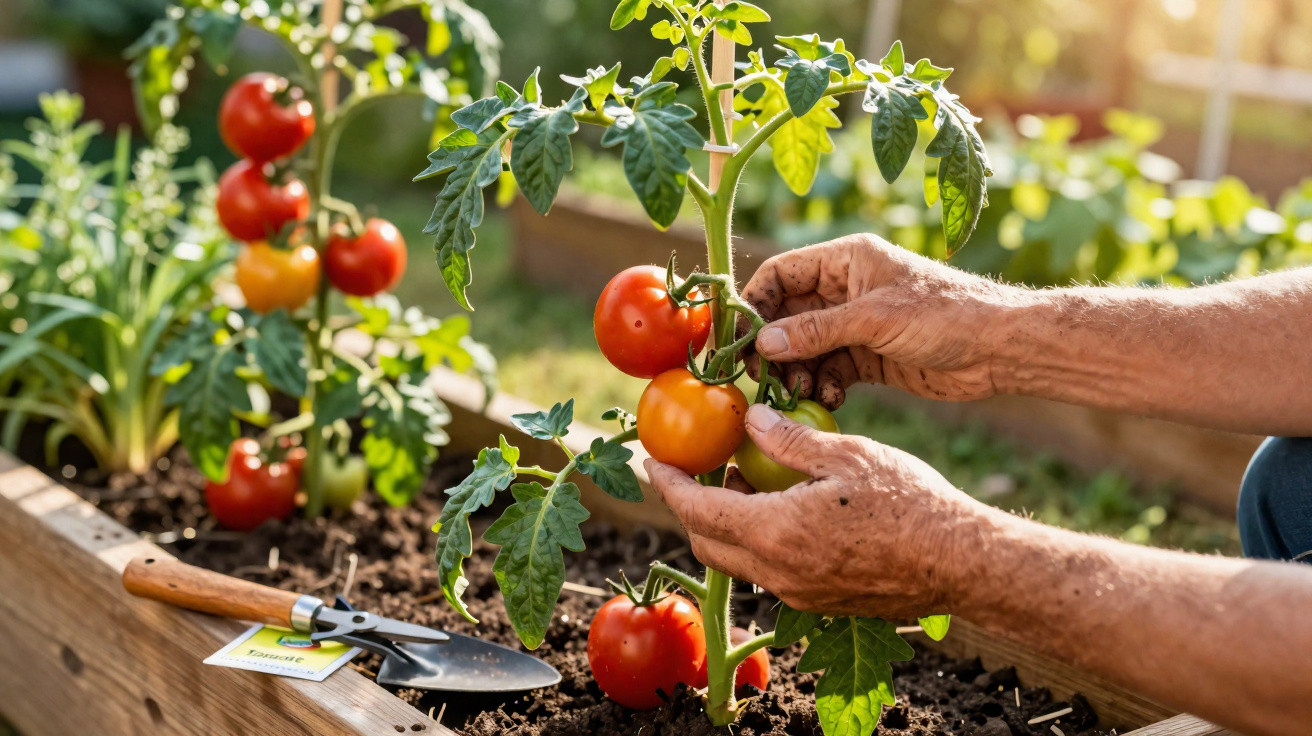
The problem is often not a lack of effort but the technique: the way soil absorbs water determines whether tomatoes produce abundantly or merely struggle along. Remarkably simple preparation before the watering season can transform their entire growth, making plants sturdier and far less susceptible to problems.
Why tomatoes wilt despite regular watering
Tomatoes are known to be thirsty plants, yet they are highly sensitive to fluctuations. Too much water one moment and too little the next quickly puts them under stress. Many gardeners recognise the typical consequences from their own vegetable patch:
- Fruits split after a downpour or a heavy watering session
- Leaves turn yellow, curl up or look scorched
- Fungal diseases spread quickly following the first summer rains
- Overall growth appears weak, even though the plants have received enough water
The reason is that tomatoes prefer consistent conditions. When soil repeatedly dries out before suddenly becoming soaked again, tension develops in the fruit and plant tissues. Skins may split, pathogens can enter and rot takes hold easily.
“It is less about ‘how much’ water you give tomatoes than ‘how’ you water them.”
Water tomatoes correctly: water the roots, not the leaves
Vegetable-growing specialists recommend watering tomatoes at soil level, directly around the root zone. Water should be applied slowly and precisely rather than splashing energetically over the entire plant.
Watering from above onto the foliage creates several risks at once:
- Leaves remain wet for a long time, creating ideal conditions for fungal diseases
- Some of the water evaporates before it can reach the roots
- The soil surface becomes compacted and forms a crust
A technique commonly used by professional vegetable growers is particularly effective: water less often, but for longer and deeply. This encourages roots to grow downwards instead of gathering just beneath the surface. A drip hose or a watering can used slowly with a fine rose can help achieve this.
The overlooked enemy: constant water stress
It is easy to make this mistake in everyday gardening: brief, frequent watering keeps the surface damp, while the lower soil layers remain dry. The plant senses this variation and reacts with stress symptoms. Leaves become limp or feel crisp from dryness, while stems may turn soft if the roots are occasionally sitting in water.
This is precisely where the simple but highly effective measure that should be taken before intensive watering begins comes into play.
The key step before watering season: mulch tomatoes properly
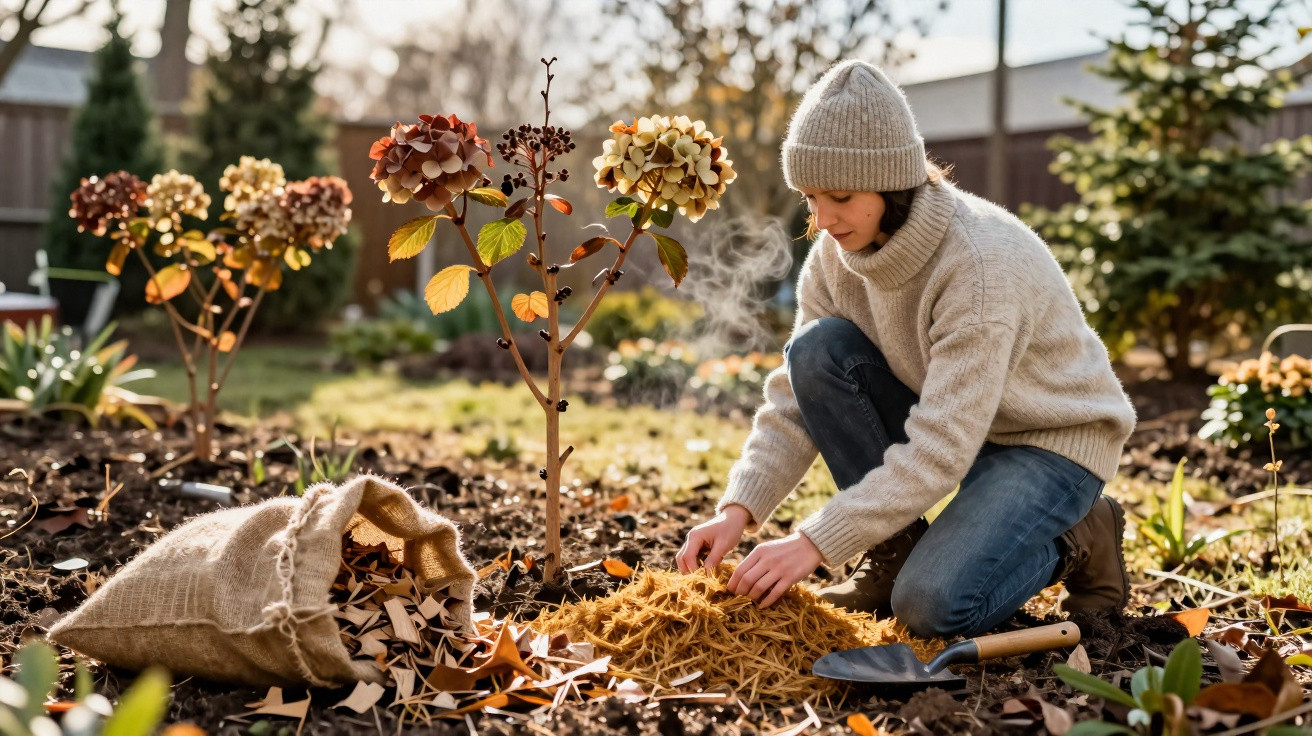
Before the hot period of daily or near-daily watering starts, it is worth taking one preparatory step: spread a protective mulch layer around tomato plants. This soil “blanket” fundamentally changes how the growing medium behaves.
“Mulch keeps tomato soil and roots more stable, calmer and supplied far more evenly.”
Garden experts point out that bare soil dries very quickly on sunny days. The top few centimetres become hot and hard, causing roots to retreat or dry out. A mulch layer produces the opposite effect: moisture lasts longer and temperature fluctuations are reduced.
Which materials work well as tomato mulch
Natural, airy materials are especially suitable:
- Straw or hay, preferably untreated
- Shredded dry leaves
- Mature or semi-mature compost mixed with grass clippings
- Chopped plant material from the garden
The layer should be around 5 to 10 centimetres deep. A layer that is too thin has little effect, while one that is too thick can encourage waterlogging in wet weather. Leave a small open ring, one to two finger widths wide, around the stem so that the main shoot is not sitting directly in damp material.
| Material | Benefit | Note |
|---|---|---|
| Straw | Very good insulation and dries quickly | Secure it in windy conditions, for example with twigs |
| Leaves | Breaks down into humus and feeds the soil | Best applied after shredding |
| Compost | Supplies nutrients and retains moisture | Do not use it too fresh, otherwise there is a risk of mould |
| Grass clippings | Quickly available and provides good cover | Use only in thin layers because it heats up strongly |
The right time to apply a mulch layer
Starting early removes stress from the season. Two stages are useful:
- Apply an initial, thin mulch layer in spring once the soil has warmed noticeably
- Top it up after planting out in May, once tomatoes are in the open ground or greenhouse
One detail makes all the difference: if the soil is bone dry when you mulch, the mulch layer will first take up moisture and the roots will miss out. It is better to water thoroughly beforehand, then cover the still-moist soil. In this way, the soil “stores” the water beneath its protective layer.
How mulch changes everyday tomato watering
Once tomatoes have a stable layer of mulch, the correct use of the watering can changes. The soil beneath the layer may look dry for a long time from above, and this is where many people make their next mistake: watering again too frequently.
A quick check reveals the real situation: move the mulch aside and push a finger two or three centimetres into the soil. If it feels cool and slightly damp at that depth, the plant can wait. If the soil is dry and crumbly there, it is time for a thorough watering.
“With mulch, soil depth matters – not how the surface looks.”
When watering, direct the water onto the exposed soil around the root zone. Then return the mulch to its place. This allows water to reach the roots while the protective layer prevents moisture from disappearing immediately.
Benefits for tomato health and yield
Gardeners who use mulch repeatedly report much more stable plants. Protecting roots from extreme temperature peaks supports even growth. The result is:
- Fewer split or misshapen fruits
- Stronger plants that cope better with rainy periods
- Reduced weed growth around tomatoes
- Less frequent watering overall, especially during heatwaves
There is also a long-term benefit: mulch slowly decomposes and improves the soil. The ground becomes looser, retains more water and nutrients, and is less likely to form a crust.
Avoid common mistakes when mulching tomatoes
Although the method appears simple, there are still a few pitfalls:
- Pressing mulch directly against the stems, which encourages rot
- Using overly thick layers of fresh grass clippings, which can heat up considerably
- Mulching very cold soil too early, delaying its warming in spring
- Never checking beneath the layer and watering according to the surface appearance, which can quickly lead to constant wetness
Keeping these points in mind creates a balanced root environment. Plants repay this with vigorous growth and strong fruit trusses capable of carrying heavy clusters.
Practical additions for even more stable tomato plants
Mulch and monitored watering can easily be combined with other measures. A sturdy tomato cane or a string support system in the greenhouse takes pressure off the shoots. Regularly remove side shoots so the plant directs its energy into fewer but better-supplied fruit trusses.
Location also matters: an airy, sunny spot where rain does not remain on the leaves for long noticeably reduces fungal infection. Outdoors, a simple cover made from polythene or multiwall polycarbonate sheets protects foliage from prolonged rain, while the root zone remains calm and evenly moist thanks to mulch.
Anyone who has struggled with fungal diseases for some time can also allow wider spacing. More room between plants helps leaves dry more quickly. Combined with a mulch layer, this creates conditions in which tomatoes experience less stress – and that is often when they taste best in the end.
Comments
No comments yet. Be the first to comment!
Leave a Comment