
Many amateur gardeners are surprised when the expensive raspberry bush from the garden centre produces only a modest crop. The soil seems somehow exhausted and the canes remain thin. Yet a straightforward household trick can give the plant a real boost – without any specialist fertiliser from the DIY shop.
Why raspberries react so badly to poor soil
Although raspberries appear hardy, they are highly responsive to soil quality and care. Simply planting them in a corner of the garden can result in a disappointing harvest.
- They prefer loose, slightly acidic soil.
- They tolerate waterlogging poorly.
- The soil needs to be nutrient-rich, but not over-fertilised.
- Their shallow roots require air and consistent moisture.
When nutrients are lacking or the soil is too heavy, canes may still grow, but the fruiting shoots remain weak. This is exactly where the so-called cup trick using coffee grounds comes in.
How the coffee-grounds cup trick works
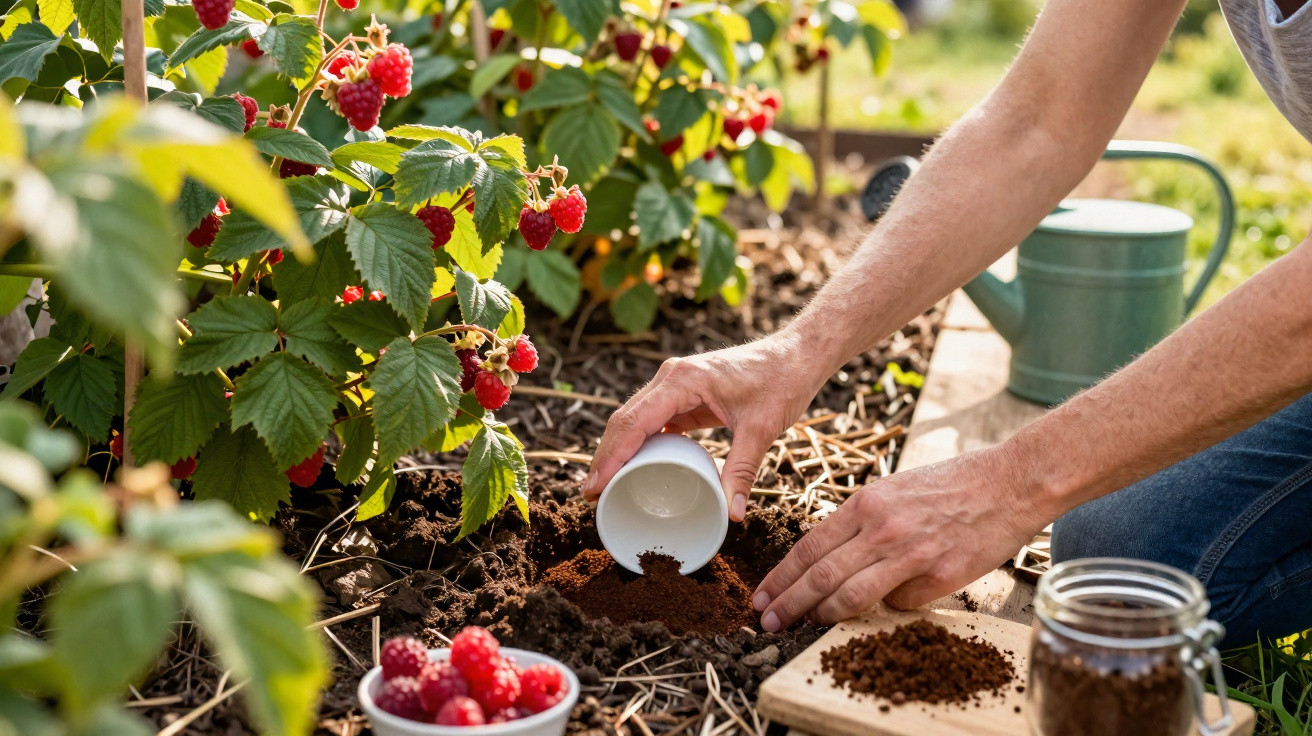
Fruit-growing professionals have used organic leftovers such as coffee grounds to improve soil for years. With the cup trick, coffee grounds are applied precisely in a small area around the plant, using a cup to mark the spot and measure the quantity.
The cup trick ensures that raspberries receive nutrients exactly where they can use them most quickly: in the immediate root zone.
The principle is simple: rather than scattering coffee grounds randomly over the bed, use a cup as both a measure and a marker. This keeps the quantity under control, loosens the soil in a targeted way and creates a fine ring of nutrients around the bush.
The coffee-grounds cup trick: step by step
1. Prepare the coffee grounds properly
Fresh, wet coffee grounds clump together quickly and can become mouldy. A brief preparation step is worthwhile before use:
- Tip the coffee grounds from the filter or machine into a shallow tray.
- Leave them to dry in an airy place for one to two days, stirring occasionally.
- Use them only once they are crumbly and no longer damp.
This makes the coffee grounds easy to measure and work into the soil without creating soggy lumps.
2. Create the nutrient ring with a cup
This is where the cup is used. It acts as both a measure and a spacer from the plant’s sensitive root collar.
- Place a cup in the soil around 10–15 centimetres away from the main cane.
- Use it to mark the area in a circle around the plant where you intend to work.
- With your hand or a small trowel, make a shallow groove around the marked cup position, 2–3 centimetres deep.
The cup prevents you from working too close to the stem. Concentrated coffee grounds directly at the root collar can stress sensitive roots.
3. Measure out and work in the coffee grounds
Once the ring has been marked, add the dried coffee grounds.
- One cupful of coffee grounds is generally sufficient for each mature bush.
- Spread the contents thinly through the prepared groove.
- Lightly combine the grounds with the existing soil rather than merely sprinkling them on the surface.
- Finally, cover everything again with loose soil and water it in.
Coffee grounds act like a gentle, long-term fertiliser: they break down slowly, improve soil structure and provide a steady supply of nutrients.
Why raspberries benefit from coffee grounds in the bed
Coffee grounds contain several substances that are useful for berry bushes:
| Component | Effect on raspberries |
|---|---|
| Nitrogen | Encourages leaf and cane growth, making the bush denser. |
| Potassium | Strengthens cells and supports flower and fruit formation. |
| Trace elements | Promote root health and soil life. |
| Organic matter | Makes the soil looser and more crumbly. |
The slightly acidic nature of coffee grounds suits raspberries well, as they favour this type of soil. The plants quickly convert the added nutrients into fresh canes and new fruit buds.
When the cup trick has the greatest effect
Timing determines how noticeably the harvest can increase. Three periods are particularly suitable:
- Early spring: Create the first nutrient ring shortly before the raspberries begin growing.
- After the first strong flush of growth: A second, slightly lighter ring helps support flower formation.
- Late summer for autumn-fruiting varieties: A very light application keeps plants vigorous without stimulating unnecessary late-season growth.
More than two to three applications a year are unnecessary. Too much organic fertiliser can soon lead to lush leaf growth and fewer fruits.
Common mistakes when using coffee grounds on raspberries
Because this kitchen leftover is free, many people tend to apply it generously. That is precisely what can hold plants back.
- Layer applied too thickly: The soil forms a crust and water penetrates less effectively.
- Tipped directly against the stem: The root collar is sensitive to concentrated coffee grounds.
- Wet grounds used: Mould and unpleasant smells may develop.
- Used as the only fertiliser: In the long term, other organic sources such as compost will then be missing.
As a rule of thumb, it is better to apply small amounts regularly than to spread large quantities once a year.
Combining the cup trick with other raspberry care
The cup trick delivers its full effect when the rest of the care routine is also right. Just a few simple jobs are enough.
Mulch to reduce drought stress
After working in the coffee grounds, add a thin layer of mulch, such as grass clippings, leaves or shredded prunings. It:
- keeps the soil moist for longer,
- protects fine roots from heat,
- feeds soil organisms that distribute the coffee grounds further.
Make the most of pruning
Raspberries produce new canes every year. Removing old shoots after harvesting directs energy into young canes that will fruit the following year. Combined with a targeted application of coffee grounds, these young canes develop strong fruiting laterals.
Useful side effect: coffee grounds against pests
Many gardeners find that ants, slugs and certain beetles avoid fine borders of coffee grounds. It does not replace a dense protective barrier, but it does create a small additional protective zone around the bush.
Compared with chemical products, coffee grounds offer one clear advantage: they decompose without leaving residues in the soil while also supporting soil life. Earthworms and microorganisms become more active – and this soil life is what creates loose, fertile soil over the long term.
How much extra yield is realistically possible
Anyone who has previously not fertilised at all, or has used only a little blue granular fertiliser, may see noticeable results with the cup trick and coffee grounds: more canes, longer fruiting clusters and larger berries. In well-maintained plots, the increase is often several handfuls per bush; with neglected plants, it can be considerably greater.
The key is the combination of:
- the right location,
- loose, free-draining soil,
- moderate but regular use of coffee grounds,
- mulching and pruning.
If several bushes are planted in rows, the cup trick can simply be repeated from one plant to the next. This creates a kind of invisible nutrient strip that strengthens the whole raspberry row.
Why the trick is worthwhile for balconies and raised beds too
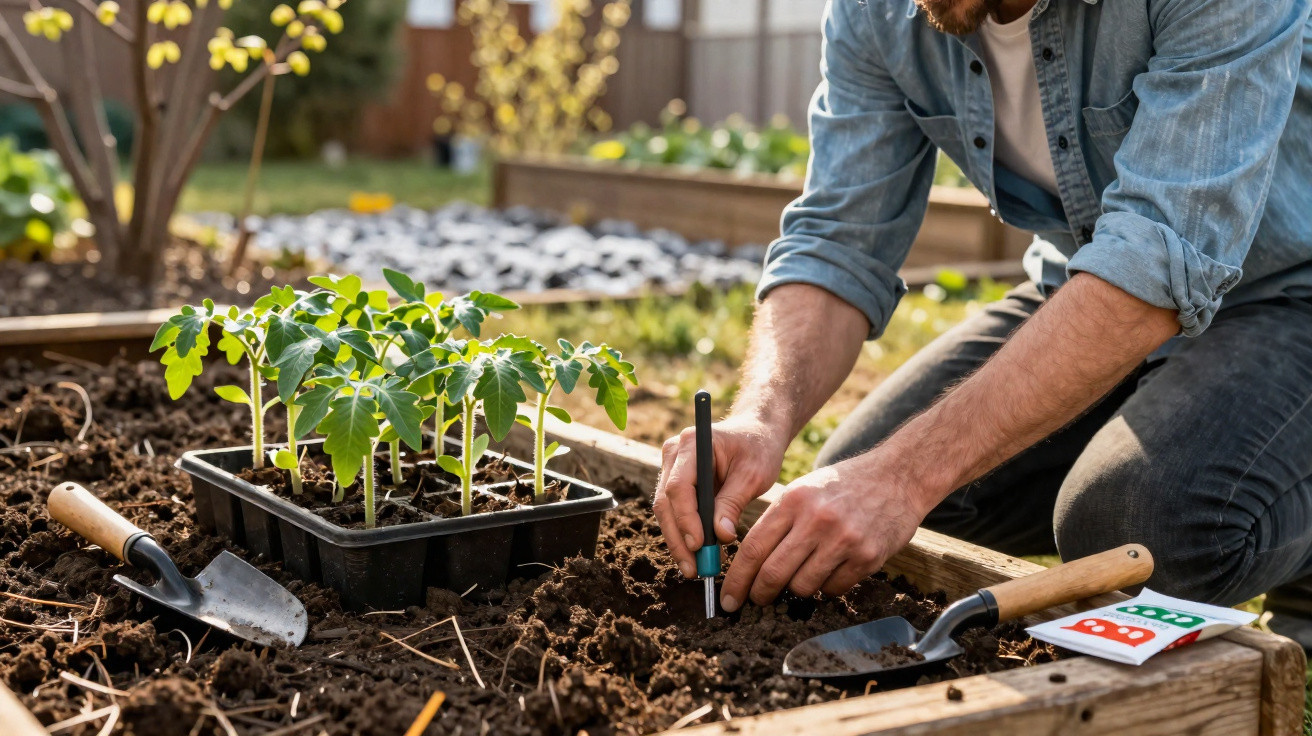
This approach works not only in a conventional garden. Plants in containers and raised beds use nutrients particularly quickly. Here, the cup helps you adjust the quantity of coffee grounds precisely to the smaller volume of soil. For a pot containing one raspberry bush, half a cup per application is usually enough.
Anyone who enjoys coffee and brews it regularly effectively has a fertiliser subscription at home. With a little routine, the grounds no longer go into the bin but instead end up where they can make a real difference: in the bed beneath the raspberries, finely distributed with the help of a simple cup.


Comments
No comments yet. Be the first to comment!
Leave a Comment