
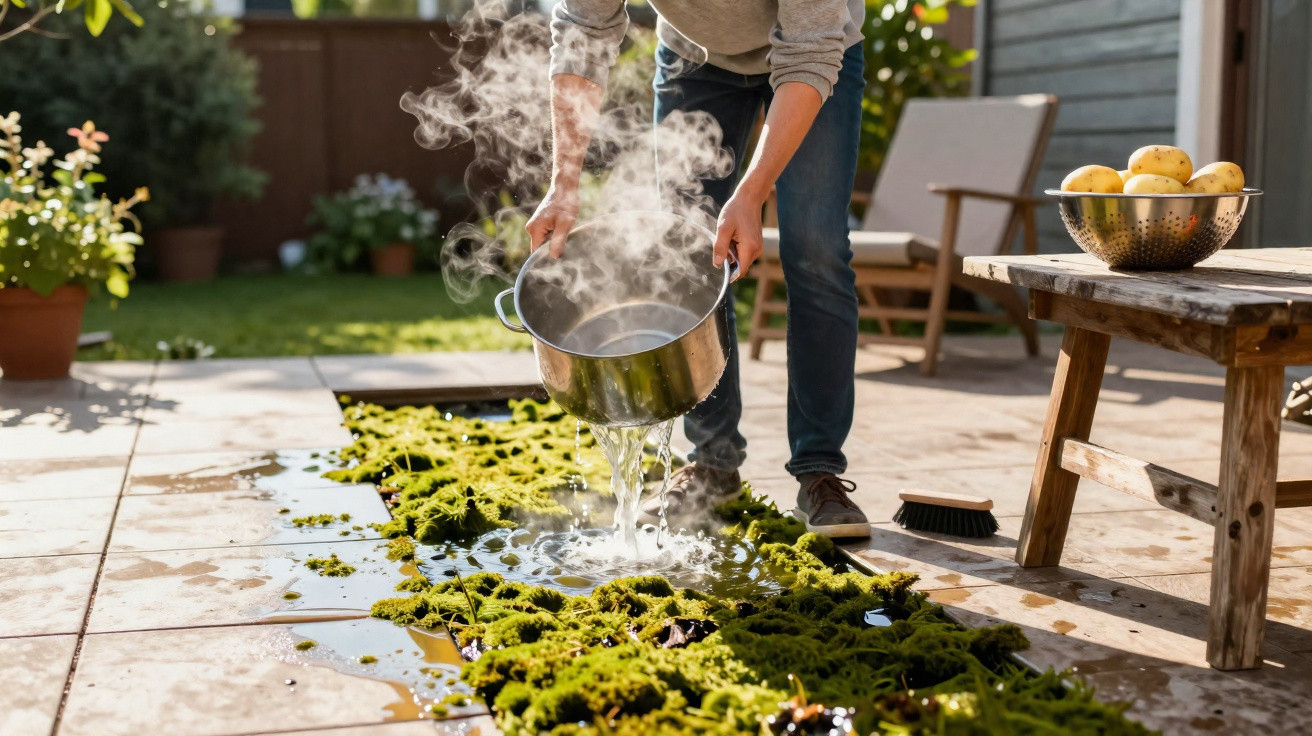
Many people reach for chlorine bleach almost automatically in spring to scrub stubborn moss from paving slabs, wood or stone. Yet this can damage not only the environment but often the material itself. An unassuming kitchen leftover can do the same job – without unpleasant odours, toxic residues or hours of scrubbing.
Why chlorine is a poor choice for patios
Chlorine-based cleaners were long regarded as a quick answer to green growth. In some gardens, the smell is particularly noticeable in March. Specialists now strongly advise against using bleach on patios.
- Chlorine can damage joints, timber and certain types of stone.
- Rainwater can carry it into groundwater.
- It harms insects, micro-organisms and nearby plants.
- Surfaces can often end up bleached and patchy.
There is another issue: the supposed “deep cleaner” barely tackles the underlying cause. Spores remain in joints and pores, then quickly return when conditions are damp. The result is therefore usually short-lived.
Avoiding harsh chemicals protects the soil, garden and your own respiratory system – while also saving money on expensive specialist cleaners.
Moss and algae: how they form on a patio
Moss, algae and lichens thrive in damp, shaded conditions. Common trouble spots include north-facing areas, spaces beneath trees and places without sufficient drainage slope.
Common causes of green growth
- Constant damp caused by missing or blocked drainage
- A shaded position with very little direct sunlight
- Wood, textured tiles or natural stone that retains water on its surface
- Leaves, soil and dust that provide nutrients
This growth makes a patio look dirty and neglected. More importantly, a damp coating makes the ground slippery, and falls are not unusual. Households with children or older people should therefore take the problem seriously.
The zero-cost trick: potato cooking water
What would normally be poured down the drain can be remarkably useful outdoors: the cooking water from potatoes. This tip now appears in many gardening magazines because it combines several benefits.
Why potato water works: the simple chemistry behind it
As potatoes cook, starch from the tubers is released into the water. This starch consists mainly of amylose and amylopectin – two substances that create a fine film as they cool. Those qualities can be used to tackle moss and algae.
- Pour the boiling water over dry growth.
- The sudden heat damages the cells of moss, algae and lichens.
- As it dries, the starch forms a film that blocks the tiny openings on the plant surface.
- The unwanted growth “suffocates” and dies off.
After 24 to 48 hours, the moss turns dark brown to black. It can then be brushed away or swept off with a stiff broom without much effort.
Potato water works in two ways: a heat shock plus a starch film that blocks the breathing of plant residue.
Step-by-step guide to a moss-free patio
1. Remove loose dirt before using the cleaner
Before applying this household remedy, it is worth preparing the area properly:
- Sweep away leaves, soil and loose debris with an outdoor broom.
- Briefly roughen stubborn patches with a brush.
- Allow the surface to dry as much as possible so the hot water is not diluted.
Anyone using a brush and broom should wear gloves and, ideally, safety goggles. Smooth surfaces in particular can cause splashes, while loosened particles can easily reach the face.
2. Using potato water correctly
- Cook potatoes as usual in plenty of water.
- Once cooked, do not allow the water to cool; pour it straight into a sturdy bucket.
- Carefully pour the boiling water onto the affected areas of the dry patio.
- Drench heavily affected joints particularly thoroughly.
- Leave the area undisturbed for at least one day and do not rinse it straight away.
Important: pets and small children should not walk across the still-wet area while the water remains very hot. Once it has cooled, there is no longer any danger.
3. Finishing work after one to two days
After 24 to 48 hours, the green growth should be clearly discoloured. The final stage is then straightforward:
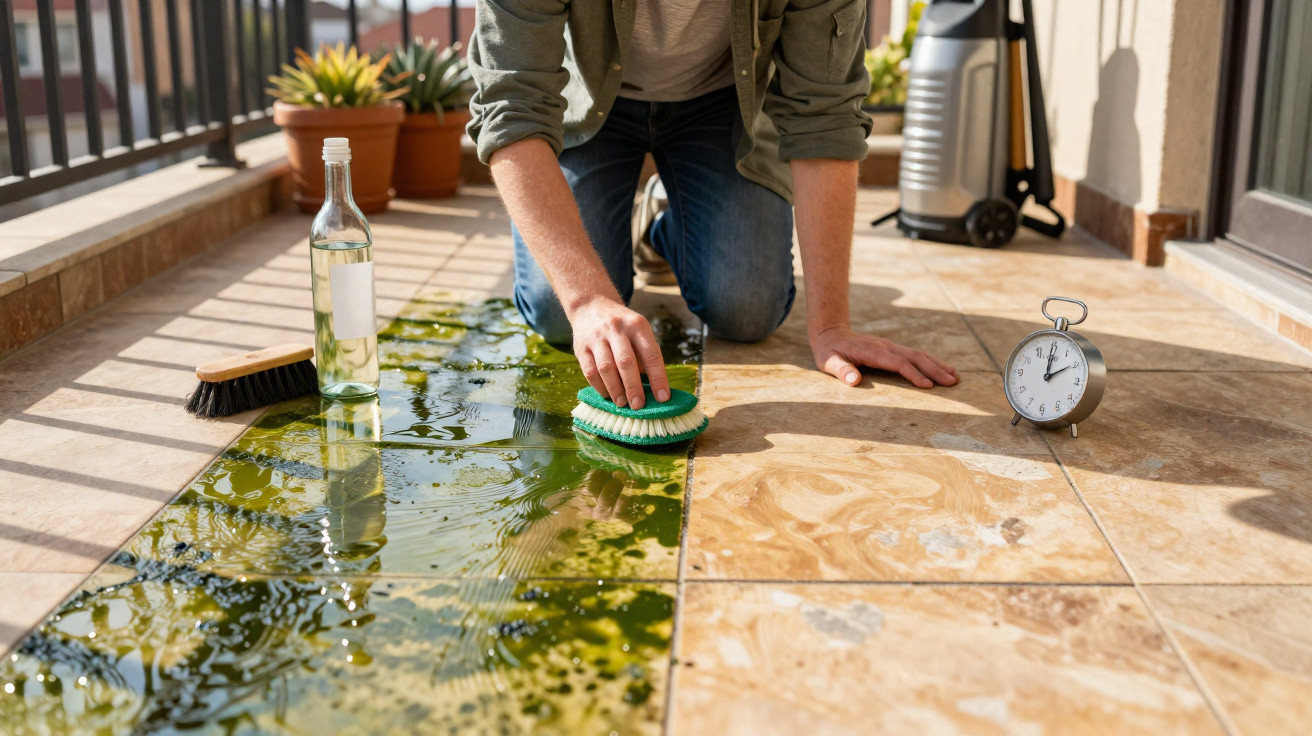
- Remove moss residue with a brush or sturdy broom.
- Rinse with clean water to wash away dirt and the starch film.
- Let the patio dry thoroughly.
If desired, apply a suitable stone or wood protector afterwards to limit future moisture penetration.
Useful alternatives and when to use them
Not everyone happens to be cooking potatoes. Several other household remedies can also help when used properly:
| Product | Effect | Note |
|---|---|---|
| Sodium bicarbonate (a standard kitchen powder) | Changes the pH level and inhibits algae and moss growth | Apply as a solution, leave it to work, then brush |
| Soft soap with a little washing-up liquid | Loosens grease and dirt, improving mechanical cleaning | Particularly suitable for lightly soiled patios |
| Household vinegar | Its acid attacks the cell structure of the growth | Use sparingly only, and not directly beside flower beds or lawns |
If you have very sensitive natural stone, test any new method first in an inconspicuous spot. Some surfaces react badly to acid or strong alkalinity.
How to delay new growth significantly
To prevent the patio from becoming completely green again next winter, maintenance and construction details matter greatly. A few simple steps can make a substantial difference.
Regular maintenance beats drastic treatment
- Clear autumn leaves promptly instead of leaving them for weeks.
- Give the patio a quick dry sweep once a month, paying particular attention to the joints.
- Do not pile potting compost or bark mulch directly against the patio edge.
- Move plant pots occasionally so that no moss patch develops underneath.
Where water regularly pools, check the slope and drainage. Blocked channels or obstructed outlets can often be cleared again with only a few simple actions.
Hydrophobic protection for longer-term help
Applying a sealant or water-repellent protection to stone or concrete after cleaning can significantly reduce the risk of recurring growth. The surface absorbs less water, dries faster and consequently creates less favourable conditions for moss.
These products are available from DIY shops and are formulated for different materials. It is important to let the surface dry completely beforehand; otherwise, the protective layer traps residual moisture inside.
What many people overlook: the risks of pressure washers and “miracle products”
A pressure washer may look tempting at first. It can make a patio appear clean within minutes. At the same time, its powerful jet can wash out joints, tear open wood fibres or roughen delicate stone. This allows dirt and moss to settle even faster when it next rains.
So-called “bio” moss removers also deserve a careful look at their ingredients. A bottle decorated with green leaves is not automatically harmless to insects, soil and groundwater. Many of these products are simply unnecessary when basic household remedies are combined with a brush, patience and regular sweeping.
Practical everyday examples
In everyday life, it makes sense to incorporate the potato-water trick into your cooking routine. If you are already planning to cook at the weekend, collect the cooking water and take it outside directly in a bucket. The more often the growth is treated this way in spring, the clearer the surface remains.
The same principle also works on small paths and steps. The key is always to pour it onto a dry surface and give the water enough time to work. Rinsing the area immediately removes the strengthening starch film.
This approach is particularly suitable in densely built-up residential areas, where rainwater runs into the drainage system: a leftover replaces expensive chemicals, the patio becomes safer to walk on, and your own garden remains largely undisturbed as a habitat for animals and plants.
Comments
No comments yet. Be the first to comment!
Leave a Comment