
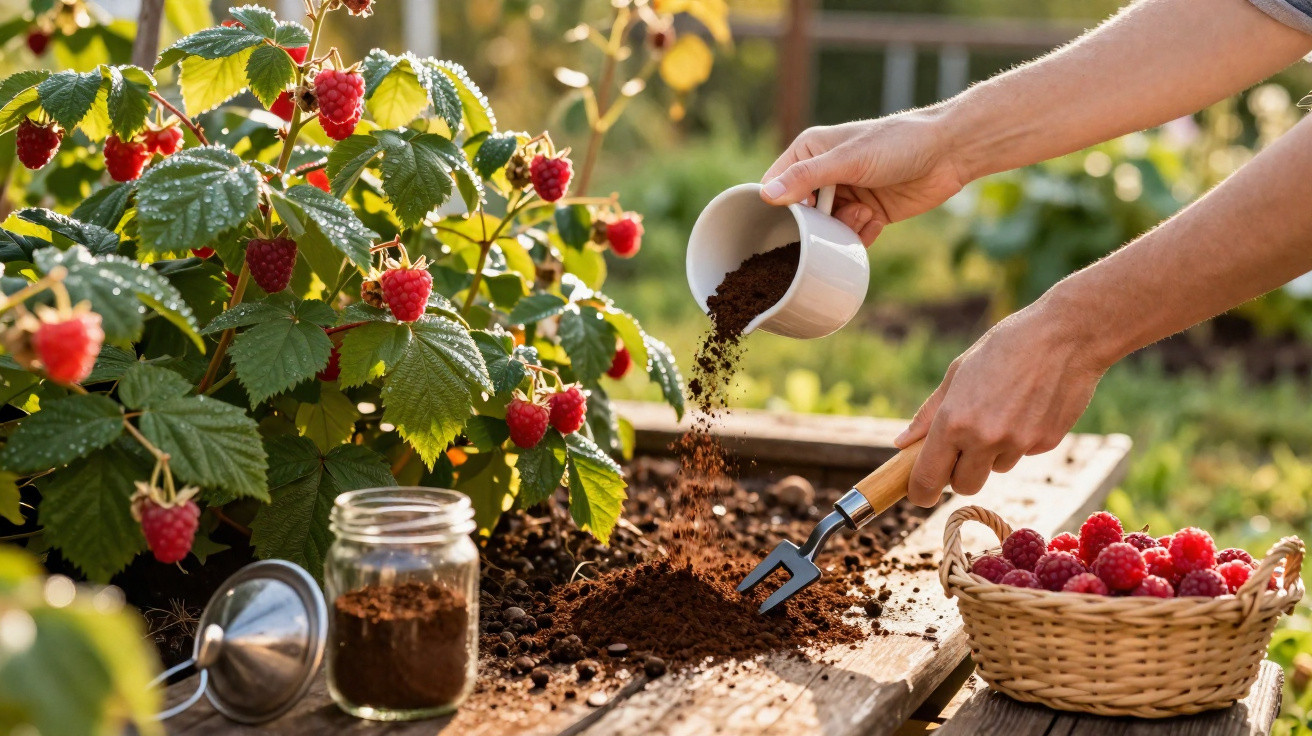
Many people dream in spring of plump, bright-red raspberries picked straight from their own garden or balcony. What is often overlooked is that, without the right trick, the punnet can remain only half full. Something as simple as reaching for a cup of coffee grounds can make a noticeable difference and significantly increase the harvest.
Why raspberries can be so demanding
Raspberries may appear easy to look after: one shrub, a few canes, and that is it. In reality, however, they can be rather fussy. They thrive with:
- slightly acidic, humus-rich soil
- good air circulation and loose soil
- roots that stay evenly moist but never waterlogged
- regular nutrient supplies – particularly in spring
Anyone who simply plants them and hopes for the best can quickly be disappointed by thin canes, small fruit and only a few berries. This is exactly where the coffee-grounds cup trick can help.
When used correctly, the contents of a coffee cup act like a natural boost for raspberry growth and fruit set.
The coffee-grounds “cup method” for raspberries
The principle behind the method is straightforward: instead of throwing it away, add one cup of dried coffee grounds at the base of your raspberry plants. Timing, quantity and preparation are what matter most.
Step 1: Collect and prepare coffee grounds correctly
Fresh, wet coffee grounds clump together, develop mould quickly and may form a seal across the soil surface. Use this approach instead:
- Allow the coffee grounds to cool after brewing.
- Spread them in a thin layer over a tray or plate.
- Leave them to air-dry for one to two days.
- Store the dry grounds in a jar or bucket.
This keeps the grounds neutral-smelling, easy to spread and free from unwanted rot in the beds.
Step 2: Use the right quantity for each plant
For an established raspberry plant, the following is a useful rough guide:
- in spring: around one cup (approximately 50–80 g) per plant
- for large, densely planted rows: around one handful per linear metre
In this case, less is often more. Applying layers that are too thick can upset the nutrient balance and cause the soil surface to become compacted.
Step 3: Work it into the soil instead of leaving it on top
Coffee grounds should not simply be placed on the ground like mulch. They need to be worked in lightly:
- Make a shallow, loose furrow around the plant, about 3–5 cm deep.
- Spread the coffee grounds evenly.
- Cover them with existing soil or mulch, such as bark chippings, leaves or grass.
- Water thoroughly afterwards.
This places the nutrients where the roots can absorb them while ensuring the coffee grounds remain breathable.
What coffee grounds actually do in a raspberry bed
Coffee grounds are far more than a kitchen waste product. They can provide raspberries with several benefits:
| Effect | Benefit for raspberries |
|---|---|
| Nitrogen | Encourages strong, dense foliage and vigorous canes. |
| Potassium and trace elements | Supports flower formation, fruit set and resilience. |
| Improved soil structure | Makes the soil looser and helps it retain water without becoming waterlogged. |
| Slight acidification | Creates the conditions that raspberries enjoy. |
| Repellent effect | Helps keep some slugs and ants at a little distance. |
Coffee grounds work in a raspberry bed like a gentle organic fertiliser: they do not overwhelm the plants, but help make them more robust over time.
The best time to use the cup method
The coffee-grounds cup trick has its greatest effect in spring, when raspberries begin to grow. At this stage, new canes emerge from the soil and the plants need nutrients.
One possible plan for the growing season is:
- Early spring: Loosen the soil, remove old or diseased canes, and work in the first cup of coffee grounds.
- Before flowering: After 4–6 weeks, add a smaller amount mixed with compost.
- Summer: In very light soil, apply no more than one small, thin dose; otherwise, pause feeding.
Gardeners who care for their plants this way every year will usually notice a clear difference by the second year at the latest: more sturdy canes, more flowers and more berries.
Common mistakes when using coffee grounds in the garden
Because the trick sounds so simple, it is easy to overdo it. A few common pitfalls can be avoided without difficulty:
- Using too much at once: Thick layers can compact the soil and lead to waterlogging.
- Always applying it wet: Wet coffee grounds often become mouldy and develop a musty smell.
- Sprinkling it only on the surface: It can dry into a hard crust that causes water to run off.
- Using it for only one type of plant: Raspberries respond well, but other berry bushes also benefit.
Using restrained quantities and always mixing the grounds with other organic material is a much safer approach.
Combining coffee grounds wisely: compost, mulch and balcony containers
The cup method can be adapted in several ways. Combining methods is especially worthwhile in small gardens or on balconies.
Coffee grounds in compost
Coffee grounds are excellent for the compost heap. They supply nitrogen and moisture, both of which encourage decomposition. Added in moderation – ideally mixed with dry materials such as leaves or cardboard – they produce balanced humus that raspberries love.
Feeding raspberries in pots or containers
More and more people are growing raspberries on balconies. Since the nutrient reserve in a container is limited, a cup of coffee grounds can be particularly useful:
- Use only very small quantities, around 1–2 tablespoons per application.
- Mix the grounds with fresh soil or compost.
- Water well regularly so that salt concentrations do not build up.
Every fertiliser application has a stronger effect in pots, so extra care with dosage is essential.
Risks and limits of the cup trick
Useful as coffee grounds may be, they are not a miracle cure. If the soil is completely depleted or raspberries are permanently kept in shade, coffee grounds alone will not deliver a record crop.
Several points are worth bearing in mind:
- Very chalky soils often react only weakly because the slightly acidic effect is buffered.
- In beds with heavy weed growth, thorough weeding and loosening must come first for the method to offer its full benefit.
- Soil testing can be worthwhile if plants continue to struggle despite good care.
Coffee grounds are a worthwhile addition, but they cannot replace a well-planned site with enough light, suitable soil and regular pruning.
Why the coffee-grounds trick is so popular in home gardens
One reason is obvious: this “fertiliser” costs nothing, is produced daily in many households anyway and reduces waste. At the same time, it fits perfectly with the growing preference for natural gardens without harsh chemical products.
By linking a daily coffee routine with a quick visit to the raspberry bed, you can create a nutrient cycle almost without thinking about it: from the filter into the cup, from the cup into the soil, and eventually the extra-sweet raspberries return to the kitchen as a dessert, jam or a snack eaten straight from the hand.
Beginners should start small: treat one or two plants specifically with the cup trick and compare them with untreated plants. After one season, many home gardeners report visibly stronger canes and substantially fuller punnets at harvest time.
Comments
No comments yet. Be the first to comment!
Leave a Comment