
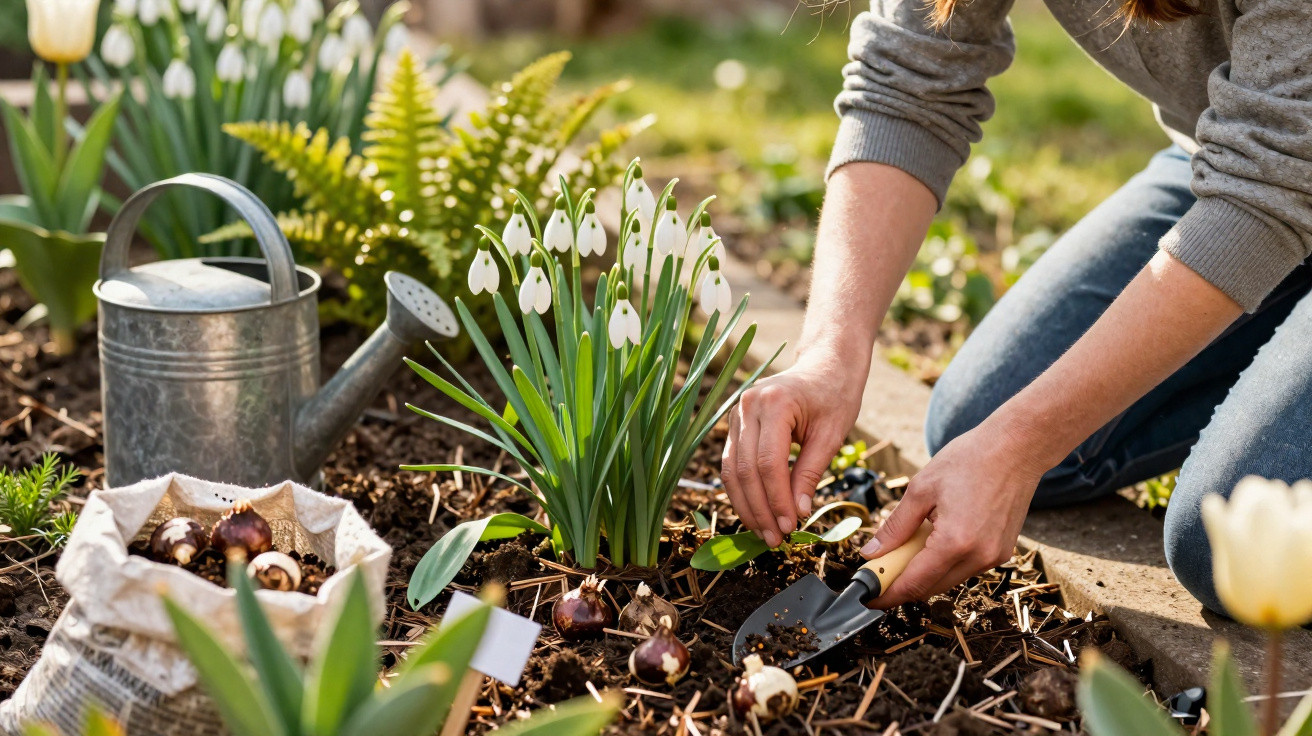
The white bells have finished flowering, winter is over – so what comes next?
Anyone who takes the right steps now will ensure a sea of blooms next year.
Once snowdrops have dropped their delicate flowers, a border can suddenly look rather bleak. Many amateur gardeners reach for the shears too quickly or dig up bulbs they see as being in the way. In doing so, they unintentionally weaken these early spring flowers. A few straightforward measures after flowering will keep snowdrops thriving for years and can even help them multiply.
Leave the leaves alone: why patience matters now
After flowering, snowdrops enter their crucial recovery period. Their green leaves continue working for several weeks, supplying the bulb with energy for the following year.
“Anyone who cuts back the foliage too early takes away the bulb’s battery – and risks having far fewer flowers next spring.”
The plants need around six to eight weeks after flowering to store sufficient reserves through their leaves. During this period:
- never cut back or tie together the leaves
- leave the plants undisturbed rather than repeatedly pulling at them
- remove fading stems only once they have dried out completely
Yes, yellowing foliage is not particularly attractive. Even so, patience is more beneficial than any cosmetic tidy-up. One practical solution is to combine snowdrops with perennials that emerge slightly later and gradually conceal the fading leaves.
Suitable companion plants for snowdrops
Plants that share similar growing requirements and wake up gradually in spring are especially well suited:
- Hostas – emerge later and elegantly hide yellowing foliage
- Ferns – enjoy the same partially shaded, humus-rich soil as snowdrops
- Cranesbill – creates loose ground cover and provides greenery all summer
This keeps the border looking appealing without interfering with the bulbs’ natural life cycle.
Watering snowdrops correctly: moist but never waterlogged
Snowdrops need water for as long as their foliage remains green. In particularly dry springs, many clumps of bulbs simply dry out, which has consequences the following year.
- Water once or twice a week during prolonged dry spells.
- Keep the soil consistently moist, but avoid waterlogging.
- Water gently so that the bulbs are not washed free of the soil.
Waterlogged soil can quickly lead to rot and fungal problems. Gardeners with heavy soils benefit from slightly raised planting areas or from incorporating sand and compost, allowing excess water to drain away more easily.
Feeding after flowering: how snowdrop bulbs build strength
A targeted feed after flowering can make a noticeable difference to the quantity of blooms next year. The best time is immediately after the flowers have faded, while the foliage is still a strong green.
“A low nitrogen content and plenty of potassium are ideal – this strengthens the bulb rather than just the foliage.”
A practical feeding plan is as follows:
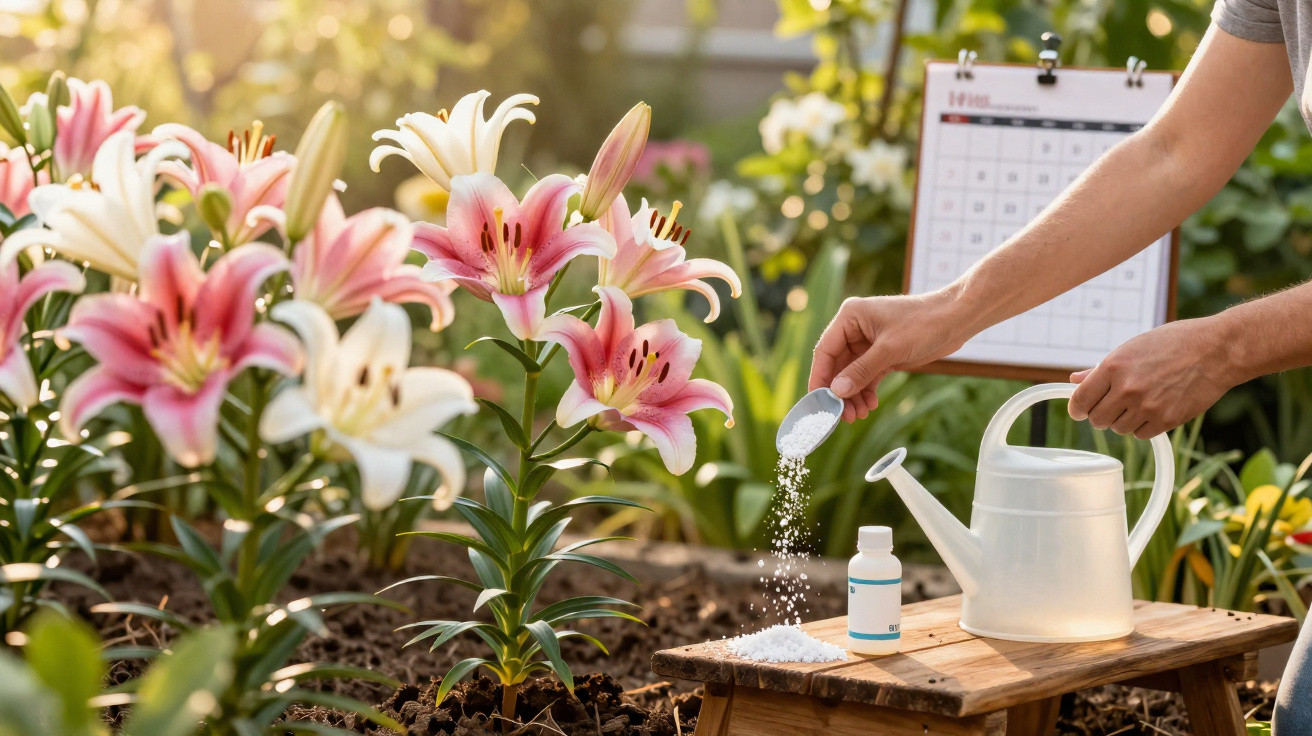
- Spread a granular bulb fertiliser with low nitrogen content as soon as flowering has ended.
- Water thoroughly afterwards so the nutrients reach the root zone.
- If clumps are weak or have not been divided for a long time, apply a light additional feed two weeks later.
- Stop feeding as soon as the foliage starts to turn distinctly yellow.
Organic alternatives for patient gardeners
Those who prefer a natural approach can use organic nutrient sources:
- Horn meal or bone meal – releases phosphorus and other minerals slowly
- Well-rotted compost – improves soil structure and supplies nutrients over the long term
A thin ring of compost around the clumps is entirely sufficient. Importantly, do not dig it in deeply, as this may damage the shallow-set bulbs.
Dividing and moving snowdrops: when they need a new position
Over the years, snowdrops form dense clumps. Once these begin to flower only sparsely, it is time to divide them. The ideal time is immediately after flowering while the leaves are still green – gardeners refer to this as planting “in the green”.
Proceed methodically as follows:
| Step | Action | What to watch for |
|---|---|---|
| 1 | Carefully lift the clump using a garden fork | Start at the outside to avoid damaging bulbs |
| 2 | Gently split the bulbs into small groups | Keep the roots as intact as possible |
| 3 | Replant them straight away | Plant at roughly the same depth as before |
| 4 | Water well | Wash the soil gently around the roots |
The major advantage of this method is that the plants are still actively growing and can form new roots immediately in their new position. Bulbs stored dry over summer establish themselves far less successfully.
Spacing and location for new snowdrop areas
A spacing of three to four centimetres is enough for a natural appearance. Those wanting dense carpets quickly can plant more closely, but will need to divide the clumps more often. Snowdrops look particularly harmonious:
- beneath deciduous shrubs
- along the edges of woody plants with an open canopy
- in lawn areas that are not mown for the first time until later in the year
A humus-rich, loose and evenly moist soil is important, as is avoiding a position exposed to intense midsummer sun.
Border care once the foliage has disappeared
As soon as snowdrop foliage has dried out completely and can be pulled away easily, the active growth period is over. The withered remains can now be removed and composted.
Anyone working in their borders during summer should mark the bulb positions, for example with small canes or plant labels. Otherwise, it is all too easy for a spade to go straight through the invisible dormant bulbs.
Mulch: a protective layer used sparingly
A thin mulch layer helps retain moisture in the soil, suppress weeds and moderate temperature extremes. Suitable materials include:
- leaf mould
- finely chipped bark
- garden woodchips made from untreated wood
A layer of two to three centimetres is sufficient. Anything thicker may form a dense covering in winter that fresh shoots will struggle to push through later.
Using snowdrops cleverly in garden design
Thinking a little further ahead allows snowdrops to structure the garden season intelligently. They are ideal for so-called layered planting: early-flowering plants below, with later-emerging perennials above them. This keeps borders interesting from February through to autumn.
Typical pairings include snowdrops with lungwort, later-flowering epimediums or small fern varieties. All enjoy similar soil conditions and create a harmonious picture together without crowding one another.
Common mistakes – and how to avoid them
Anyone wishing to keep snowdrops in the garden over the long term should be aware of a few pitfalls:
- Mowing the lawn too early – in a snowdrop lawn, wait to mow until the foliage has died back completely.
- Using too much nitrogen fertiliser – this may create leafy growth, but it weakens the bulbs.
- Digging over the soil every year – this destroys dormant bulbs, particularly in vegetable beds.
- Allowing summer drought without watering – this gradually causes colonies to decline.
Gardeners who keep these points in mind will see a floral signal against winter’s grey every year before the rest of the neighbourhood. Snowdrops reward calm, forward-thinking care with ever-larger groups, self-seeding and a garden that already feels alive in late winter.




Comments
No comments yet. Be the first to comment!
Leave a Comment