
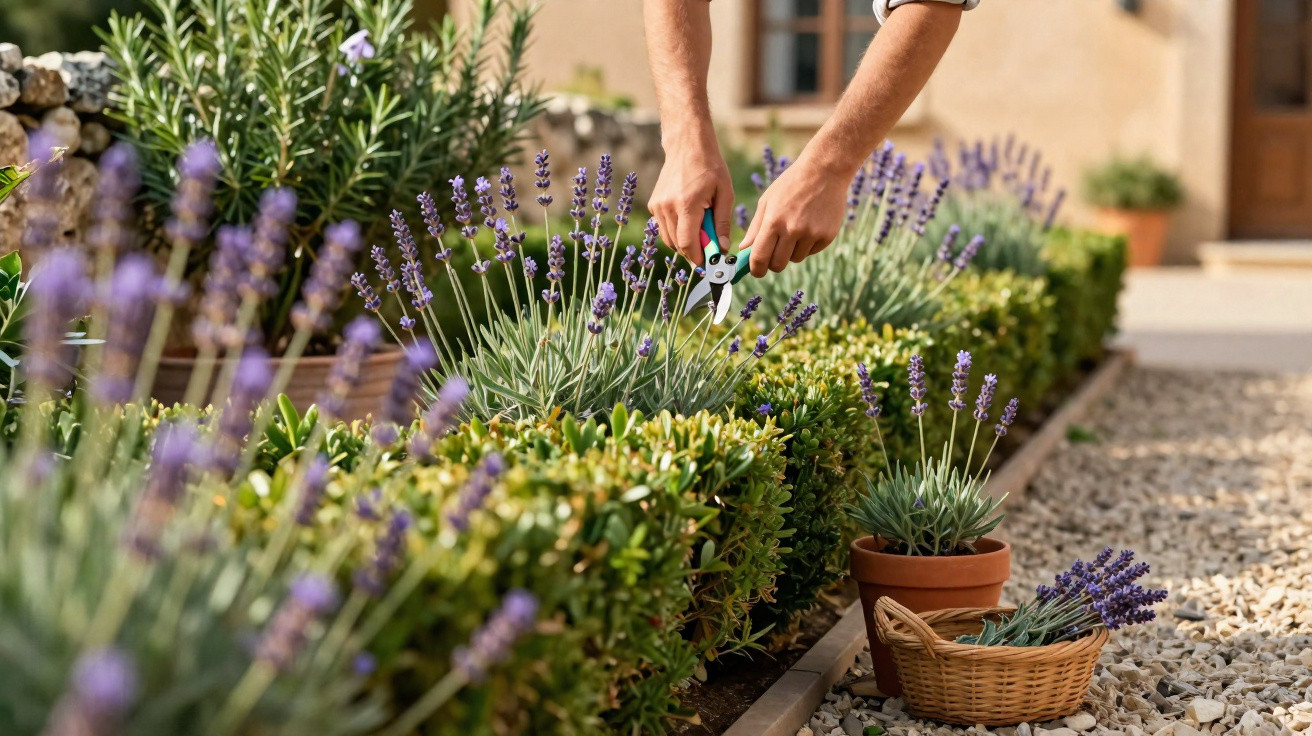
Many people blame climate change, the soil or the age of their plants. Yet, in reality, one very simple missing cut often determines whether lavender dies after a few years or flowers reliably for two decades.
Why lavender becomes woody so quickly without pruning
Lavender is not a typical herbaceous perennial; it is a subshrub. This means its lower stems become woody while the upper growth remains soft and green. That is precisely where the difficulty lies. Old, brown wood produces new shoots only unreliably. Leave a bush to grow unchecked and, after a few years, the same pattern emerges:
- the centre becomes increasingly bare
- shoots flop outwards
- the plant resembles a dried-out twig broom
If you then reach for the secateurs late and boldly cut into the brown wood, it is generally already too late. Many of these branches simply remain dead. The result is a gradual decline, often well before the plant has reached its natural potential.
Regular pruning within the green growth can extend lavender's lifespan from under ten to up to twenty years.
Lavender pruned correctly each year stays dense and rounded, continually producing fresh shoots that are keen to flower. It remains youthful in appearance and biologically active.
The two best times to prune lavender
There is considerable uncertainty about timing: many amateur gardeners hesitate to prune lavender because they fear doing it at the wrong moment. However, two pruning windows have proved particularly effective, with adjustments for local climate and region.
Main prune after flowering
The most important pruning time comes straight after the main flowering period, usually from late August to late September. By then, the plants have invested their energy in flowering, are beginning to recover, and respond well to a firmer trim within the green growth.
Shaping prune at the end of winter
The second opportunity is towards the end of winter, between February and March. Before sap flow becomes too vigorous, you can refine the shape, remove dead shoots and encourage the plant to branch again.
Timing varies slightly according to location:
- Mild regions: Carry out the main prune after flowering; a light shaping cut is often possible from late February, provided the buds are still tightly closed.
- Cooler locations (northern areas, higher uplands and the edge of the Alps): In autumn, mainly remove spent stems. Schedule the proper shaping and maintenance prune for March, choosing frost-free days.
The calendar provides only a broad guide. If you are unsure, inspect the plant: when the flowers have faded, the foliage is still green and there is no strong new growth, the time is usually right.
The essential rule: prune only green wood
The key technique is remarkably straightforward, yet many people overlook it: lavender tolerates pruning, but only in the green, leafy section.
Never cut lower than just above the final layer of green leaves – this invisible “safety line” saves many lavender plants.
In practical terms, proceed as follows:
- Look at the plant from the outside and identify the area that still carries green leaves.
- Imagine a line just above the final pairs of leaves.
- Make every cut so that at least several centimetres of green shoots remain.
Cutting further down into bare, brown wood risks those shoots never growing again. Older lavender bushes are especially sensitive to this.
Step-by-step guide: how to prune lavender properly
Following the right sequence makes pruning less daunting and enables even beginners to do it successfully. Before making the first cut, quickly check your tools: clean, sharp, disinfected secateurs considerably reduce the risk of disease.
1. Remove faded flower stems
Start by taking off the spent flowers. Cut each flower spike just above the first pair of leaves. This “cosmetic cut” immediately makes the plant look tidier and stops it putting too much energy into seed production.
2. Shorten the green growth
Next, reduce the entire green area by roughly one third. At this stage, the final shape is less important. The aim is to return the plant to a compact mound.
- Young plants can be cut back by as much as half of their green shoots.
- With older specimens, be more cautious and remove no more than one third.
3. Round off the shape
Finally, give the lavender its characteristic cushion-like form. Bring all shoots to a similar length, removing harsh corners and individual overlong stems. Air and light should reach the middle of the plant without leaving gaps.
The more even the “lavender ball” appears, the more stable it remains – and the less likely its shoots are to flop under snow or heavy rain.
Young, mature and old lavender bushes – what differs?
Not every lavender plant in the garden requires the same approach. Its age and variety both matter.
| Age / type | Pruning strategy |
|---|---|
| Young plants (1–3 years) | Prune fairly firmly, removing up to half of the green shoots; this promotes strong branching and a dense base. |
| Mature plants (lavender, lavandin, butterfly lavender) | Cut only within the green growth, always leaving 3–5 cm of leafy shoots, and maintain the shape carefully. |
| Very old shrubs | Rejuvenate gradually by removing only some of the oldest shoots each year; replace plants with entirely bare bases with new ones. |
Many gardeners are emotionally attached to old lavender bushes. When no green shoots are forming at the base, drastic rejuvenation is usually no longer worthwhile. Instead, take cuttings from the finest plants that are still vigorous in good time, then establish young replacements elsewhere.
Common mistakes that shorten lavender's life
Several pruning errors occur time and again, dramatically reducing the plant's lifespan:
- Severe cutting into old wood: Shoots are cut back radically, but then remain dry and fail to regrow.
- Pruning during vigorous new growth: Heavy cutting during the spring sap-flow peak severely weakens the plant.
- Not pruning at all: The plant may look excellent at first, but it reaches the “bare broom” stage much sooner.
- Pruning in wet, cold weather: This encourages fungal diseases and rot at the cut surfaces.
Avoid these pitfalls and follow the green safety line, and you have already dealt with the most important part.
Why this lavender pruning technique works so well
The principle behind the method is simple horticulture: the green sections contain active buds that quickly form new side shoots after pruning. This creates denser, finer branching. Year after year, the plant develops a compact framework of young, productive shoots.
Lavender stays young for longer when it is deliberately encouraged to grow, rather than being allowed to become woody unchecked.
Instead of directing its energy into long, woody stems, the plant produces many short shoots with strong flowering potential. More light reaches every leaf, moisture dries more quickly, and the risk of fungal infection is reduced.
Useful extra tips for long-lived lavender
Correct pruning is half the battle, but a few additional factors can extend its lifespan even further:
- Position: Choose a spot in full sun that is airy and relatively dry; waterlogging is more deadly than drought.
- Soil: It should be lean, ideally sandy or gravelly, and free-draining; if in doubt, loosen it with grit or sand.
- Feeding: Use fertiliser very sparingly, or preferably not at all. Excess nutrients make shoots soft and prone to snapping.
- Choosing varieties: In cold regions, tougher lavandin varieties are often more reliable than sensitive butterfly lavender.
When planting new lavender, establish this routine from the outset: during the first few years after planting, cut it back firmly and regularly within the green growth so it develops a dense basic framework. Later, the annual two-part prune after flowering and at the end of winter is sufficient.
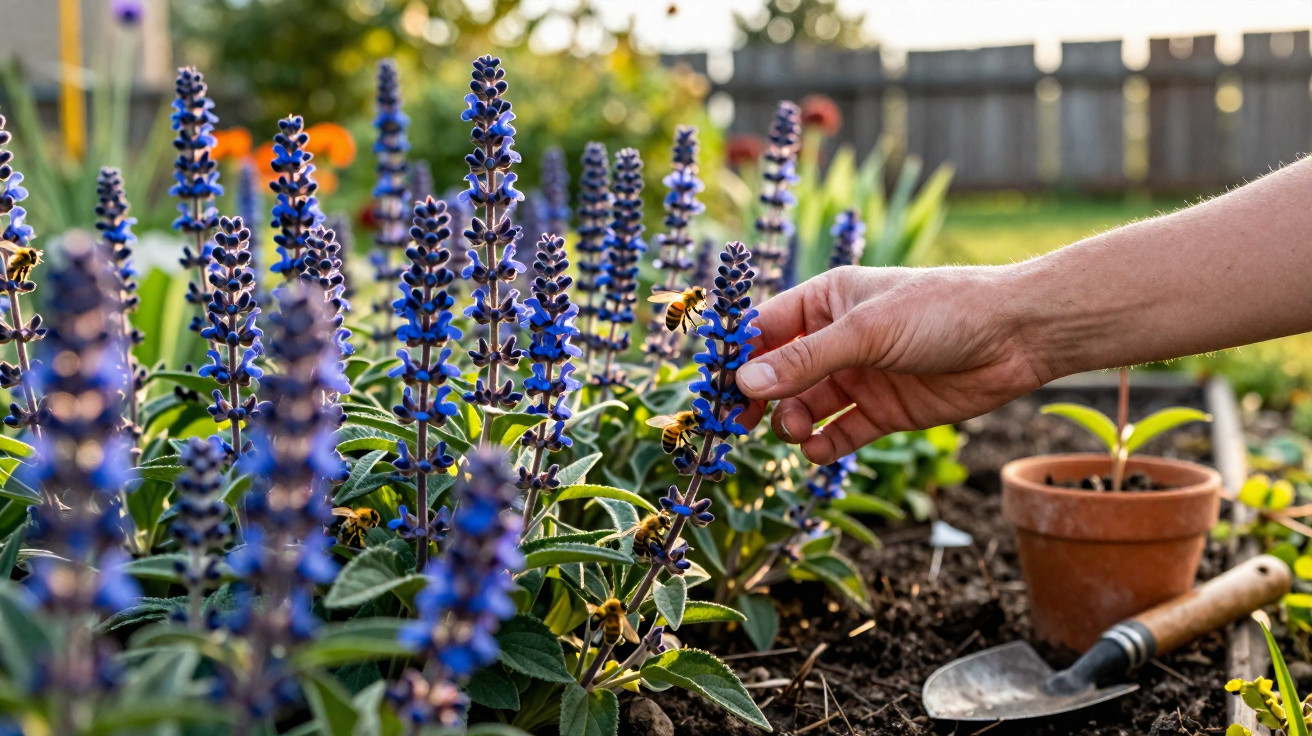
This way, lavender not only survives for longer but also produces more fragrant blooms for bouquets, scented sachets or as forage for bees. With sharp secateurs, a clear view of the green safety line and the confidence to prune, you can almost double the lifespan of the blue mounds in the garden.
Comments
No comments yet. Be the first to comment!
Leave a Comment