
Limescale build-up in a shower is a common issue in areas where the water contains high levels of mineral salts. Over time, these deposits collect in the small holes of the shower head, creating hard layers that restrict water flow. As a result, the spray loses pressure, becomes uneven and may even shoot in different directions, while also increasing shower time and energy use.
What is shower limescale and why does it affect the water spray?
“Limescale” consists mainly of calcium and magnesium carbonates found in hard water. As the water heats up and comes into contact with air, some of these minerals separate out and adhere to the shower’s internal and external surfaces.
Eventually, a white or yellowish coating forms around the holes. It gradually becomes thicker, partly or completely blocking the openings. This lowers the water pressure, redirects the streams and can put extra strain on the electric heating element, leading to higher energy consumption and more wear on the appliance.
How can you safely remove limescale from a shower using vinegar?
Limescale deposits can be removed without taking apart the shut-off valve by using white vinegar. Its mild acidity dissolves embedded mineral salts, softens the crust and clears the narrow channels that water flows through, helping to restore an even spray.
First, switch off the shower’s electrical supply at the consumer unit and turn off the water supply. It is also sensible to protect the wall and any more delicate metal surfaces, particularly if the shower has a sensitive finish or older chrome-plated parts.
- Turn off the electricity and water: switch off the shower circuit at the consumer unit and close the bathroom’s main water shut-off valve.
- Make the solution: combine equal parts white vinegar and warm water; for severe deposits, use undiluted vinegar cautiously.
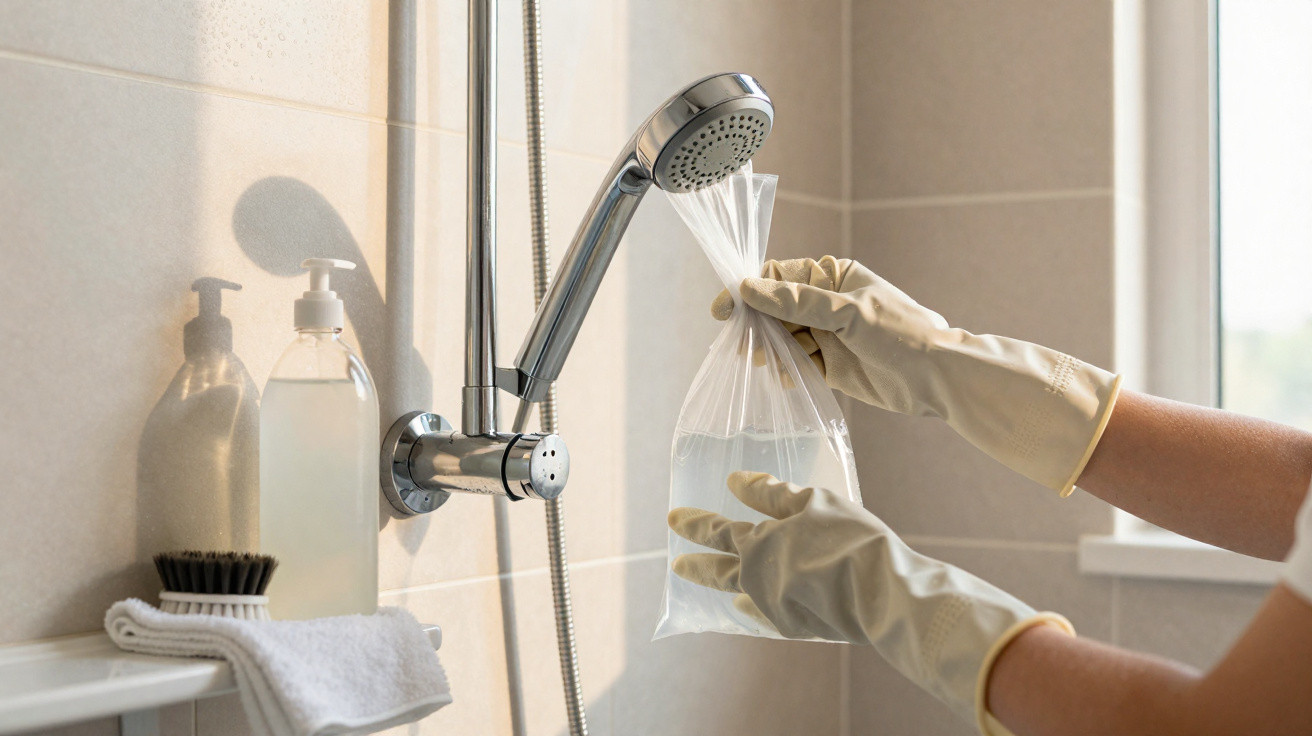
- Fill a sturdy plastic bag: add enough solution to completely cover the shower head.
- Secure the bag to the shower: place it around the shower head and fasten it with an elastic band or tape, ensuring the holes are submerged.
- Allow it to work: leave it in place for 20 to 40 minutes, checking that the finish is not being damaged.
- Remove the bag and brush: dispose of the liquid, then scrub the surface with a soft-bristled brush or an old toothbrush.
- Turn on the water to rinse: open the valve and let water run for a few minutes, while the electricity remains off.
- Restore the electricity: turn the circuit back on at the consumer unit and test the water spray as normal.
How often should a shower be cleaned, and what helps prevent limescale?
Cleaning frequency will depend on the quality of the water supply in the property. In places with very hard water, the shower should ideally be cleaned every 30 to 45 days. In areas with lower mineral levels, cleaning it every two or three months is usually enough to keep the spray consistent.
A few straightforward measures can slow down the formation of new deposits and help the shower last longer, without the need for major maintenance or harsh cleaning products.
- Quick rinse after showering: leave the water running for a few seconds on the widest spray setting.
- Moderate use of strong chemicals: do not apply highly aggressive products directly to the shower.
- Fitting filters: consider inlet filters or shower-specific filters in properties supplied with hard water.
- Regular visual checks: look for changes in the spray, diverted streams and early white marks.
When does cleaning shower limescale with vinegar not fully solve the issue?
If the spray remains weak or uneven after cleaning, the shower may be very old, have misshapen internal components or a damaged heating element. In such cases, repeatedly attempting to remove limescale alone may not restore its performance.
In this situation, it is worth asking a professional to assess the electrical components, the condition of the shower head and the internal seals. Where there is excessive wear or cracking, replacing the entire shower is generally the safest and most cost-effective solution in the medium term.






Comments
No comments yet. Be the first to comment!
Leave a Comment