
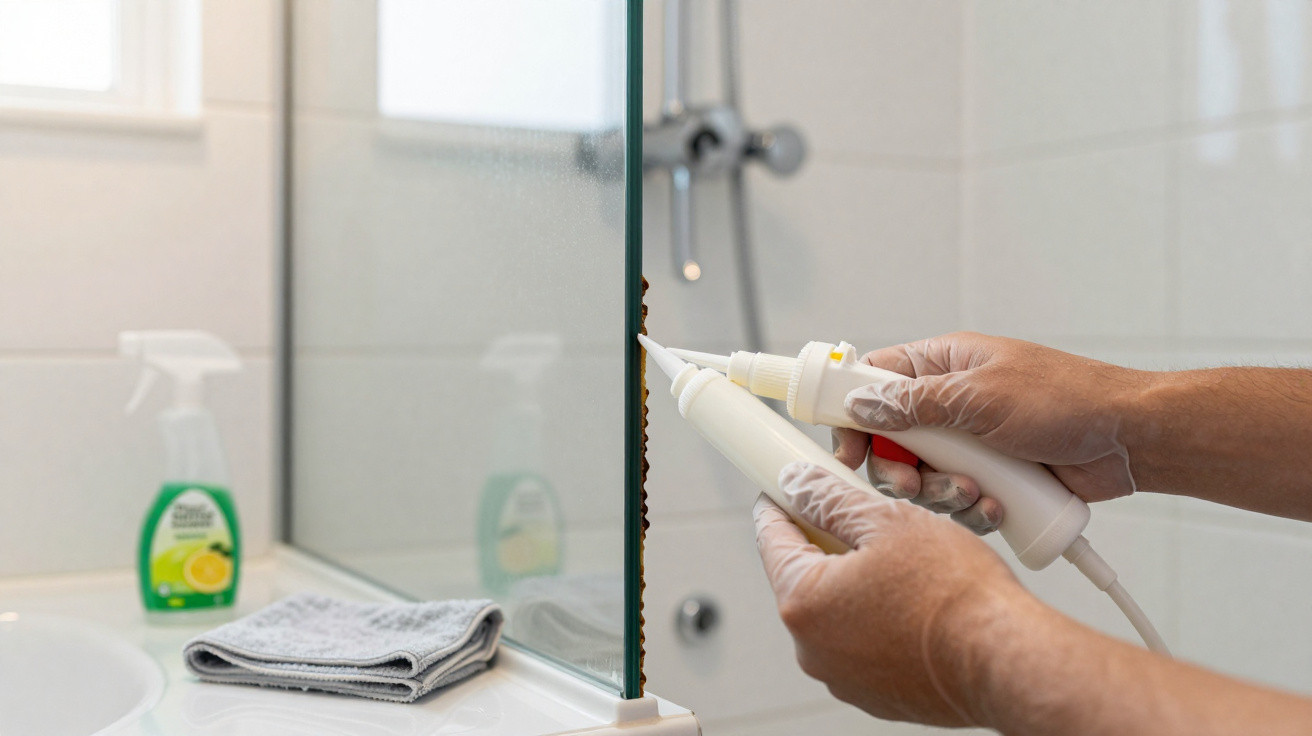
When shower enclosure silicone becomes dry, cracked or loose, it no longer stops water passing through the joints between the floor and walls. The proper repair is not simply applying a fresh layer over the old one: the damaged material must be removed entirely, mould cleaned away, the surface dried and the seal renewed.
Why does shower enclosure silicone start to crack and develop mould?
Shower enclosure silicone is exposed every day to water, heat, cleaning products and the natural movement of the surrounding components. Over time, it can lose its flexibility and pull away from the edges, leaving gaps where moisture remains trapped and encourages dark marks to form.
- Ageing and loss of material flexibility;
- Application onto a damp or dusty surface;
- Movement between the floor, wall and shower enclosure frame;
- Frequent use of overly harsh cleaning products;
- Defects or gaps left during the previous application;
- Insufficient ventilation and slow bathroom drying.
How do you remove all the old silicone?
Start with a dry shower enclosure and take out the old bead using a plastic scraper or a sealant remover designed for the job. Carefully cut along the edges and pull away the material gradually, avoiding sharp metal tools that could scratch the glass, chip the tiles or damage the waterproofing.
Fine remnants must be removed as well, since new product will not adhere properly over old silicone. Silicone used as a sealant repels water and remains highly flexible, but it needs a clean, stable and completely dry base to create an unbroken bead.
How can you remove mould left beneath the seal?
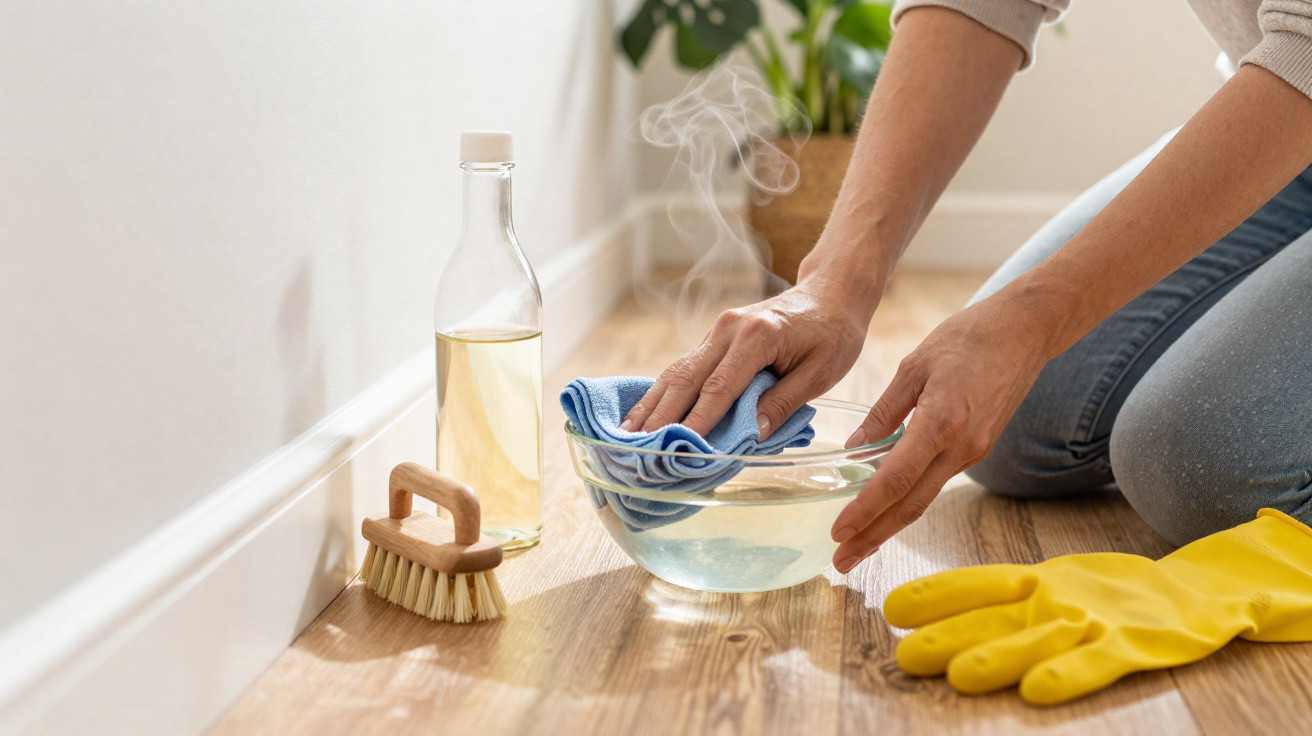
Once the silicone has been removed, wash the joint with water and mild washing-up liquid to clear away soap, body oils and dirt. On glass or ceramic surfaces, white vinegar may be used separately on small superficial marks, provided it is tested first and completely removed before resealing.
- Never mix vinegar with bleach or other cleaning products;
- Wear gloves and keep the bathroom ventilated;
- Scrub the area using a small, soft brush;
- Rinse thoroughly so that no vinegar, detergent or residue remains;
- Dry with clean, lint-free cloths;
- Replace grout or porous materials that are deeply contaminated.
How do you reapply silicone to prevent further leaks?
Wait until the joint is fully dry. A fan or hairdryer on a cool or warm setting, kept at a distance, can help moisture evaporate, but should not excessively heat the glass or tiles. Apply masking tape along both sides and use fungus-resistant sanitary silicone, creating a continuous bead without breaks or air bubbles.
Smooth it straight away with a suitable tool or a gloved, lightly dampened finger, taking care not to let soapy water get underneath the product. Remove the tape before a surface skin forms, and follow the manufacturer’s stated curing time in full, which may require leaving the shower enclosure dry for 24 hours or longer.
How can you stop silicone becoming mouldy and coming loose again?
After showering, use a squeegee to remove pooled water, leave the shower enclosure door open and ventilate the room. Do not scrub the bead with stiff brushes or abrasive products. Gentle, regular cleaning prevents soap residue from building up into a layer on which mould can develop more easily.
Guidance for preventing mould from returning in the bathroom also relies on controlling humidity. If water continues to appear outside the shower enclosure, tiles are bulging or the new silicone comes loose quickly, there may be a waterproofing failure that needs professional assessment rather than just replacement of the seal.



Comments
No comments yet. Be the first to comment!
Leave a Comment