
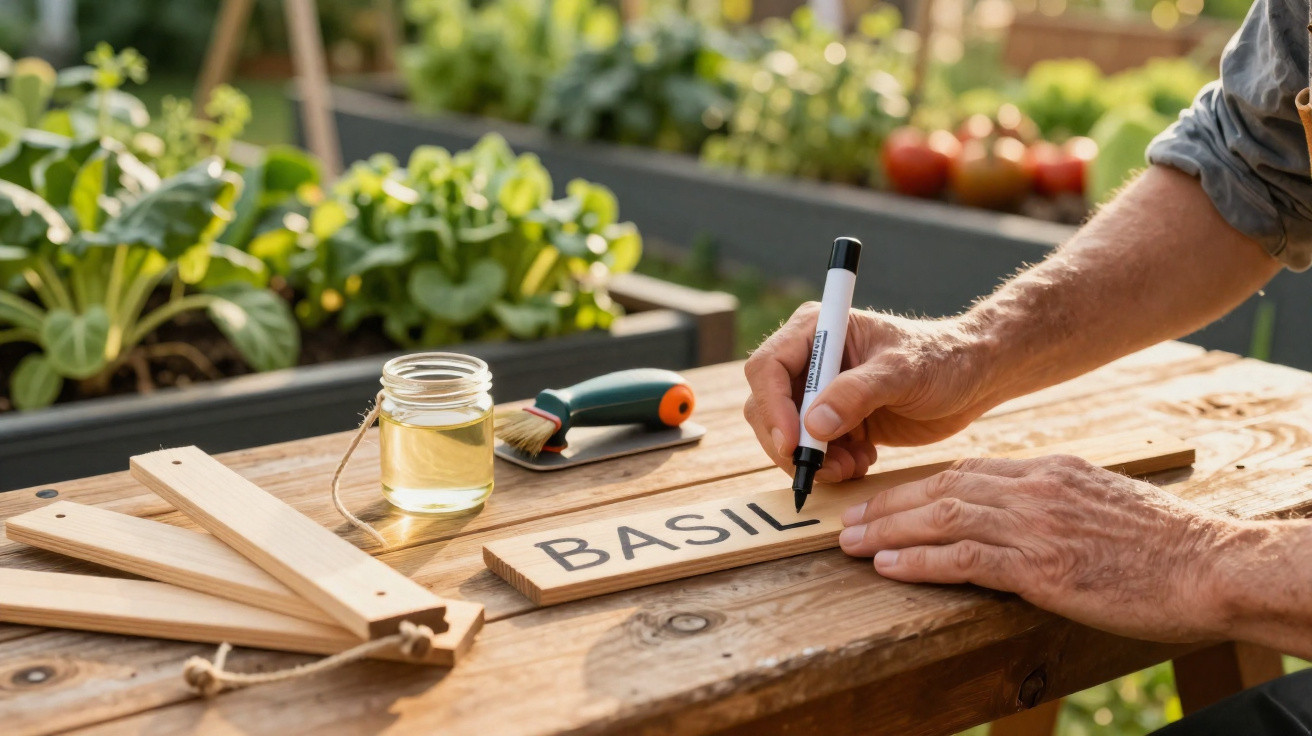
Offcuts of wood from previous projects can be given a straightforward role in the garden: they can become plant identification signs. With a few cuts, some cleaning and a written label, the material can distinguish between herbs, seedlings and species grown in pots or beds.
Why use wood to identify plants?
A sign lets you identify each species without relying on memory, which is particularly helpful when several seedlings are still small and look alike. In a vegetable garden, it can also display the names of herbs, seasonings or the date a particular seed was sown.
Another benefit is the chance to use pieces already available at home. Wood in different shapes can be made into horizontal signs, small stakes or larger labels, according to the space available.
How should you prepare the piece of wood?
Start by selecting a solid piece with no mould, rotten sections or splinters that could cause injury. If needed, lightly sand the edges so they are safer to handle.
Then add the label using a pencil, permanent marker or paint suitable for the surface. Before putting the sign in the garden, allow any product used for painting or finishing to dry fully.
How can wood be turned into a plant sign?
A narrow piece can be cut into a small stake with a pointed end, making it easier to insert into the soil. Write the plant’s name clearly on the upper section.
For pots, a smaller sign can be attached to a stick or simply rested against the container. In larger beds, slightly wider pieces are easier to read from a distance and can include extra details, such as the variety.
What care will help the sign last longer?
Wood exposed to sunlight, rain and moisture generally deteriorates more quickly. If the piece will remain in the garden for a long period, a finish designed for outdoor use may improve its durability, provided it is suitable for the object’s intended purpose.
It is also worth preventing the buried section from staying constantly waterlogged. In this way, wooden plant signs offer a simple way to organise the garden, reuse materials and create personalised decoration.


Comments
No comments yet. Be the first to comment!
Leave a Comment